NIKEN how-to guide
NIKEN reproduced by amigurumi. Here are the how-to videos.


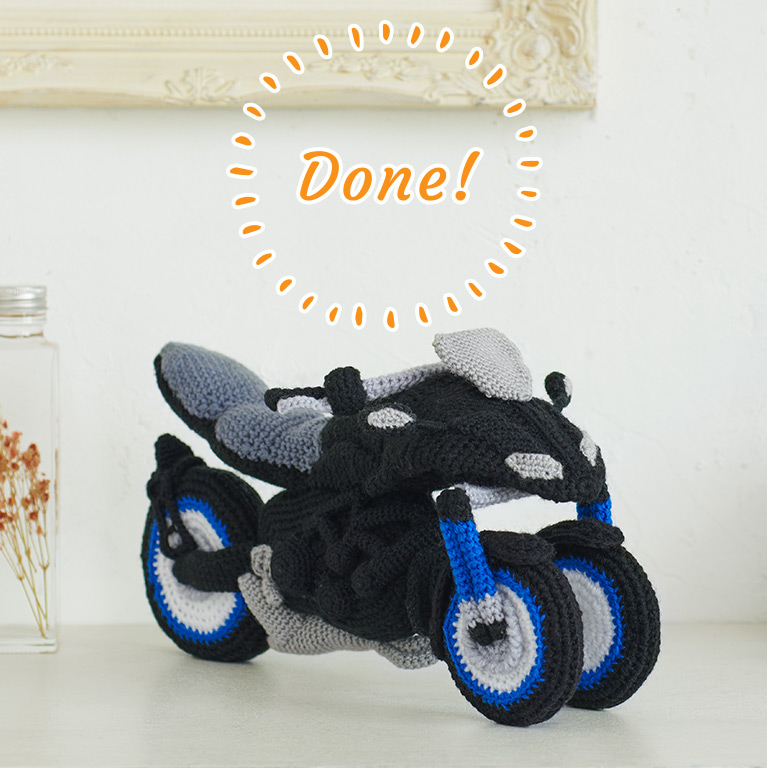
Try making NIKEN by amigurumi
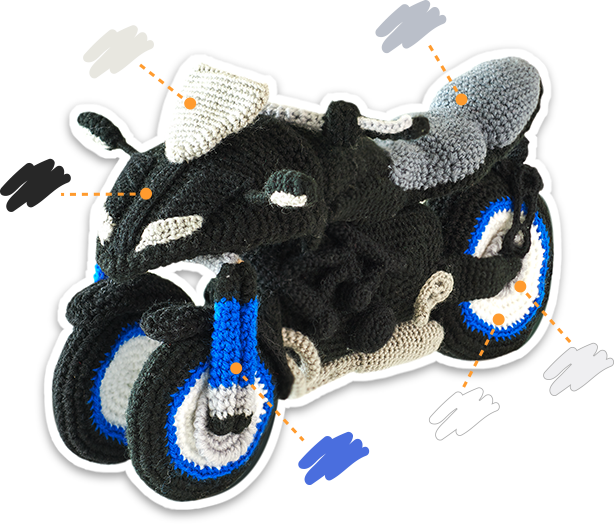
NIKEN, an ingenious styling bike created with LMW technology in the 2 front wheels.
We have made a how-to guide to recreate this NIKEN by amigurumi.
Look at the amigurumi patterns and how-to videos for each part and take up the challenge.

Wool
You will need the following colours of wool.
Wool weight is medium and light.
NIKEN amigurumi pattern
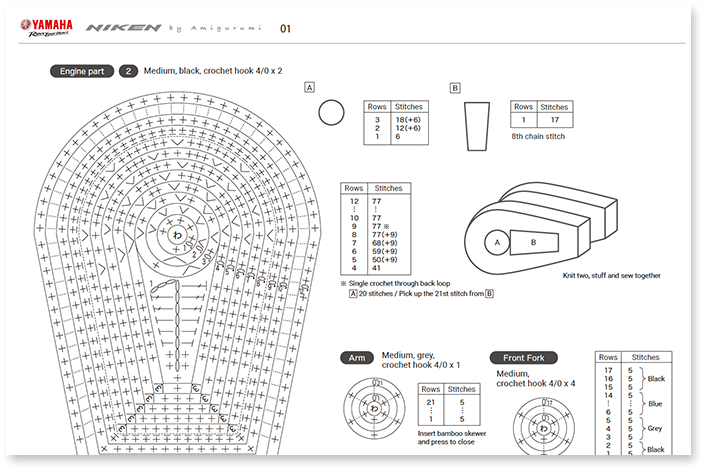
Download the PDF amigurumi pattern free of charge for the blueprint for knitting the NIKEN. The pattern contains knitting instructions as well as the required weights and colours of wool.
Download the NIKEN pattern
Parts by colour
See the Basic Amigurumi Lesson page for the basics of amigurumi. Once you have seen that, have a go at making the NIKEN.
The NIKEN is made up of mostly black parts so we have made how-to videos showing the parts in different colours so that it is easy to understand how they are made and assembled. Enjoy our specially made how-to guide.

See below for the names of each part of the bike.
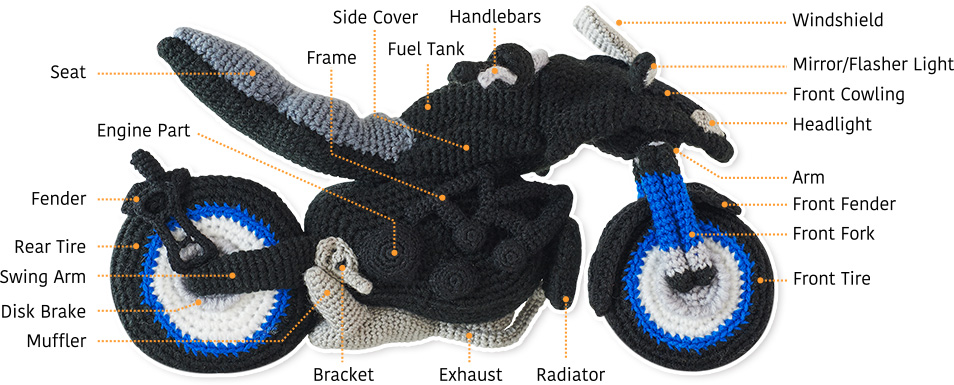
1. Fuel tank 2. Handlebars 3. Windshield 4. Mirror / flasher light 5. Front cowling 6. Headlight 7. Arm 8. Fender 9. Front fork 10. Front tire 11. Radiator 12. Exhaust 13. Muffler 14. Bracket 15. Disk brake 16. Swing arm 17. Rear tire 18. Fender 19. Engine part 20. Seat 21. Frame 22. Side cover

Once you have everything prepared, get started with making your NIKEN!
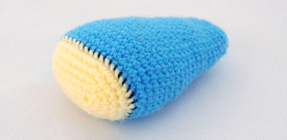
1Knit the fuel tank
2Knit the engine
3Knit the radiator
4Knit the tires
5Knit the headlight
6Knit the handlebars

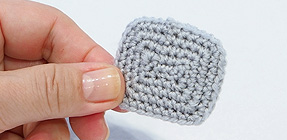
7Knit the bracket
8Knit the exhaust
9Knit the front cowling
10Knit the engine part
11Attach the seat
12Knit the disk brake
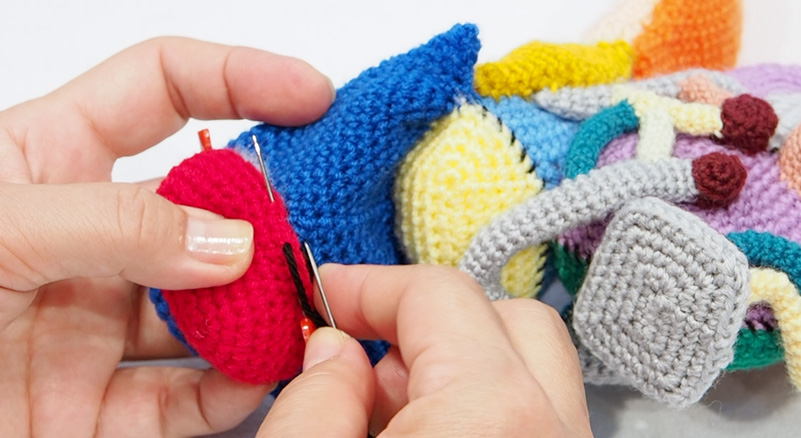
13Assemble the parts surrounding the rear tires
14Knit the underside of the front cowling
15Knit the mirrors
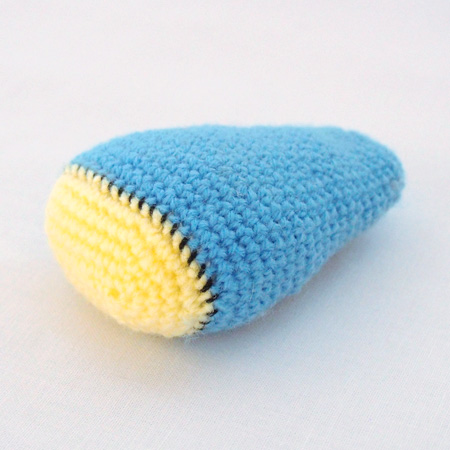
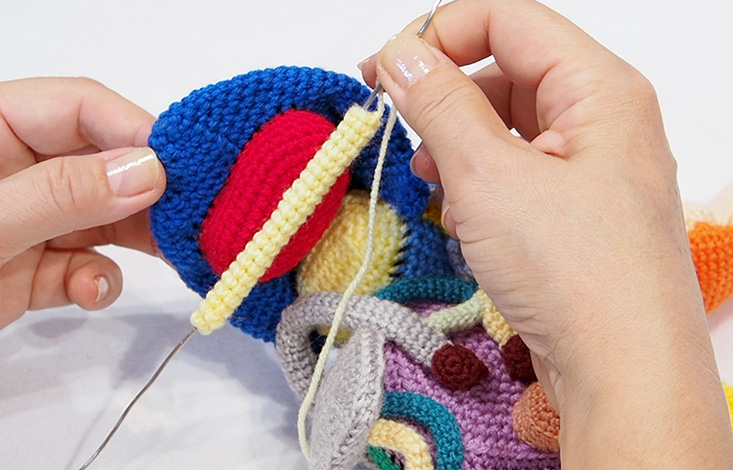
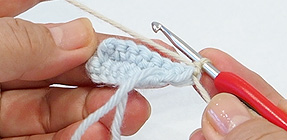
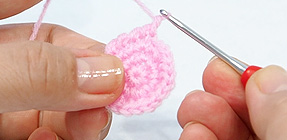
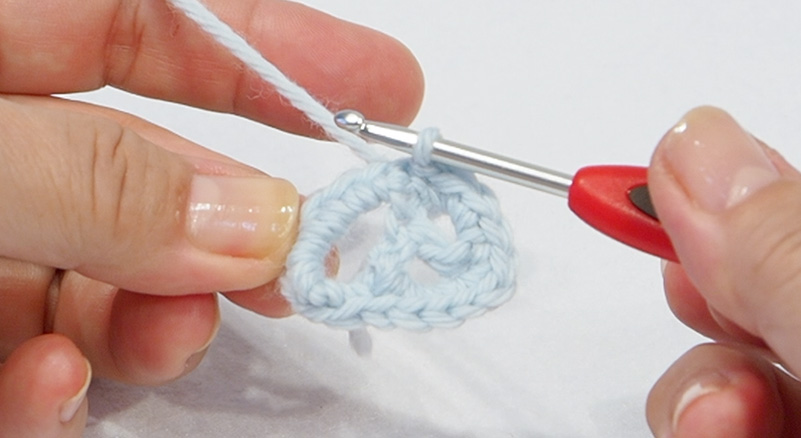
Watch the basic lesson video and start with the fuel tank.
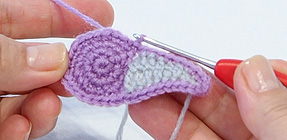
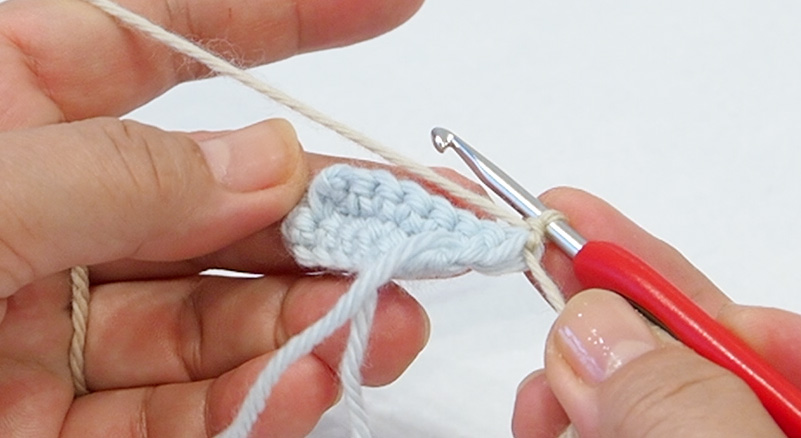
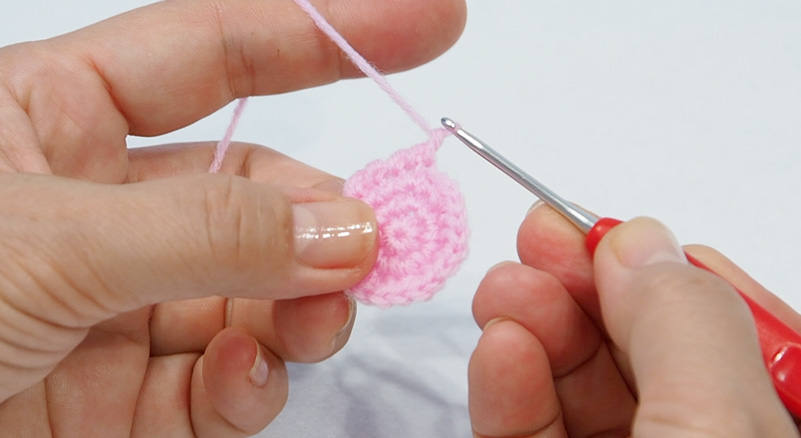
- 01 Look at the pattern and knit the required chain stitches.
- 02 Then knit 1 starter chain stitch.
- 03 Reverse the stitches to pick up the bottom.
- 04 Knit 2 single crochet stitches on the 1st bottom stitch.
- 05 Single crochet each stitch until before the last bottom stitch.
- 06 Knit 2 single crochet stitches on the last bottom stitch.
- 07 Turn the fabric round 180 degrees and knit 1 single crochet in the same way as 1-5.
- 08 Pick up the 1st stitch and single crochet each stitch.
- 09 Knit 1 single crochet stitch to the stitches in 1-3.
- 10 Knit a slip stitch on the 1st stitch to complete the 1st row.
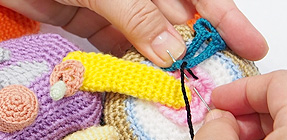
- 11 Knit 1-A and 1-B, adding stitches according to the pattern.
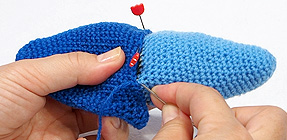
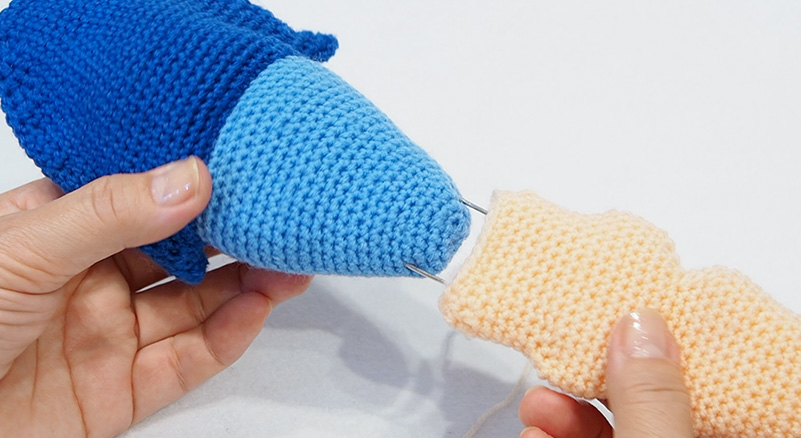
- 12 Stuff and sew 1-A and 1-B together.
2 Knit the engine
3 Knit the radiator

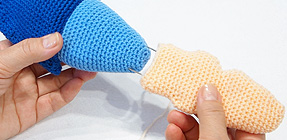
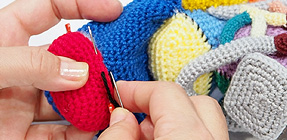
4 Knit the tires
Make 2 front tires in the same way.
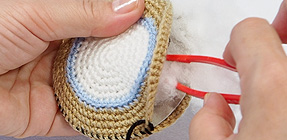
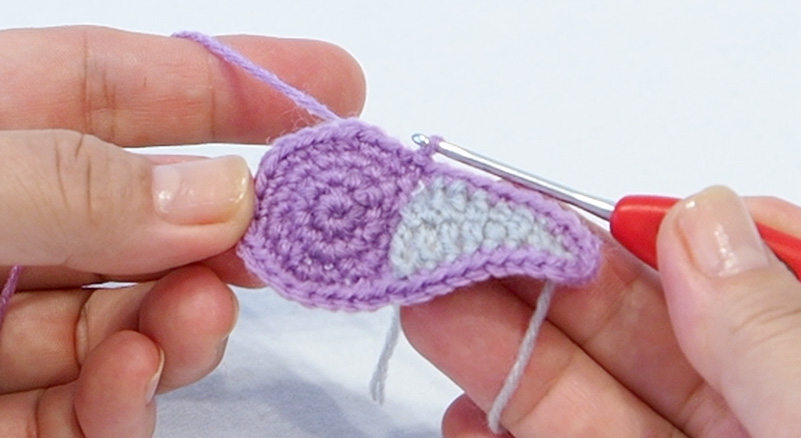
5 Knit the headlight
Next, knit the opposite light according to the pattern.
6 Knit the handlebars
7 Knit the bracket
Knit 7-A as shown in the video then attach to 7-B.
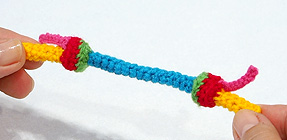
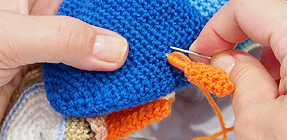
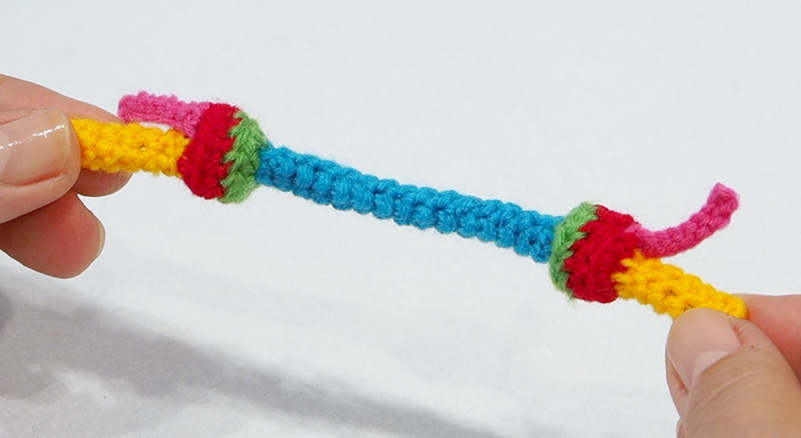
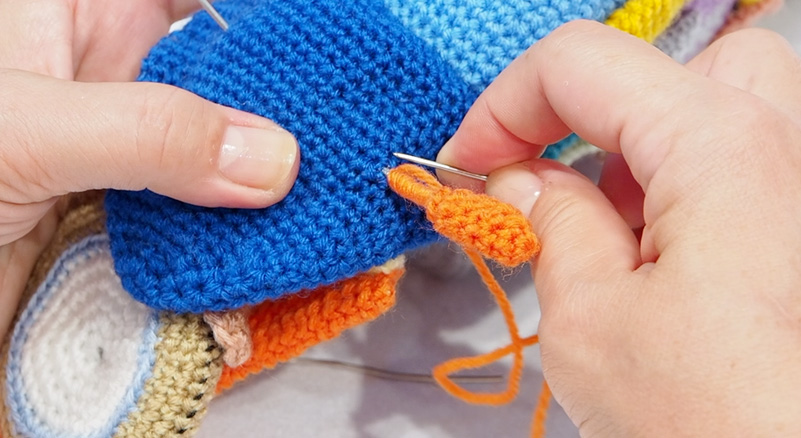
8 Knit the exhaust
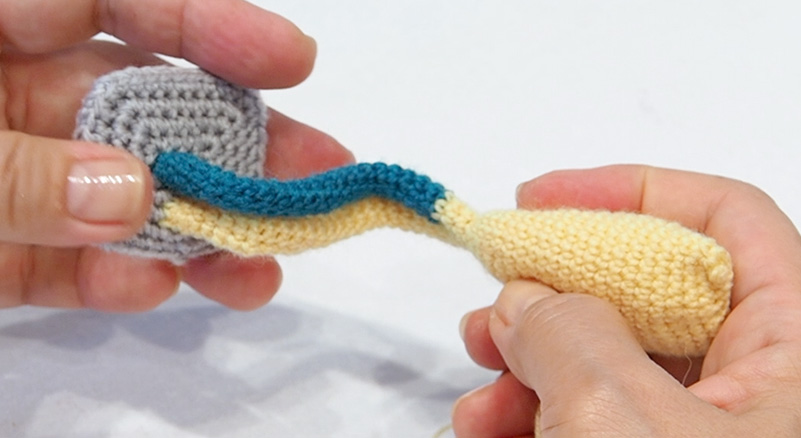
First, knit 2 of 8-A according to the pattern.
Pick up 5 stitches from the 1st 8-A and then from the 2nd, go back 1 stitch and knit the slip-stitched parts.
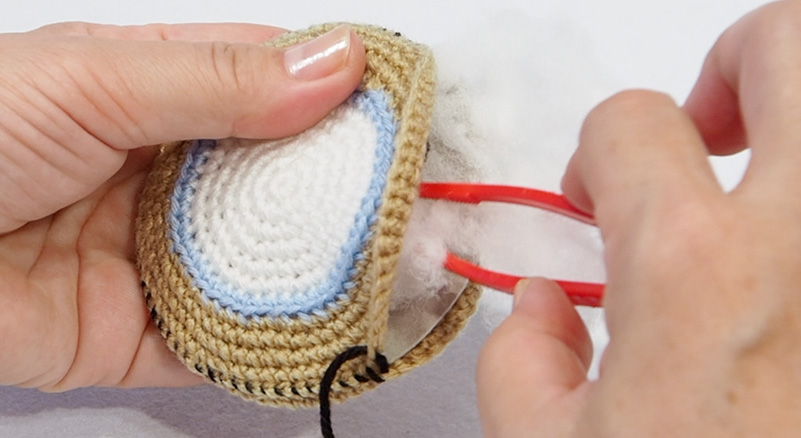
9 Knit the front cowling
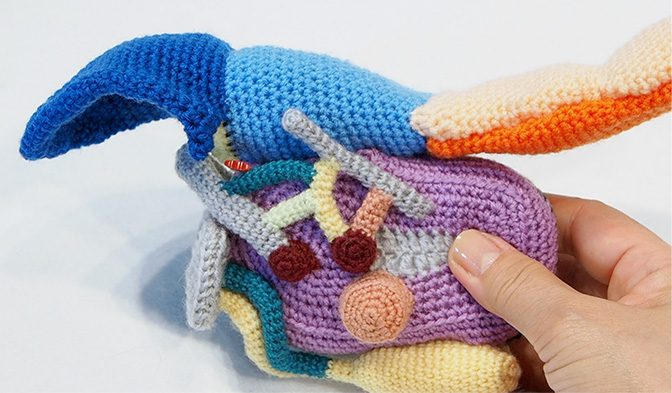
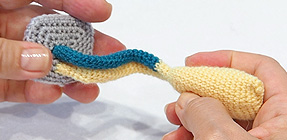
10 Knit the engine part
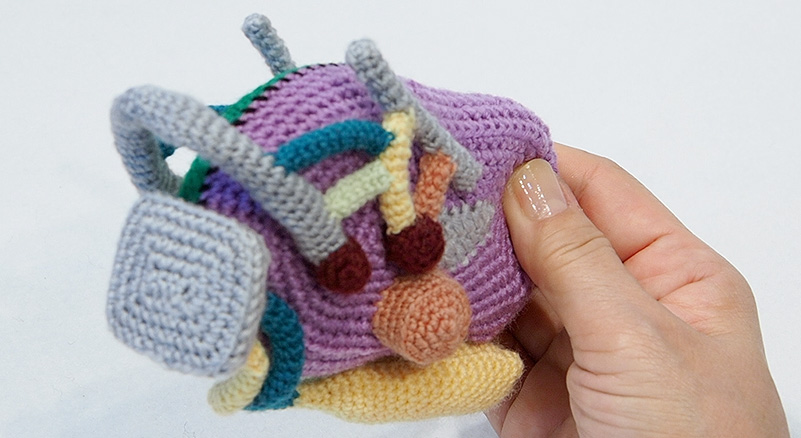
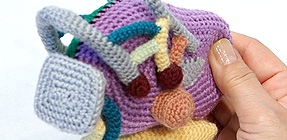
Knit each part of the frame according to the pattern. Attach each part as shown in the illustration.
11 Attach the seat
Knit the top and bottom parts of the seat according to the pattern.
12 Knit the disk brake
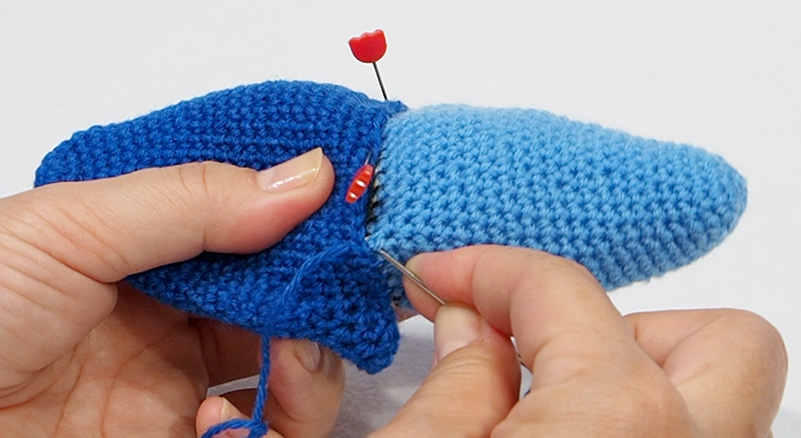
13 Assemble the parts surrounding the rear tires

14 Knit the underside of the front cowling
15 Knit the mirrors

Official social media gallery -
Send in pictures of your work!
Let us post the work you have created using the how-to guide on this site on the official Yamaha Motor amigurumi / needle felting account on Instagram.
Just fill in the required fields on the posting page and upload photos of your work. We are looking forward to seeing them.
Terms of use
These contents are operated by Yahama Motor Co., Ltd. and are provided free of charge with the premise that they will be used in the pursuit of hobbies by individuals.
Please read the terms of use of the website before use. We hope you enjoy these contents.>Terms of use