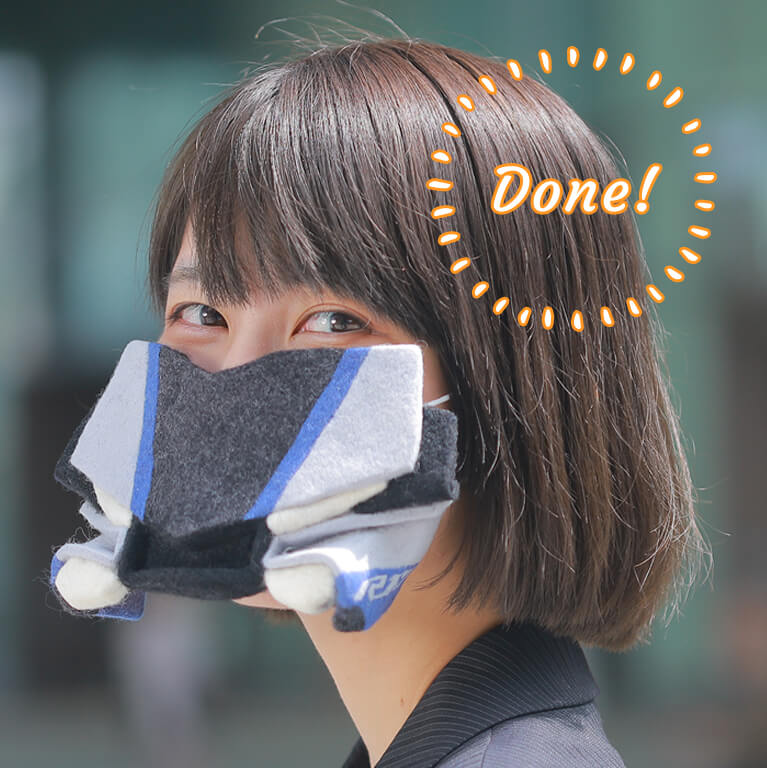
YZF-R1M Face Mask how-to guide
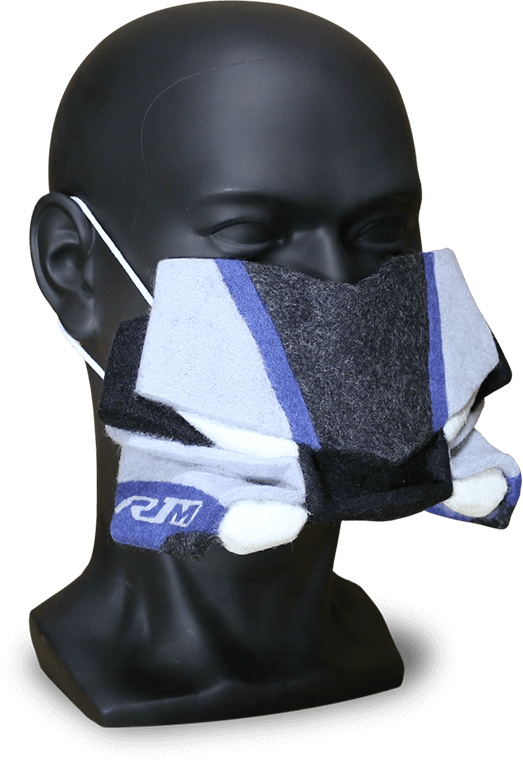
We have recreated the front mask of the YZF-R1M bike that pursues performance to conquer the circuit in a needle-felted face mask. A video how-to guide is available.


Let’s try making the YZF-R1M face mask by needle felting.
We have recreated the front mask of the YZF-R1M bike that pursues performance to conquer the circuit in a face mask.
The YZF-R1M face mask pattern and how-to video are available.
*The YZF-R1M face mask is not intended for use as an anti-viral or anti-droplet mask.

Wool
You will need the following colours of felt to make the YZF-R1M face mask.
-
Mixed felt black
(if you don’t have any, mix black, white and grey in a ratio of 8:1:1) -
Black (base felt)
-
Grey
-
Blue
-
White (glitter felt)
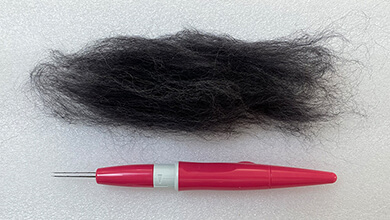
Tools you will need
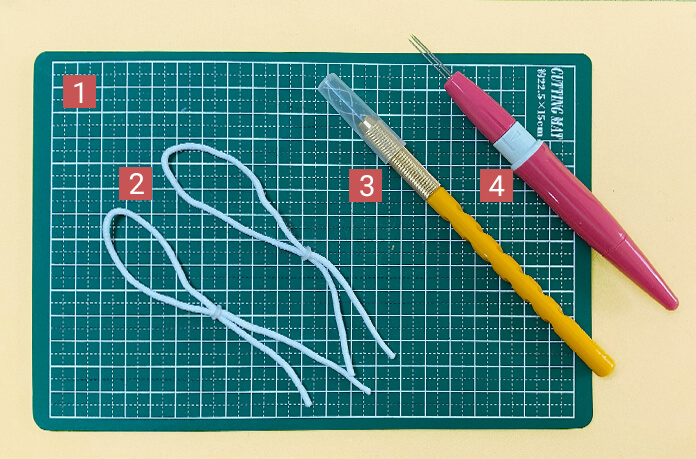
In addition to the tools introduced in the guide to successful felting even for beginners, you will need to following tools to make the YZF-R1M face mask.
[1] Cutting mat [2] mask strings [3] precision cutter [4] punch needle (at least two needles in a holder)
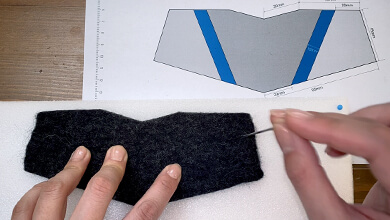
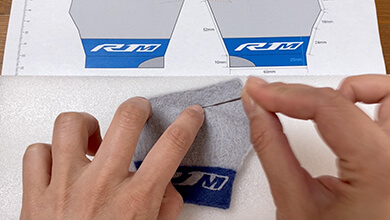
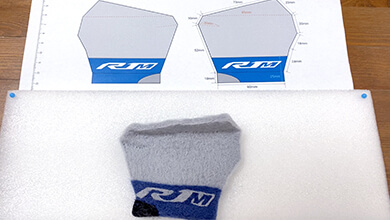
Pattern
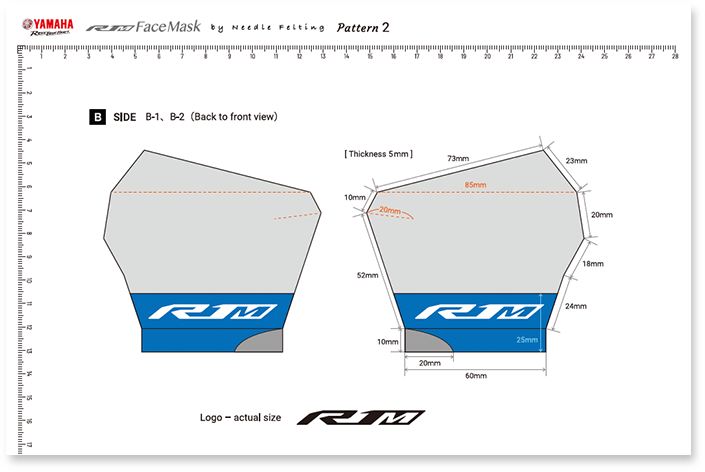
In order to make each part, match the shape and size to the pattern. We have provided the pattern in a PDF file so please download and print it for use.
When printing out, adjust the printing method to get the correct measurements by checking the scale on the paper with a ruler.

Check the finished firmness
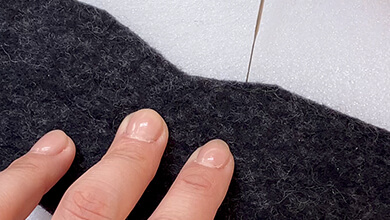
The firmness standard for making the YZF-R1M face mask panels is the same as that for the 1.8cm ball made from 1g of felt as shown in the Guide to successful needle felting even for beginners (basic course) – how to make a felt ball.
If the felting is not firm enough, it may be off-kilter when you assemble it and the ball may fall apart so it is important to poke it firmly and make it hard.
The stuffing portion of the YZF-R1M face mask does not have to be hard like the panels. See the how-to video for details.

Now that you have prepared everything, let’s get to making the YZF-R1M face mask!
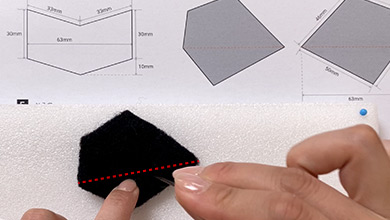
1 Front, side
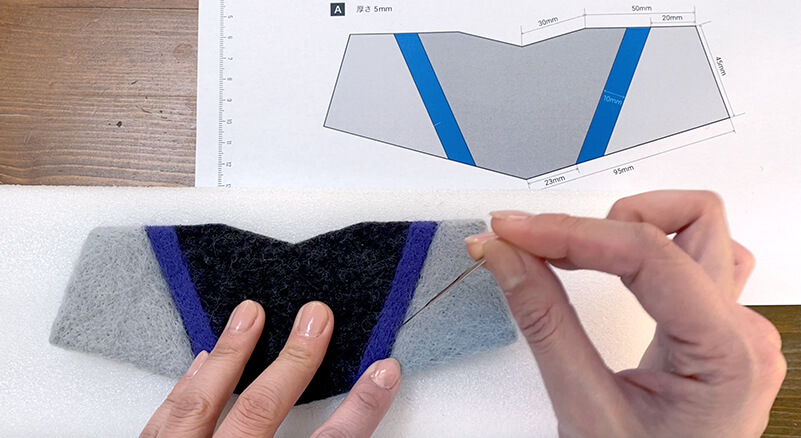
Front
-
Prepare mixed felt (black) and a punch needle (at least 2 needles in a holder).
-
If you don’t have any, mix black, white and grey in a ratio of 8:1:1.
-
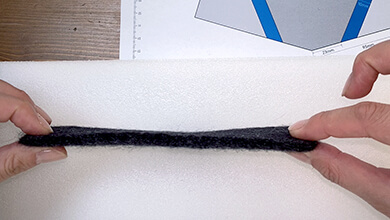
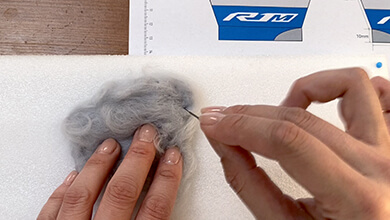
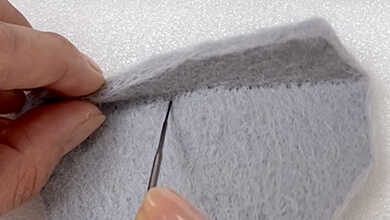
Poke the mixed felt to a thickness of 5mm according to pattern A.
-
-
Poke the edges and the corners with one needle.
-
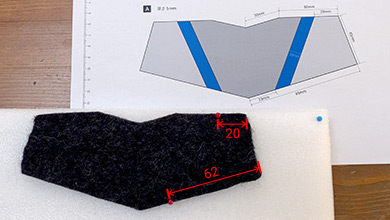
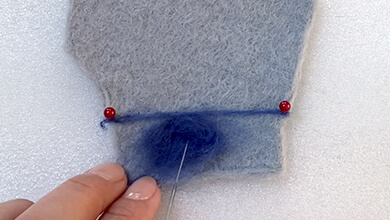
Insert pins 20mm from the top edge of pattern A and 62mm from the side.
-
Poke a sliver of grey into a line between the pins.
-
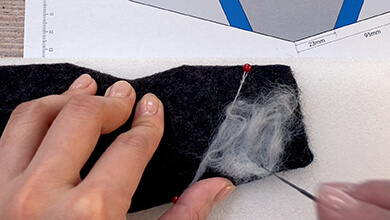
Poke to fill in with a sliver of grey from the line to the edge.
-
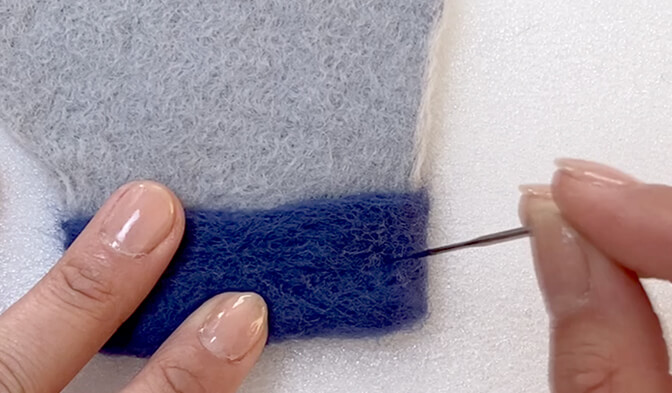
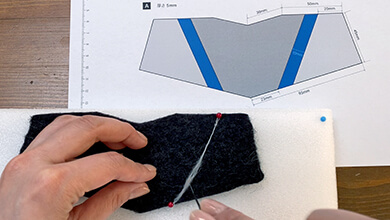
Insert pins 10mm towards the centre from the grey line and poke a sliver of blue into a line between the pins.
-
Fill in the 10mm gap with a blue sliver.
-
The front is done!
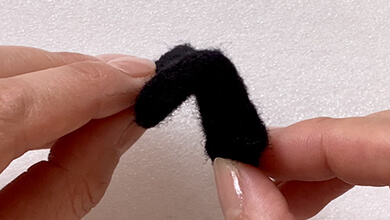
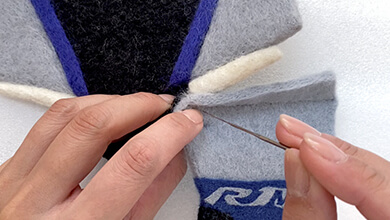
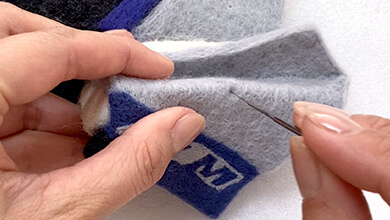
Side
-
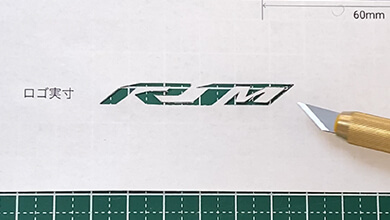
Cut the R1M logo out of the pattern with a precision cutter.
-
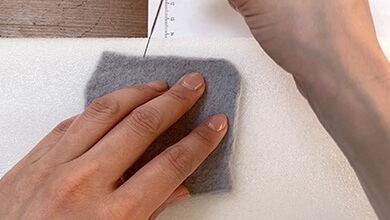
Poke pattern B with a grey sliver to a thickness of 5mm.
-
-
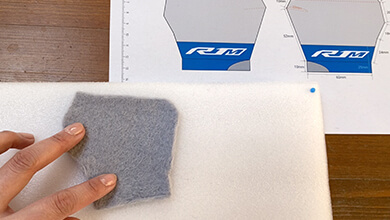
Make two the same.
-

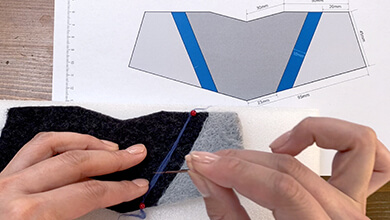
Insert a pin 25mm from the bottom and poke a sliver of blue into a line.
-
Poke to fill in with a sliver of blue.
-
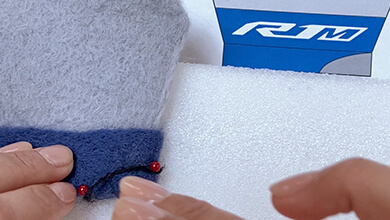
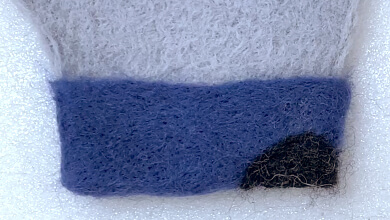
Insert pins 10mm up the side and 20mm along the bottom, poke a line of mixed felt then fill in the gap.
-

-
-
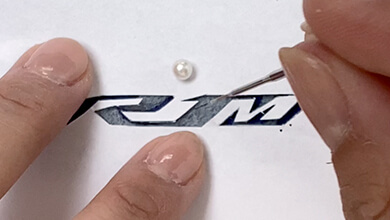
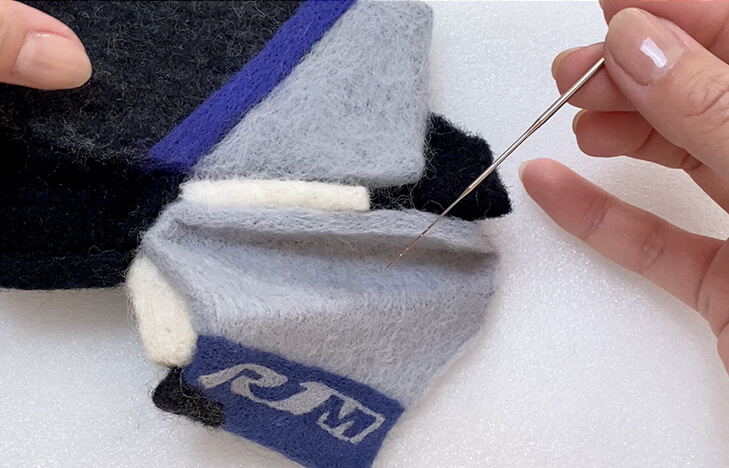
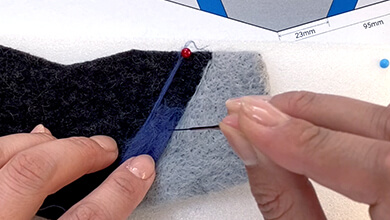
Fix the cut out R1M logo with pins and poke with a sliver of grey.
-
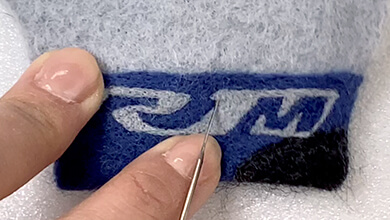
Remove the logo paper and tidy up the logo.
-
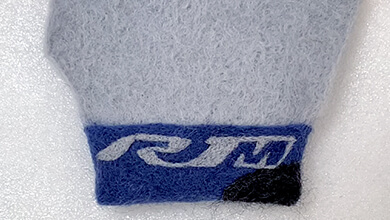
Do the same to the other one.
-
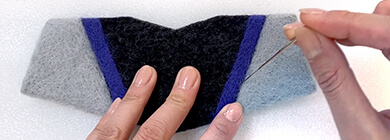
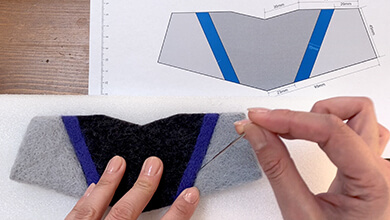
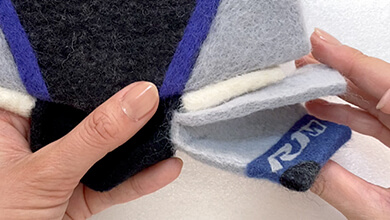
Following the dotted lines in the pattern, poke an 85mm line and a 20mm line.
-
Make a light fold.
-
Poke the lines while bending the felt forwards.
-
Poke the other line in the same way.
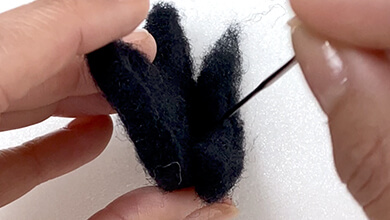
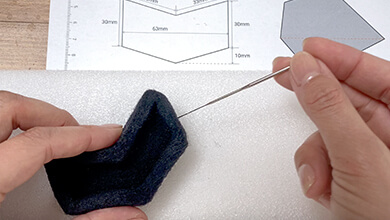
2 Air ducts, lights, etc.

Air duct
-

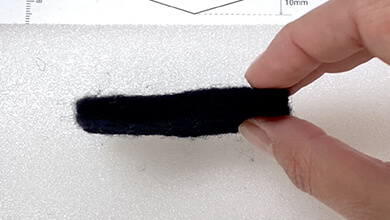
Poke black base felt to a thickness of 10mm according to pattern C.
-
-
Poke base felt around the edge of the part with a height of 10mm and a width of 5mm.
-
-
Knuckle guards
-
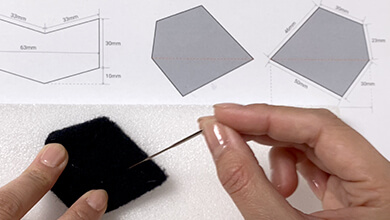
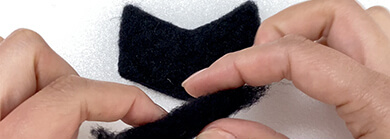
Poke base felt to a thickness of 5mm according to pattern D.
-
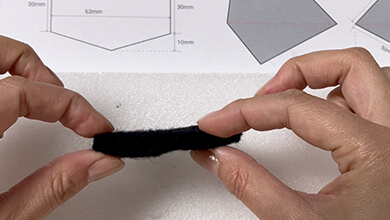
-
Following the 63mm dotted line in the pattern and poke a line to make a fold.
-
Poke until the fold no longer opens to fix.
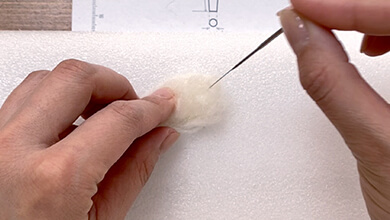
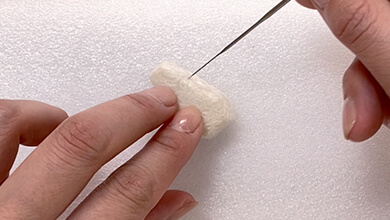
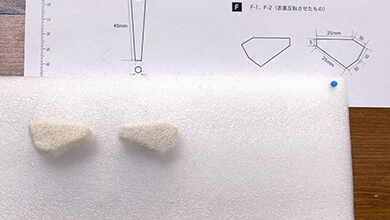
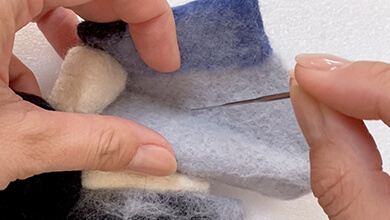
Pilot lights
-
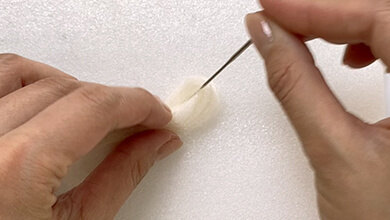
Make 2 with white felt according to pattern E.
*Use glitter felt. -

-

Headlights
-
Poke white felt to a thickness of 15mm according to pattern F.
*Use glitter felt. -
-
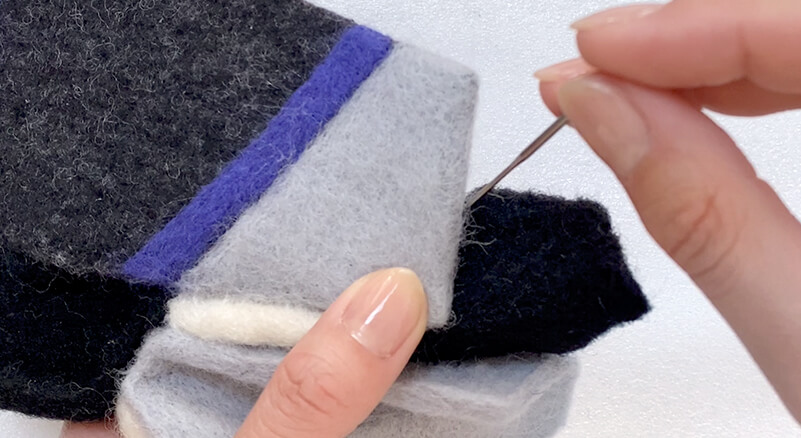
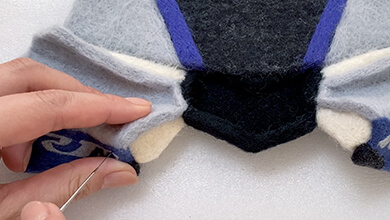
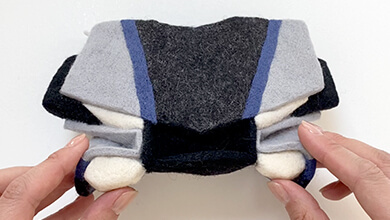
3 Assembly
-
Poke the tip of the front on top of the edge of the air duct to attach.
-
-
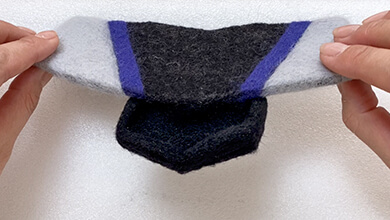
-
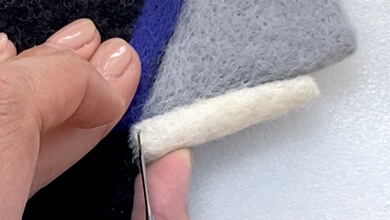
Poke the pilot light to the front outside of the blue line along the external grey part to attach.
-

-
Poke the other side in the same way.
-
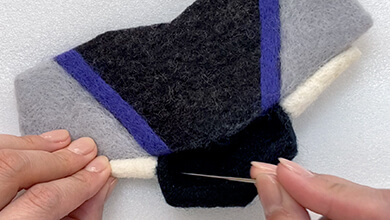
Poke the folded part of the side to attach it to the air duct and the pilot light.
-
-
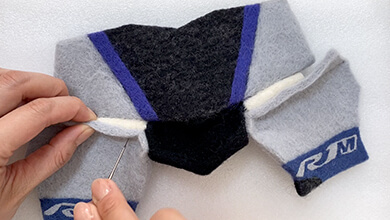
Do the same thing on the opposite side.
-
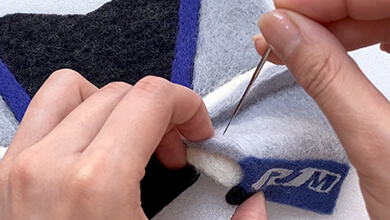
Poke the side so that it wraps around the headlight.
-
Poke the adjacent side and in the inside so that the fold is pronounced.
-
-
Do the same thing on the opposite side.
-

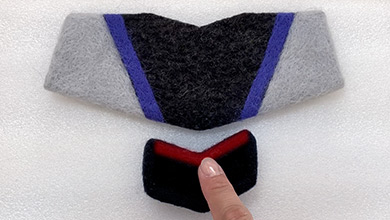
Insert the knuckle guard into the ★ part.
-
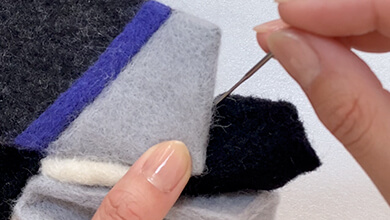
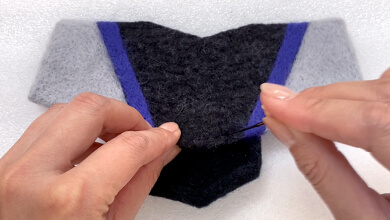
Poke so that the back of the front is on top of the side.
-

Do the same thing on the opposite side.
-
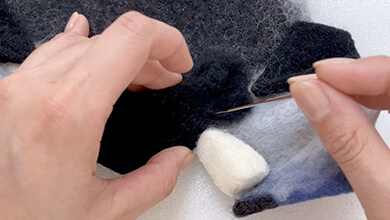
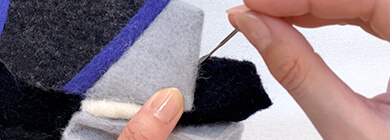
Reinforce the joins between the parts from behind with black base felt.
-
-
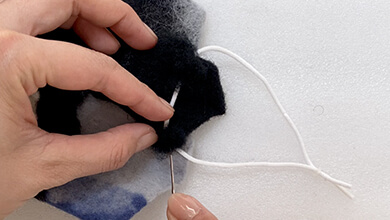
Place the mask string on the back of the side knuckle guard and poke base felt on top of it to fix.
-
Do the same thing on the opposite side.
-
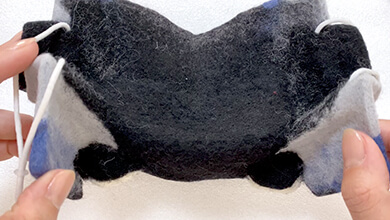
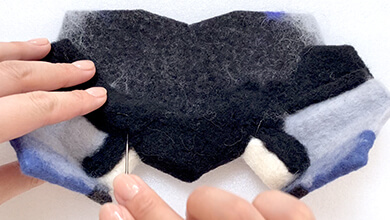
Add base felt and poke to fit the shape of your face.
-

Official social media gallery -
Send in pictures of your work!
Let us post the work you have created using the how-to guide on this site on the official Yamaha Motor amigurumi / needle felting account on Instagram.
Just fill in the required fields on the posting page and upload photos of your work. We are looking forward to seeing them.
Terms of use
These contents are operated by Yahama Motor Co., Ltd. and are provided free of charge with the premise that they will be used in the pursuit of hobbies by individuals.
Please read the terms of use of the website before use. We hope you enjoy these contents.>Terms of use