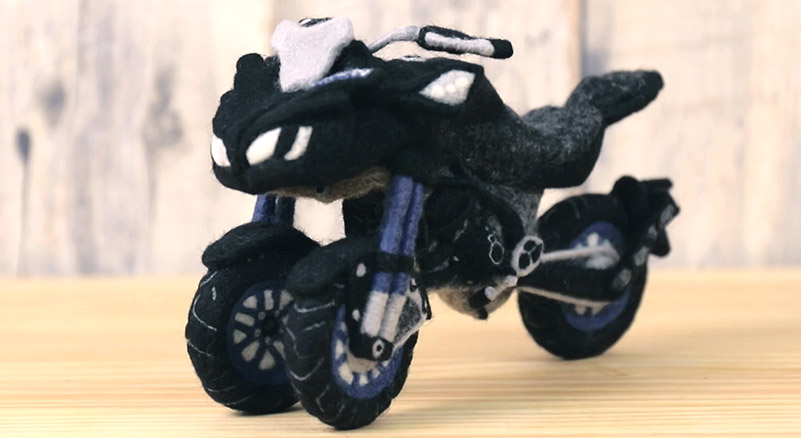
NIKEN how-to guide
NIKEN reproduced by needle felting. Here are the how-to videos.


Try making NIKEN by needle felting
NIKEN, an ingenious styling bike created with LMW technology in the 2 front wheels.
We have made a how-to guide to recreate this NIKEN by needle felting.
There is a lot to do but you will have a great sense of achievement when you are finished! Ready to take up the challenge?

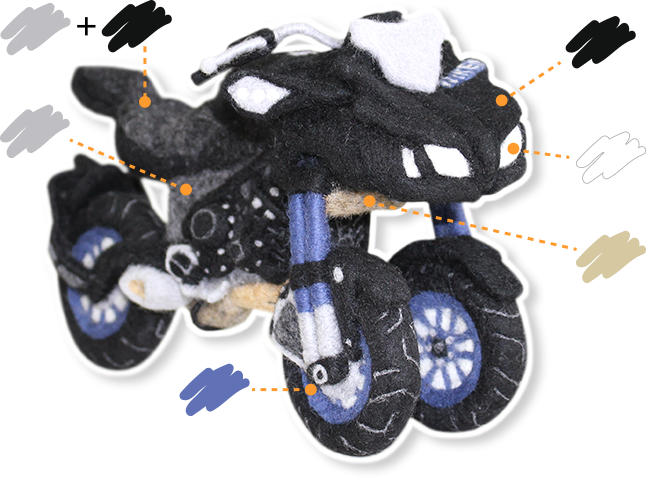
You will need the following colours of wool.
You will need the following colours of wool.
- Black
- Grey
- Blue
- White
- Beige
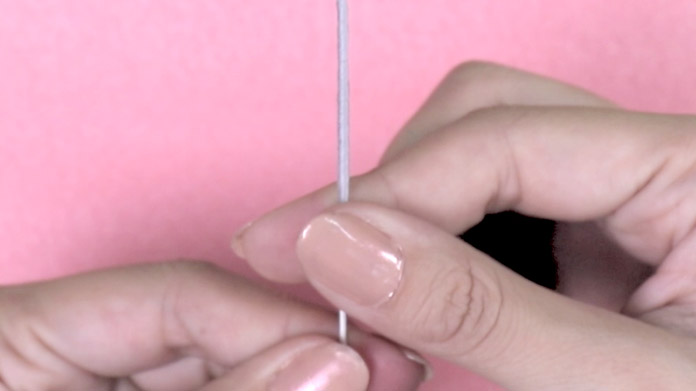
Required tools
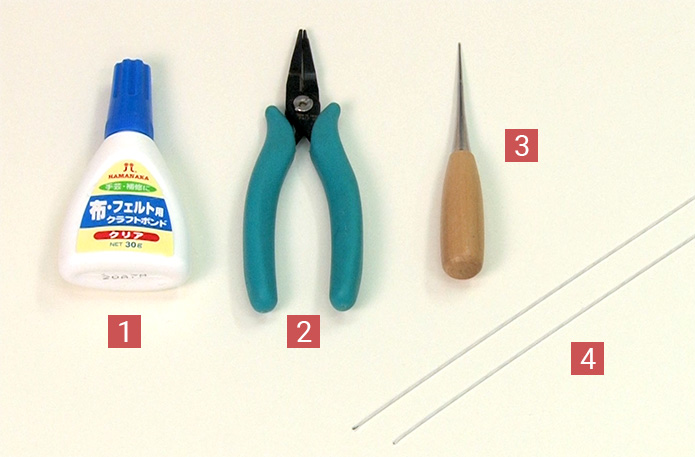
In addition to the basic tools shown on the Basic Needle Felting Lesson page, you will need the following tools to make the NIKEN.
[1] glue [2] radio pliers [3] dot punch [4] thin wire
Pattern
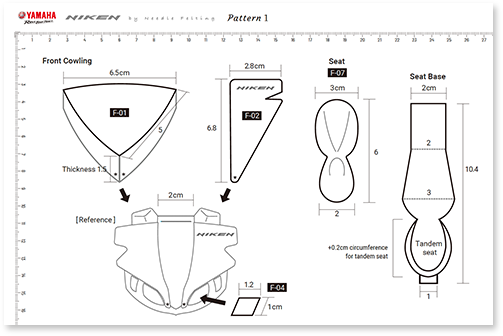
It is important to check the size of each part against the pattern. We have provided the pattern in PDF format. Please download and print out to use.
When printing, make sure to check scale and edge guide so that you get the actual size for the pattern.

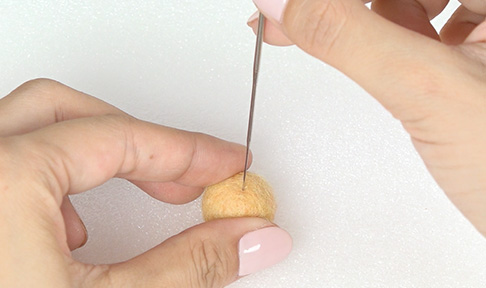
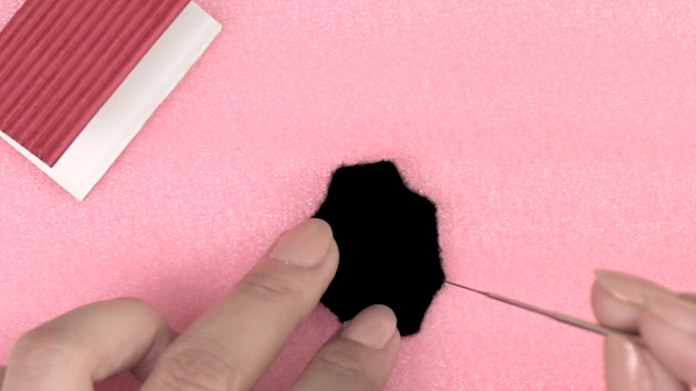
Check the finished firmness
As you poke the needle into the wool, it becomes more and more firm. You may wonder how firm you need to make the wool.
The firmness of the 1.8cm ball made from 1g of wool as shown in the felt ball how-to guide in the Basic Needle Felting Lesson is the standard firmness for making the NIKEN.
If the felt is not firm enough, it will be off-kilter when assembling or the finished item will fall apart so it is important to work the felt to make it firm.

See below for the names of each part of the bike.
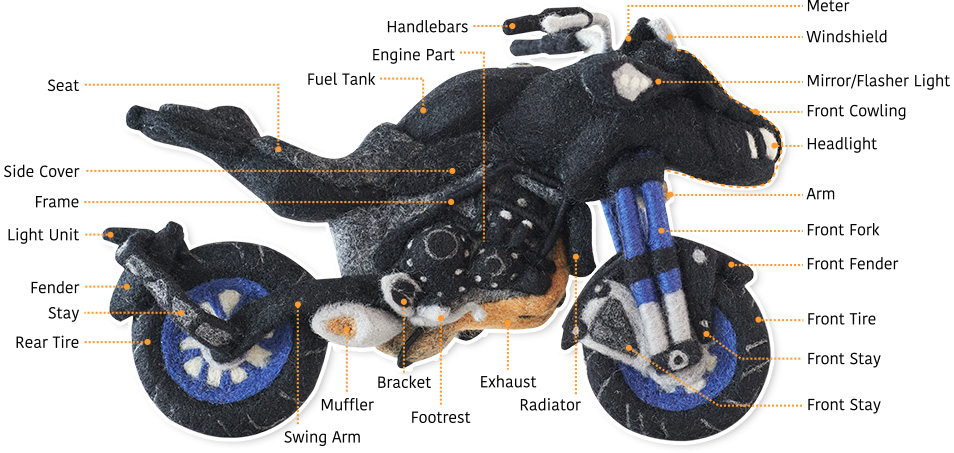
1. Fuel tank 2. Engine part 3. Handlebars 4. Meter 5. Windshield 6. Mirror / flasher light 7. Front cowling 8. Light 9. Arm 10. Front fork 11. Fender 12. Front tire 13. 14. Front stay 15. Radiator 16. Exhaust 17. Step 18. Bracket 19. Muffler 20. Swing arm 21. Rear tire 22. Stay 23. Fender 24. Light unit 25. Frame 26. Side cover 27. Seat

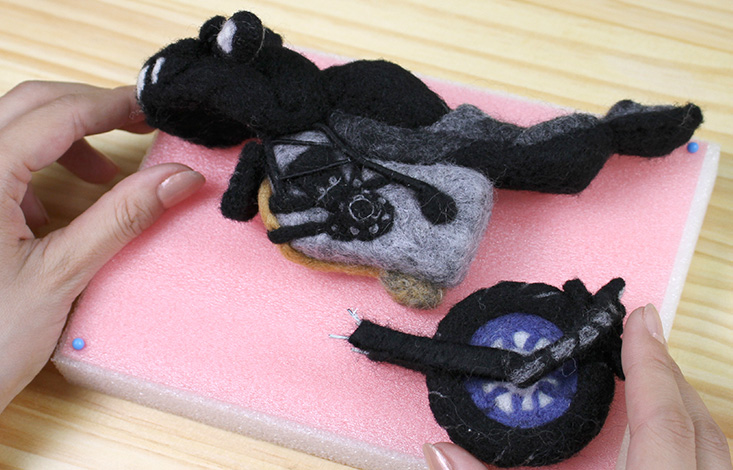
Once you have everything prepared, get started with making your NIKEN!
1 Front - fuel tank - seat
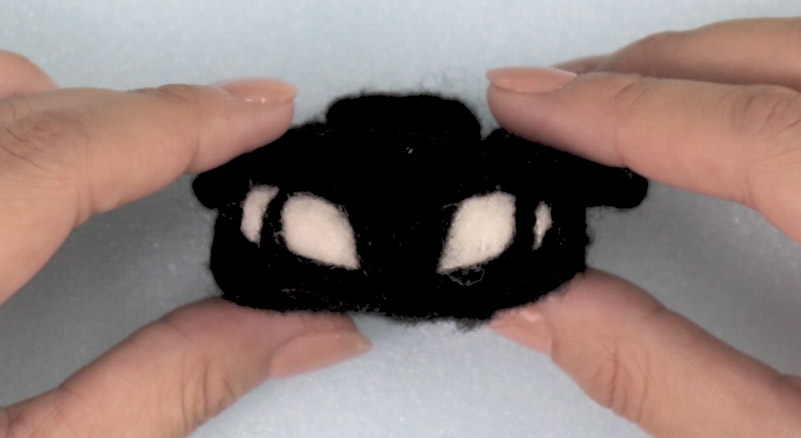
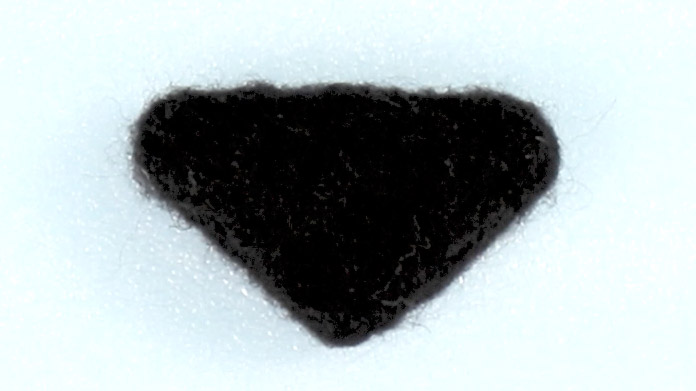
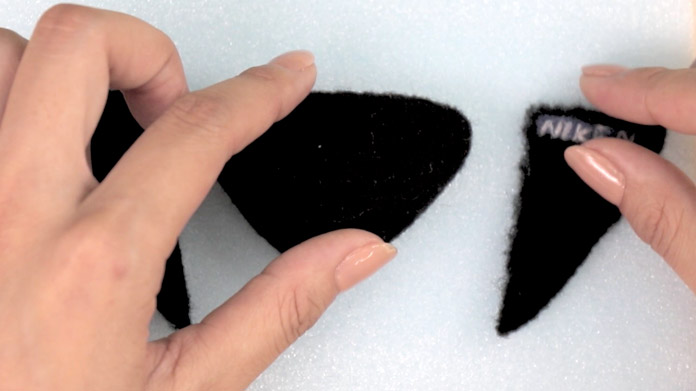
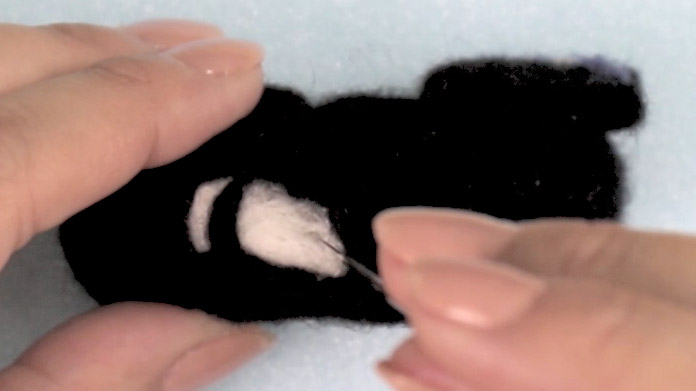
2 Front parts
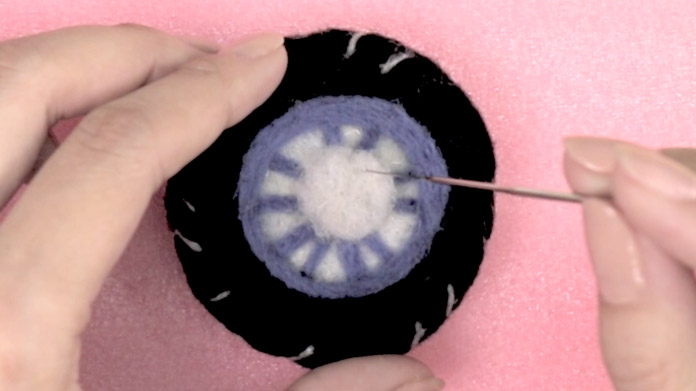
3 Front tire
4 Engine part
5 Rear tire
-
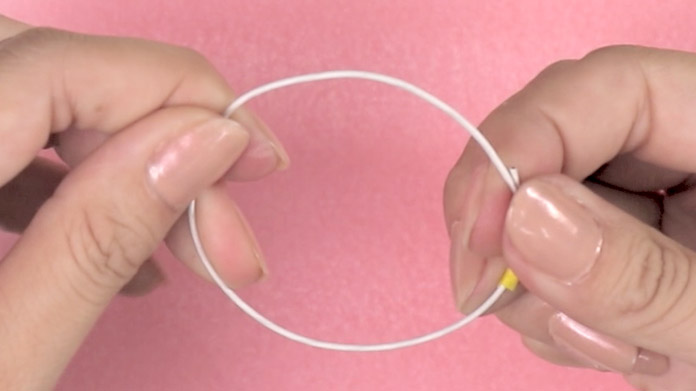
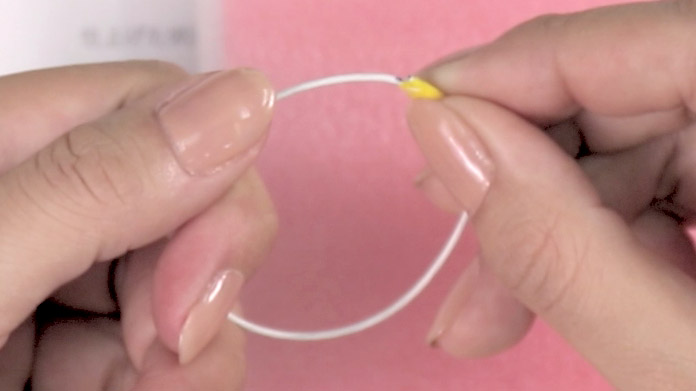
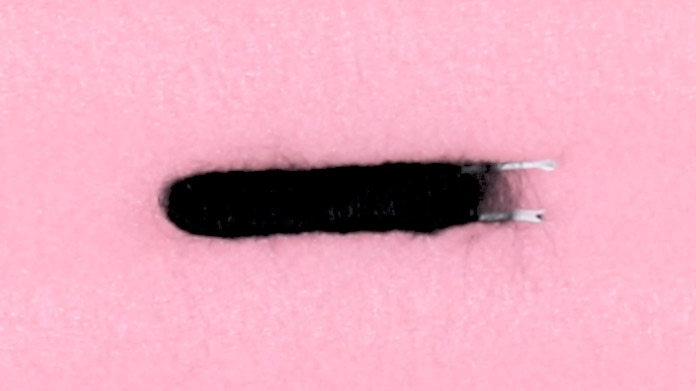
Make the core of the rear tire with wire.
-
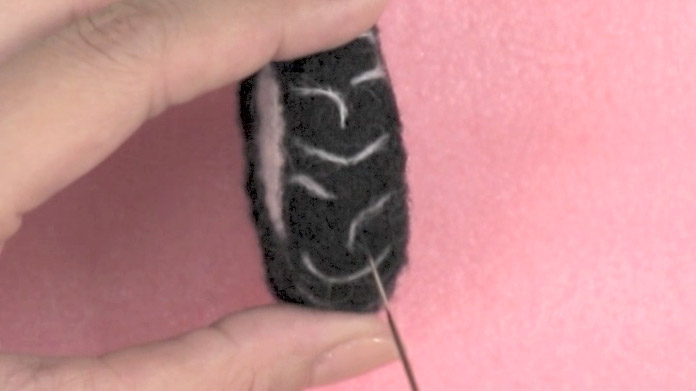
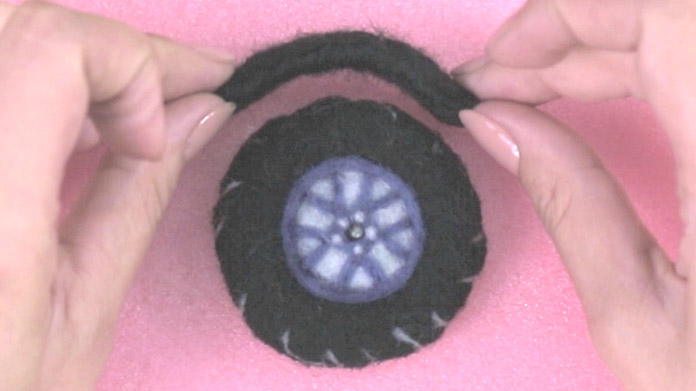
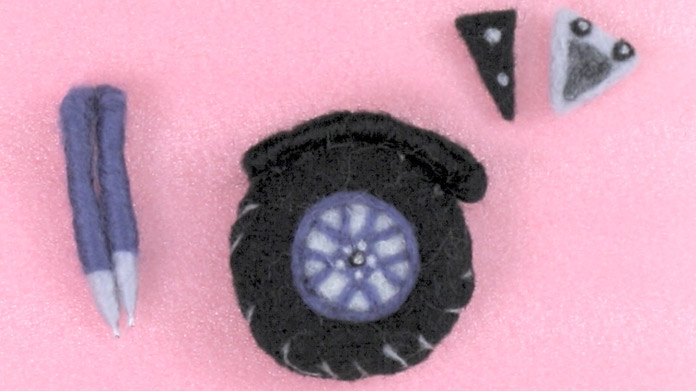
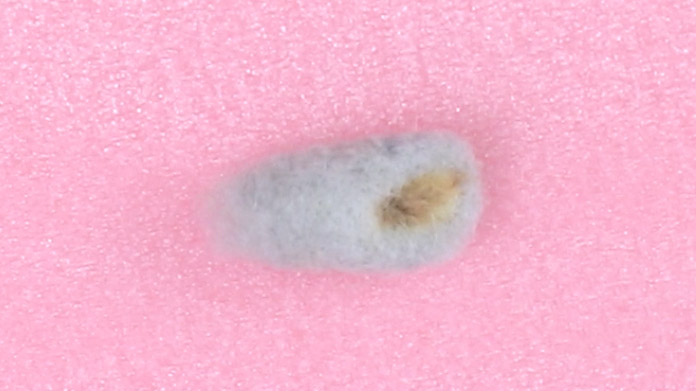
Make the rear tire.
-
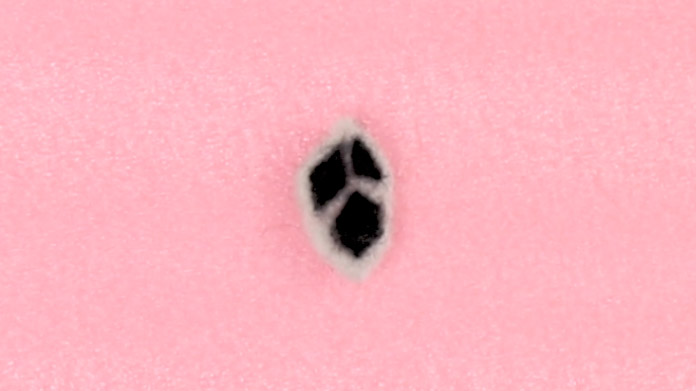
Make the swing arm.
-
Make the footrest.
-
Make the brake pedal.
-
Make the bracket.
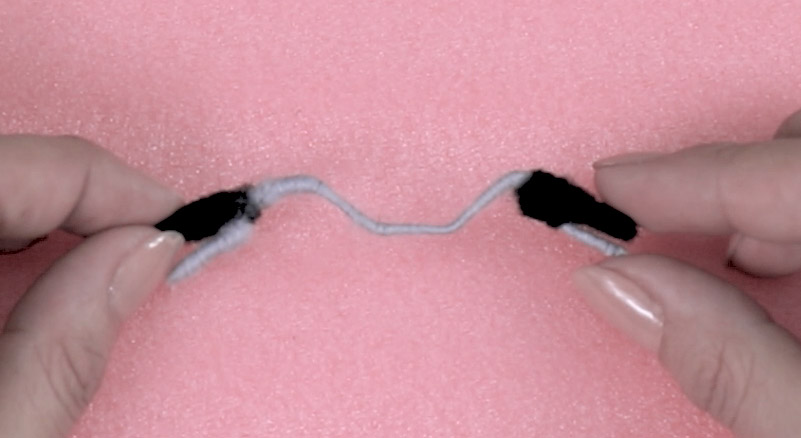
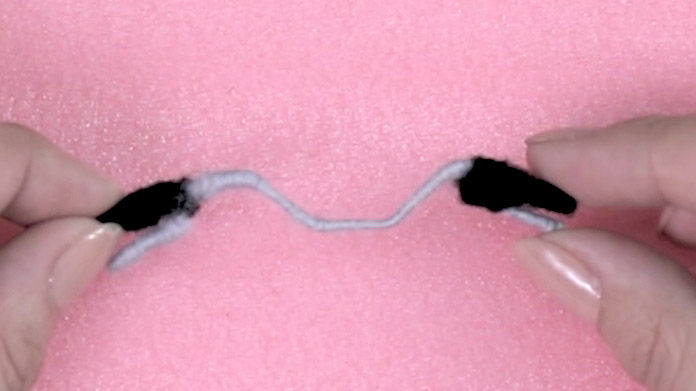
-
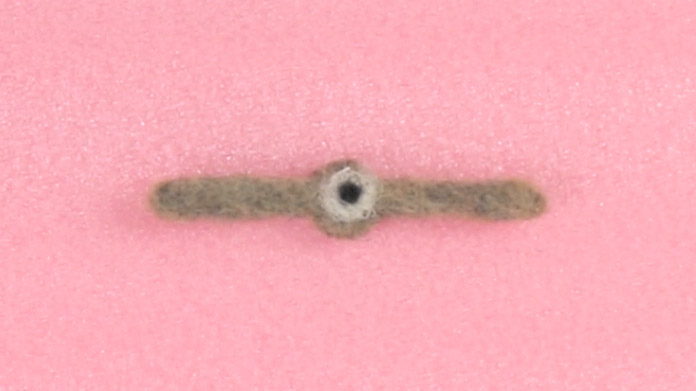
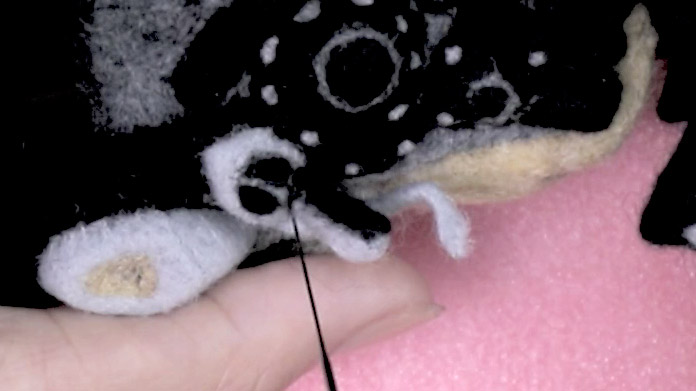
Wrap wool around wire to make the chain.
-
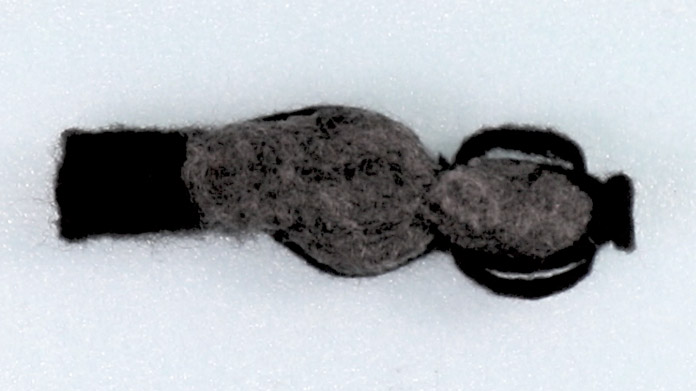
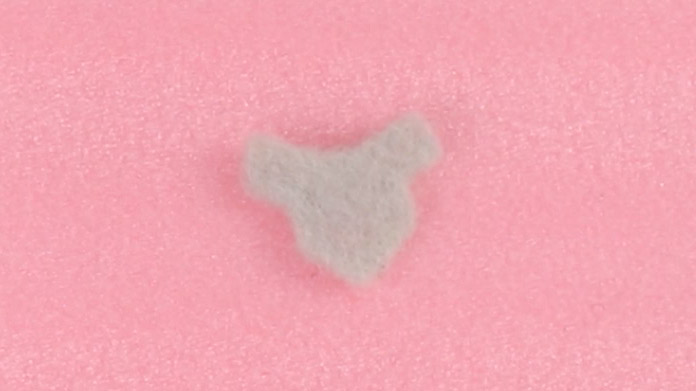
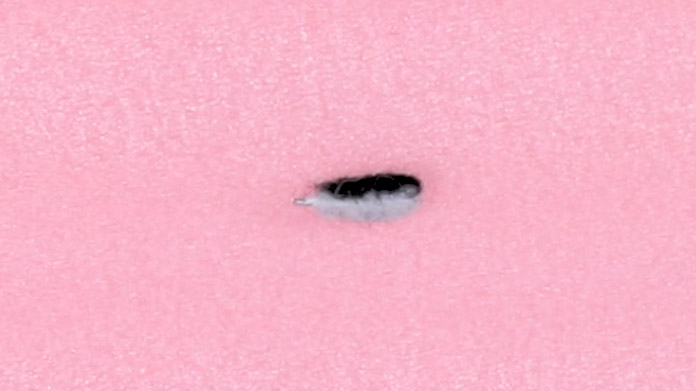
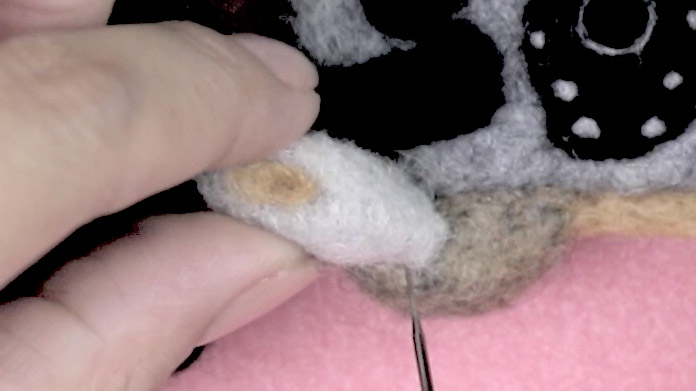
Make the rear fender.
-

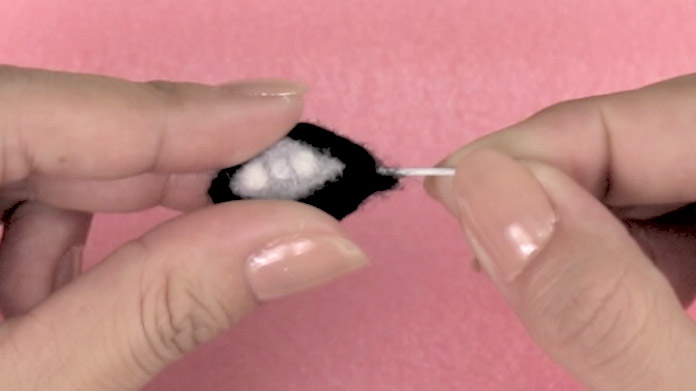
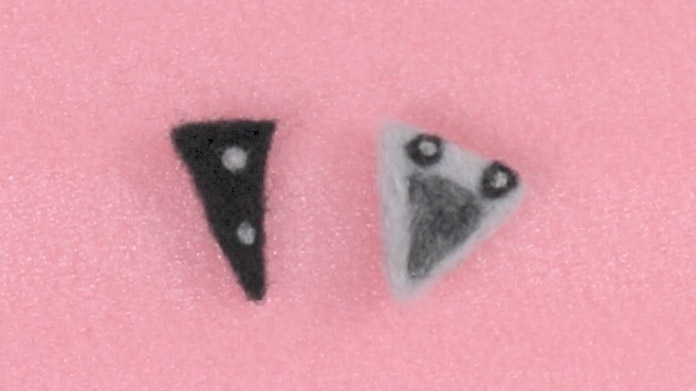
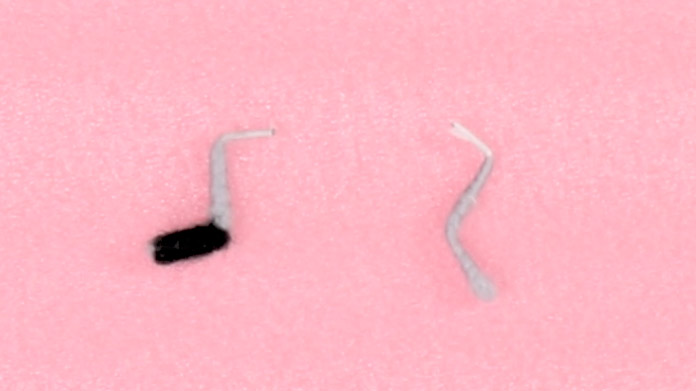
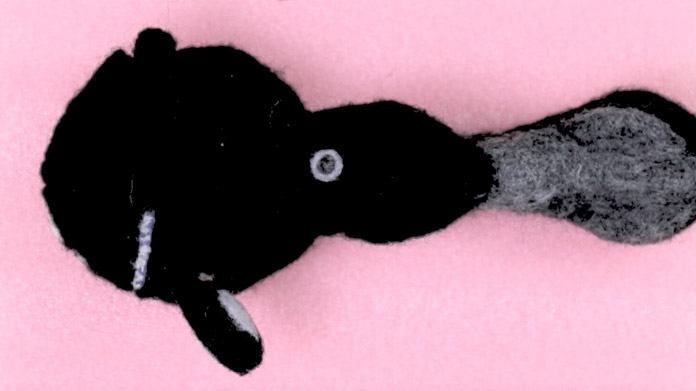
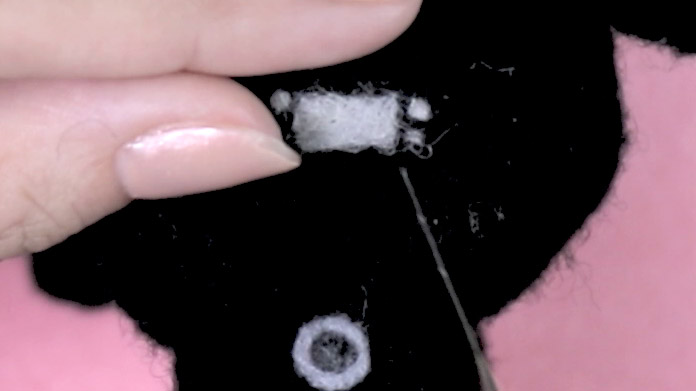
Make the light unit.
-
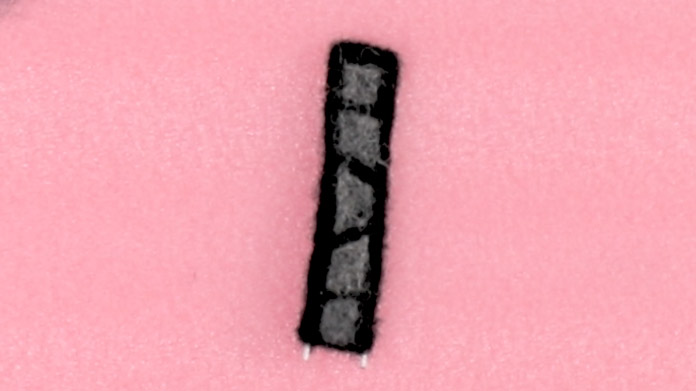
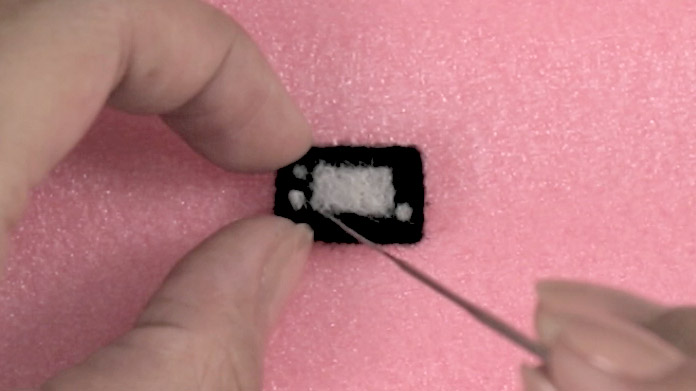
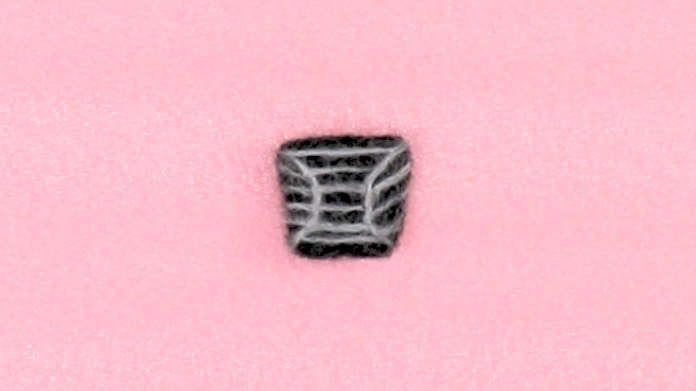
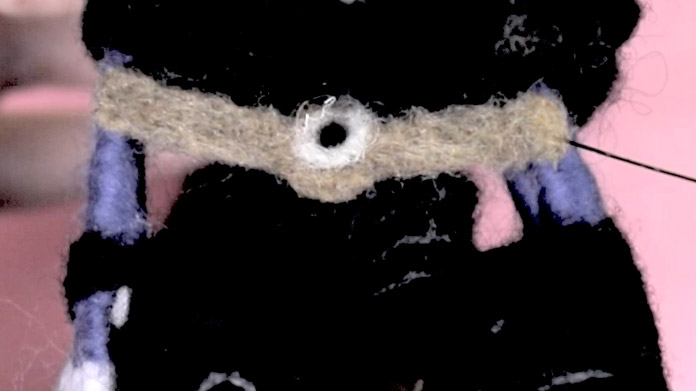
Make the stays.
Make two of these -
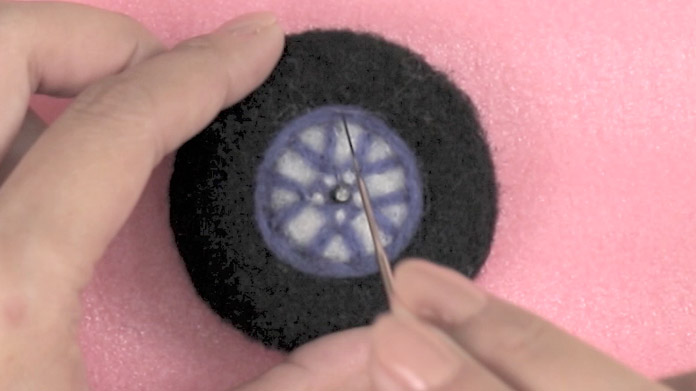
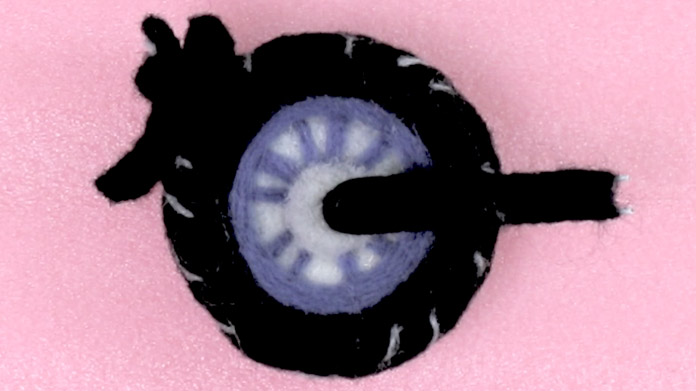
Poke a 1.5cm diameter, 0.5cm high white circle on the left side of the rear tire.
-
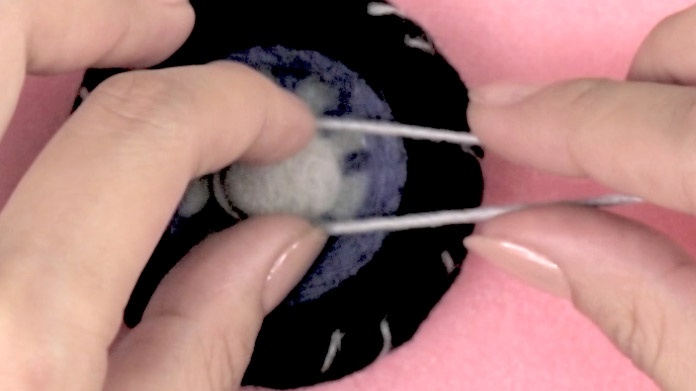
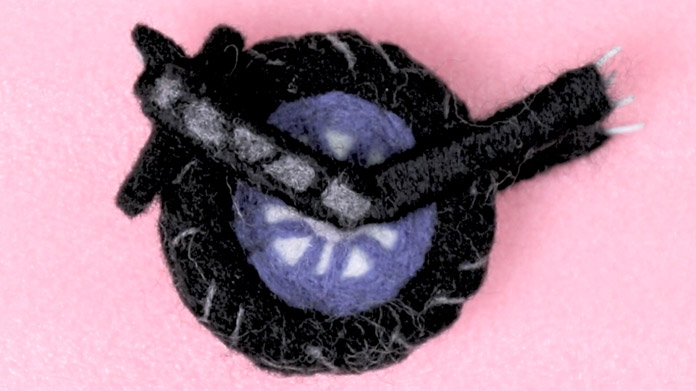
Bend the chain to fit around the white circle.
-
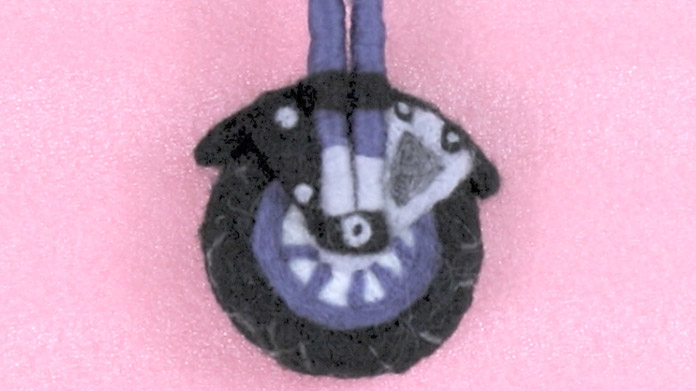
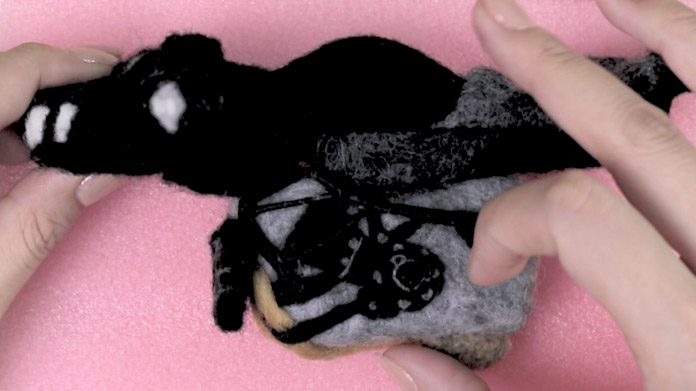
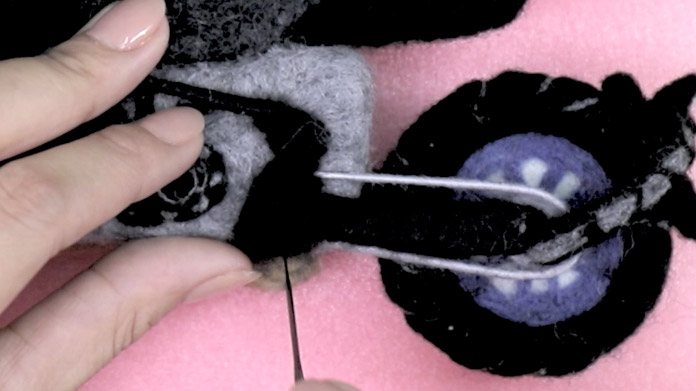
Attach the swing arm and the fender + light unit to the rear tire.
-
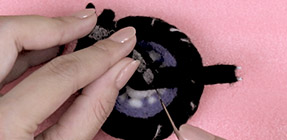
Poke the stays on to the rear tire to fix.
6 Assembly
-

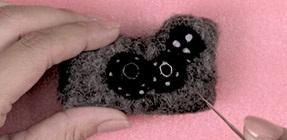
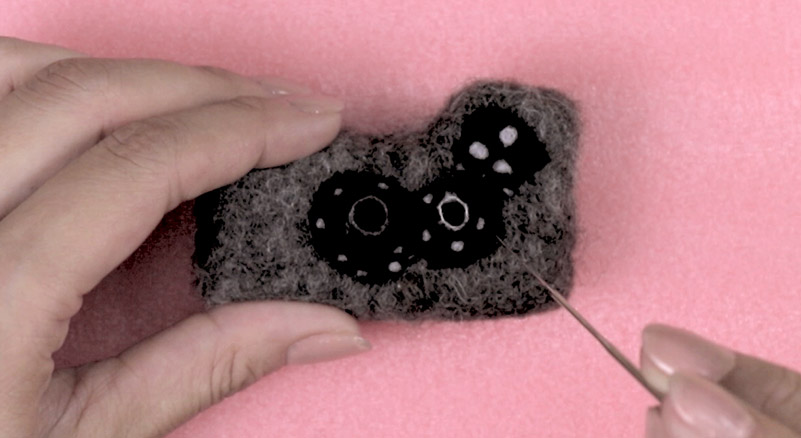
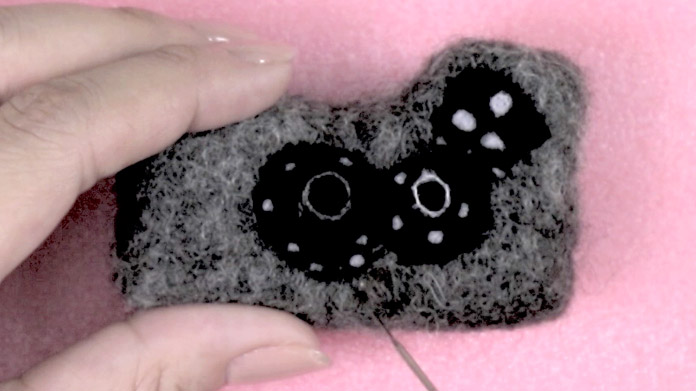
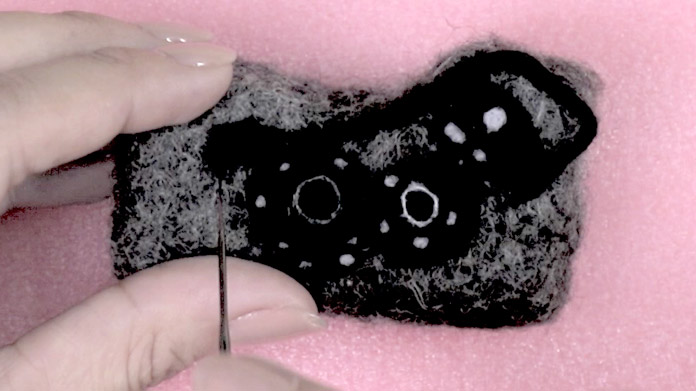
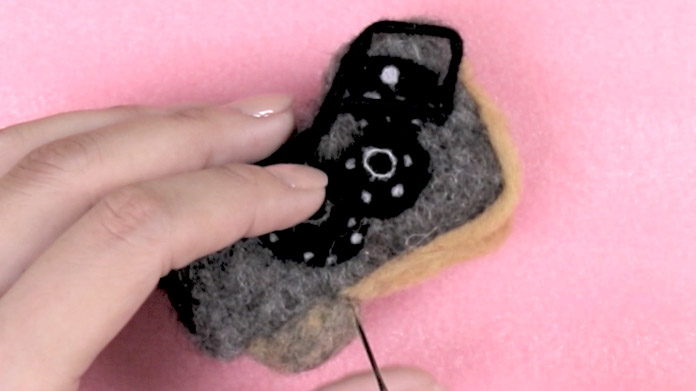
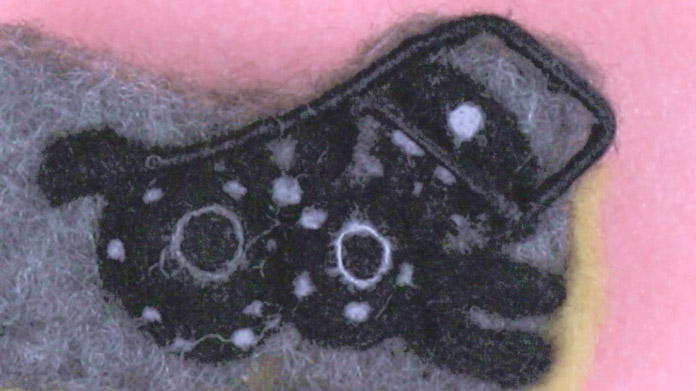
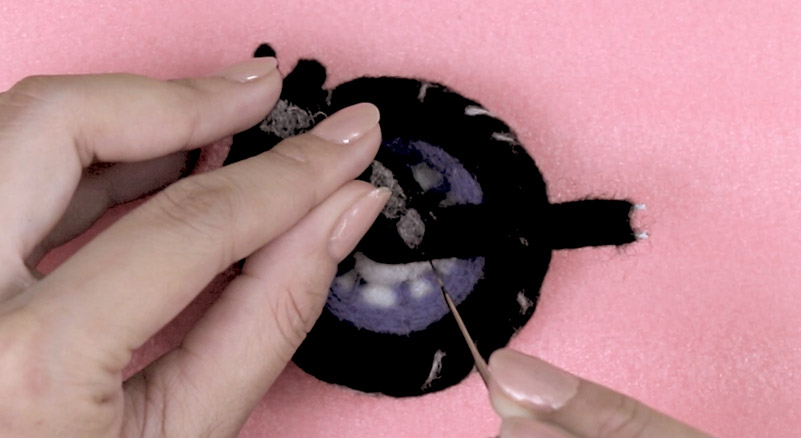
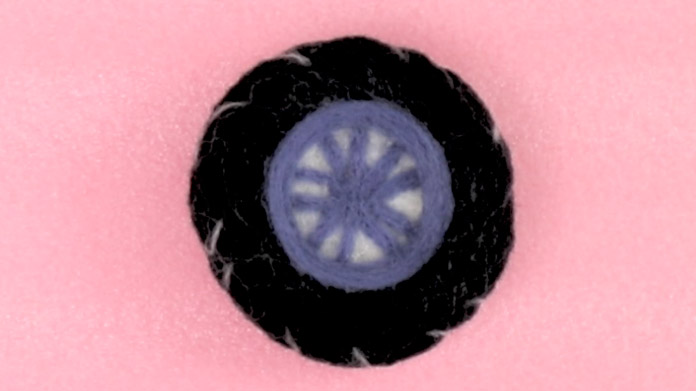
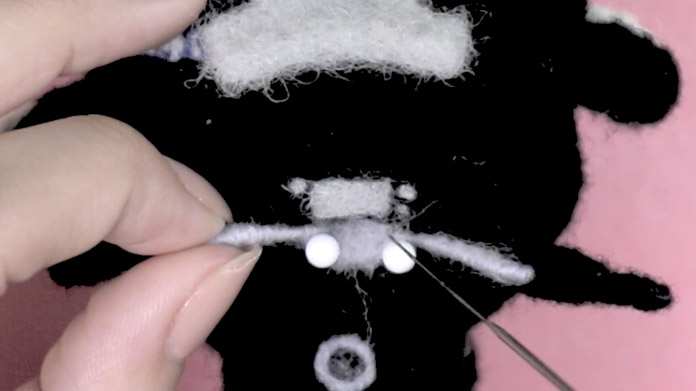
Poke grey wool into the side cover.
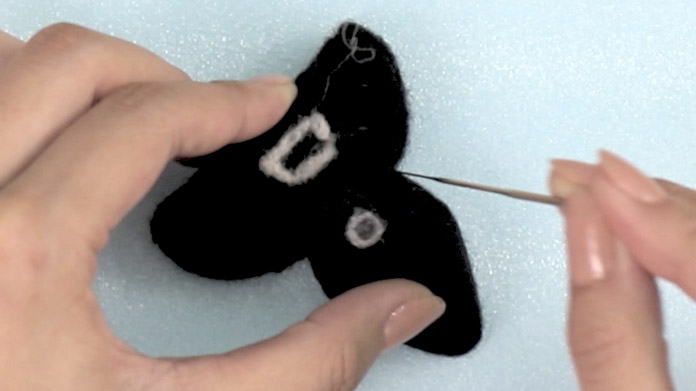
-
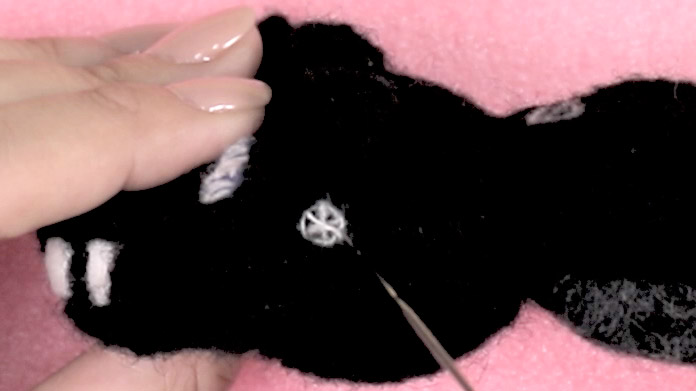
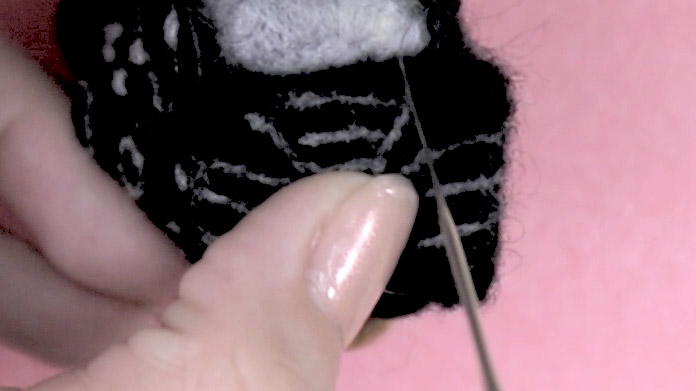
Embroider the emblem.
-
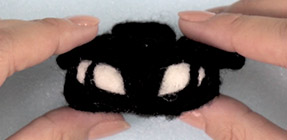
Insert the mirrors / flasher lights into the front cowling and poke with the needle.
-
Poke the radiator onto the front of the engine part.
-
Poke the engine part onto the bottom of the front part.
-
Attach the rear tire and the chain to the engine part.
-

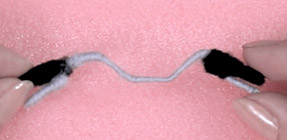
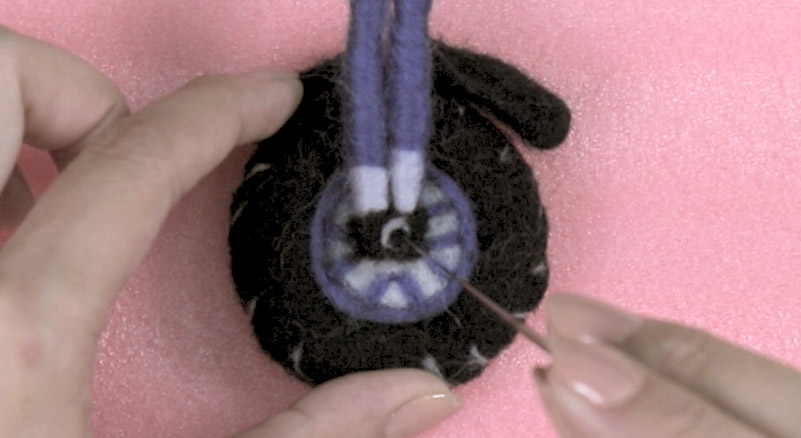
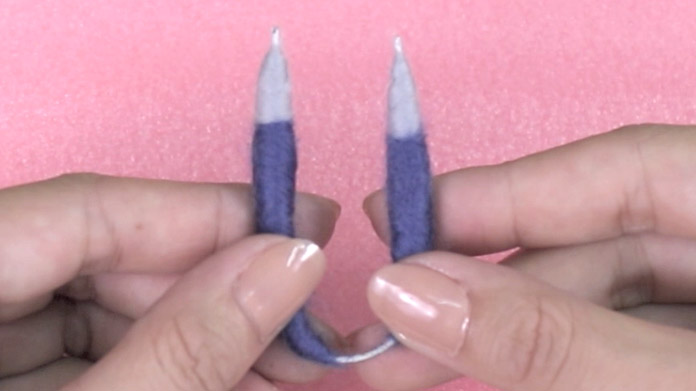
Pin the front forks to the front cowling, check balance and fix with wool.
-
Poke the arm between the two front forks.
-
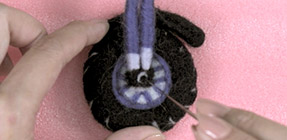
Poke the meter onto the front cowling.
-
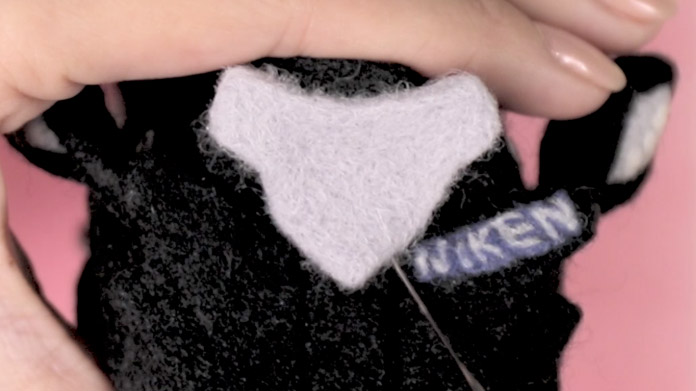
Poke the windshield onto the front cowling.
-
Poke the muffler onto the right-side exhaust.
-
Attach the bracket, footrest and brake pedal.
-
Pin the handlebars below the meter and attach with grey wool in the centre.
-
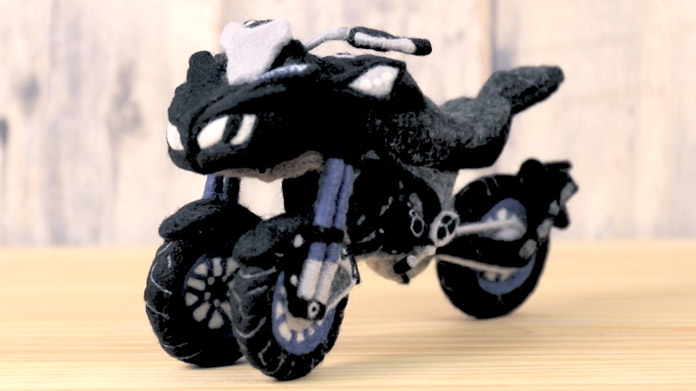
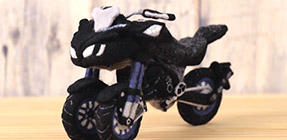
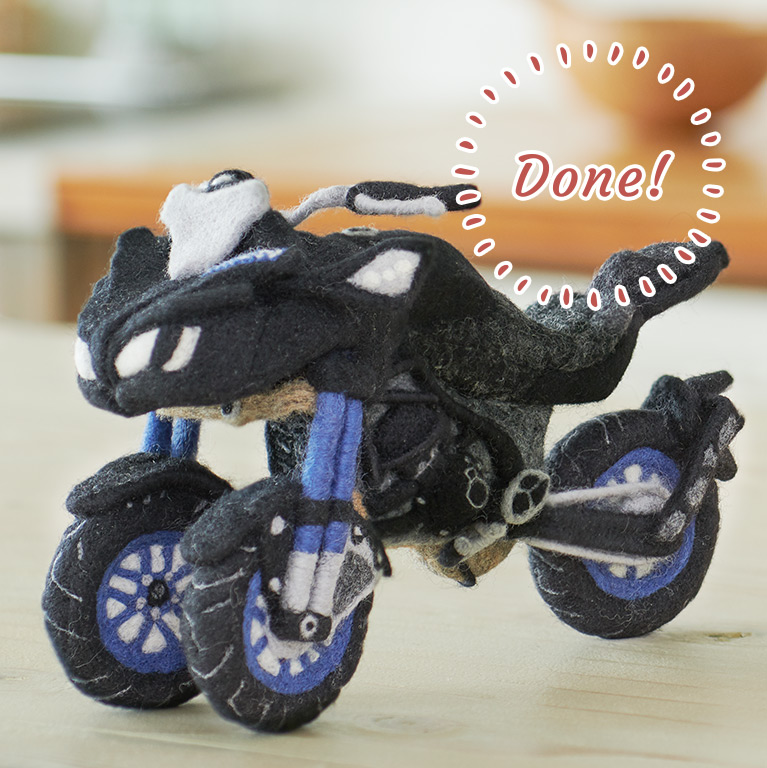
Done!

Official social media gallery -
Send in pictures of your work!
Let us post the work you have created using the how-to guide on this site on the official Yamaha Motor amigurumi / needle felting account on Instagram.
Just fill in the required fields on the posting page and upload photos of your work. We are looking forward to seeing them.
Terms of use
These contents are operated by Yahama Motor Co., Ltd. and are provided free of charge with the premise that they will be used in the pursuit of hobbies by individuals.
Please read the terms of use of the website before use. We hope you enjoy these contents.>Terms of use