E-Vino how-to guide
Retro pop scooter E-Vino in amigurumi. Here we present the how-to guide, amigurumi pattern and videos.


Let’s try making E-Vino by amigurumi!
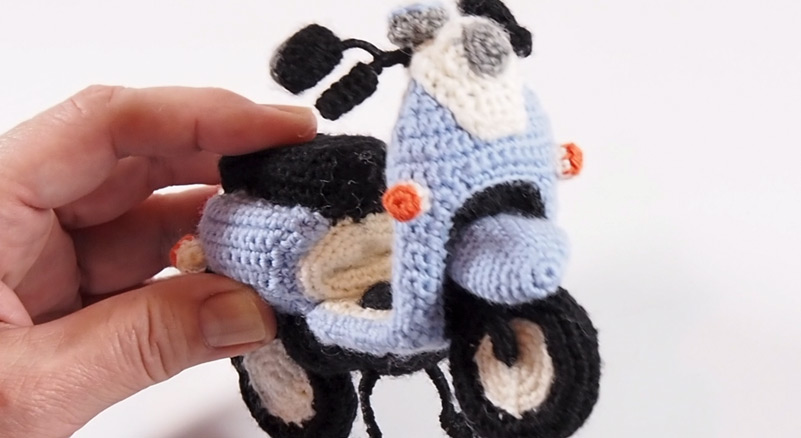
We have reproduced the electric retro pop scooter E-Vino in amigurumi.
Here we present the how-to guide with amigurumi pattern and videos for the amigurumi E-Vino.
The different colours for the orange and light blue versions are designated in the patterns.
Follow the how-to guide and try it out!

Tools and materials such as wool
Prepare the following colours in order to make your E-Vino. Wool thickness is light.
-
●Wool used for the orange version
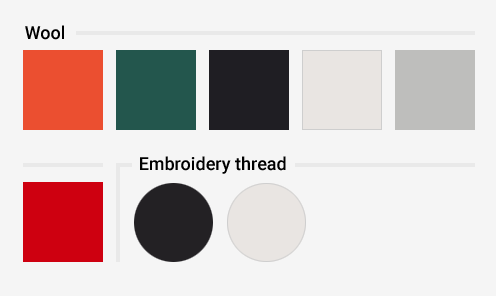
-
●Wool used for the light blue version
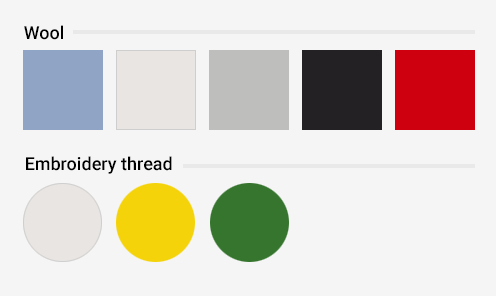
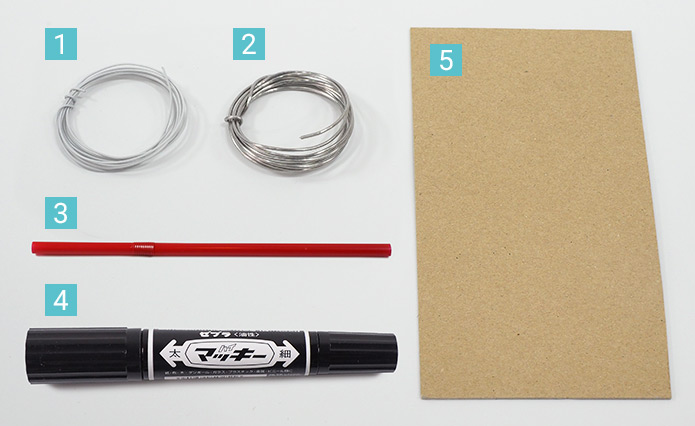
●Other materials (for both colours)
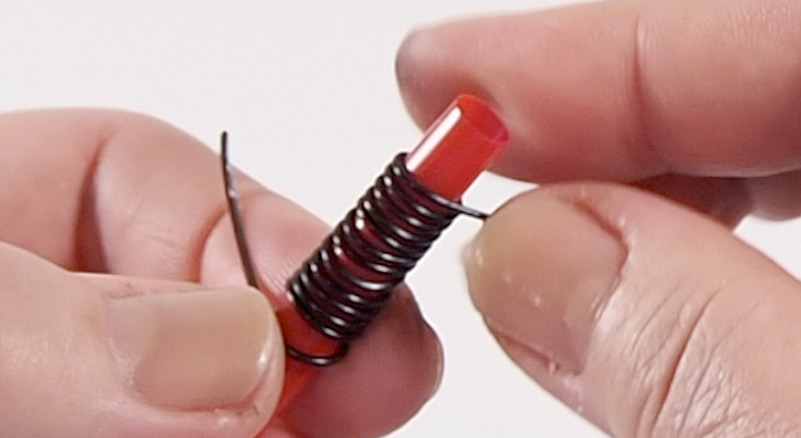
[1] Wire (thin; less than 1mm diameter) [2] Wire (around 1mm diameter) [3] Straw [4] Black permanent marker [5] Cardboard (handicraft paper) + Stuffing
Tools required
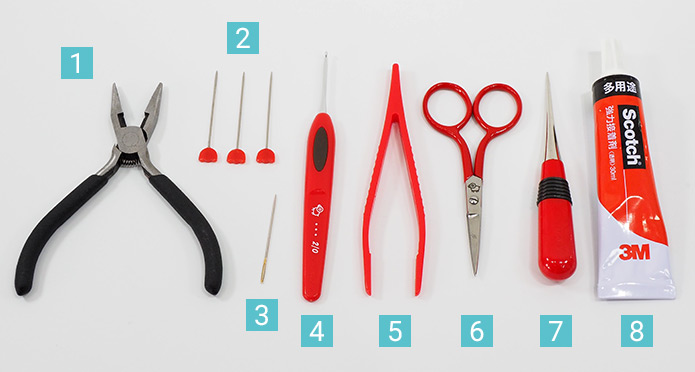
Please prepare the following tools to make your E-vino.
[1] Pliers [2] Pins [3] Wool needle [4] Crochet hook 2/0 [5] Tweezers [6] Scissors [7] Dot punch [8] Glue
E-Vino amigurumi pattern
You can download the E-Vino amigurumi pattern free of charge in PDF format. It gives you instructions on how to knit as well as on what colours to use.
The orange and light blue versions are the same shape with different colours. The colours of wool that are required are different so please refer to the pattern for instructions.

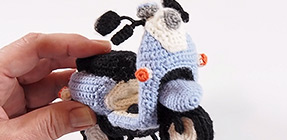
We present the how-to guide for the light blue version.
The orange and light blue versions are the same shape with different colours but they are made in the same way. The video shows you how to make the light blue version. If you are making the orange version, check the colour designations on the pattern.
Basic amigurumi information is available on the Guide to successful amigurumi even for beginners (basic course) page. Take a look at this course first before attempting the E-Vino.

Please refer to the following diagram for the names of the parts of the E-Vino.

[1] Mirror [2] Meter [3] Headlight [4] Body Cowl [5] Flasher Light [6] Front Fender [7] Front Fork [8] Tire [9] Lower Cover [10] Stand [11] Frame [12] Tire [13] Motor [14] Suspension [15] Rear Fender [16] Flasher Light [17] Side Cover [18] Tail Light [19] Seat [20] Underseat storage [21] Step Mat [22] Leg Shield [23] Handlebars

Once you have prepared everything, you can finally get on with making your E-Vino!

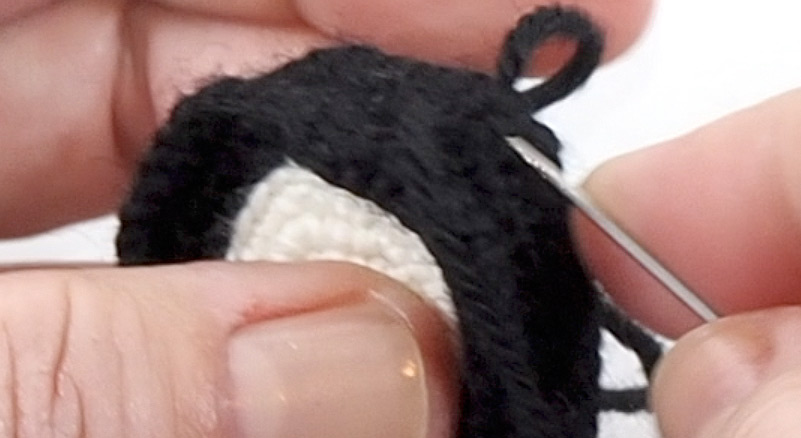
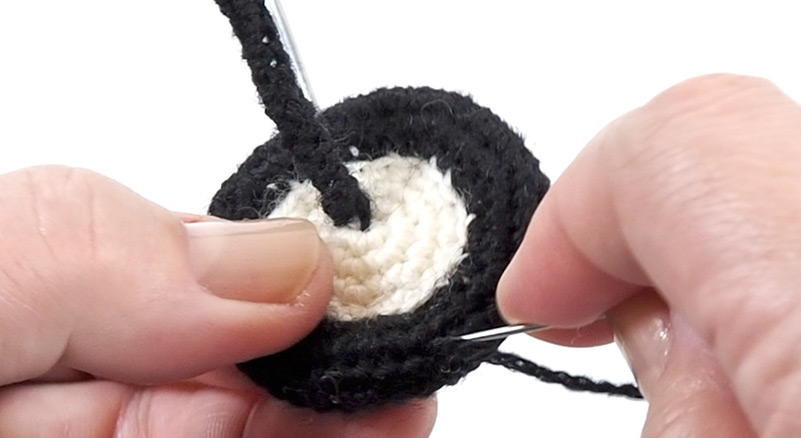
1 Tire
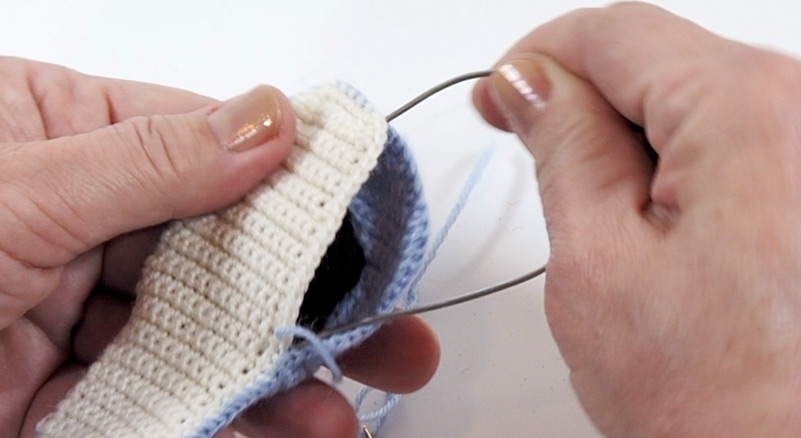
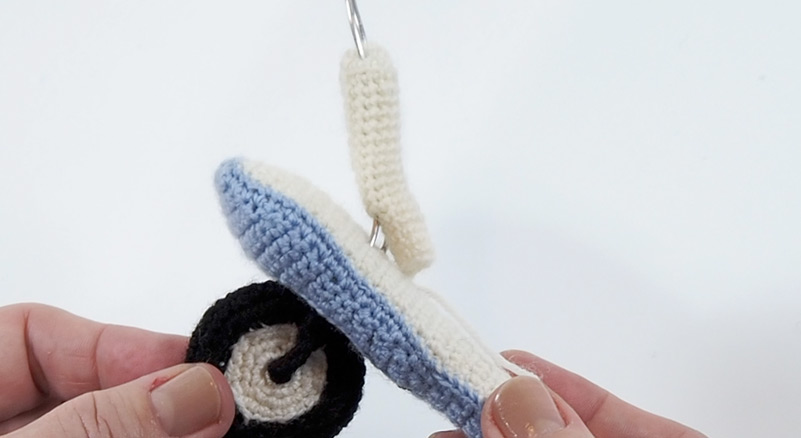
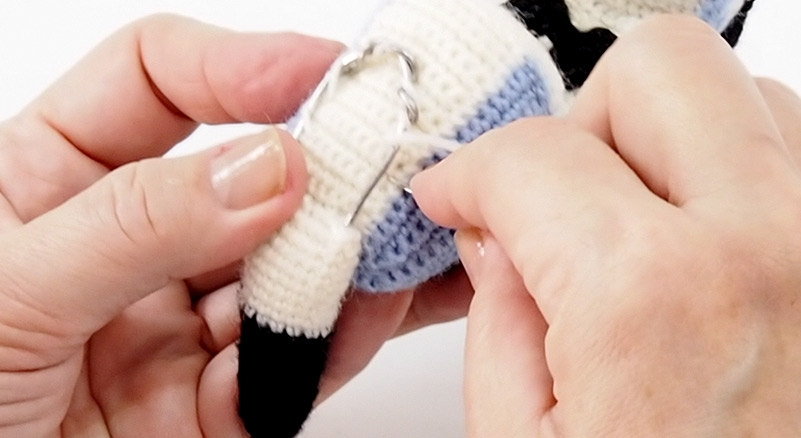
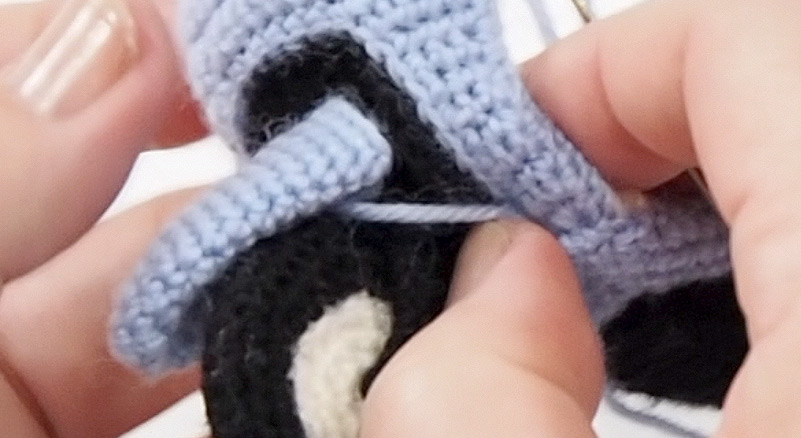
2 Front Fork
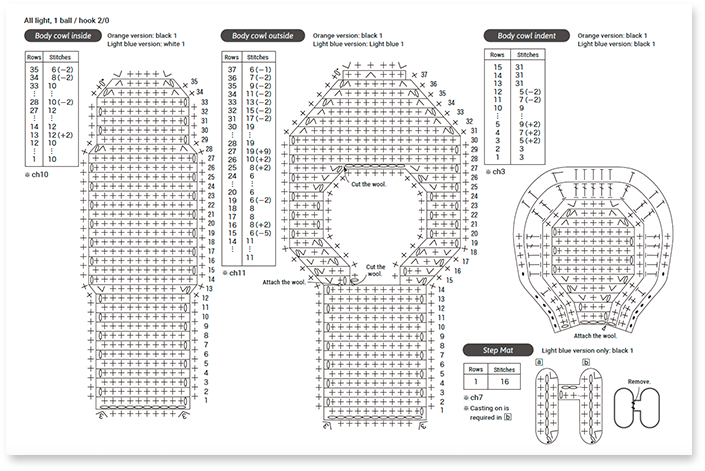
3 Body Cowl
4 Leg Shield
5 Mirrors
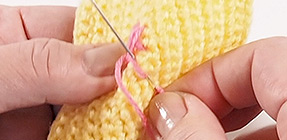
6 Step Mat (Light blue version)
7 Frame
8 Underseat storage
9 Lower Covers

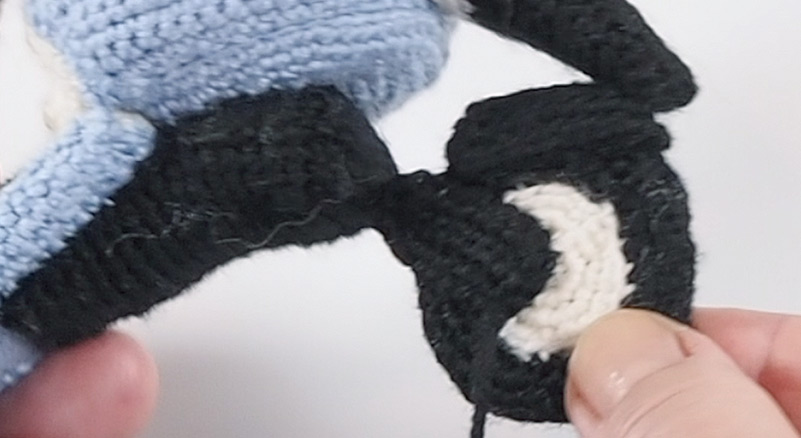
10 Rear Fender
11 Seat

12 Side Cover
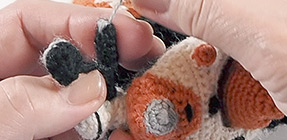
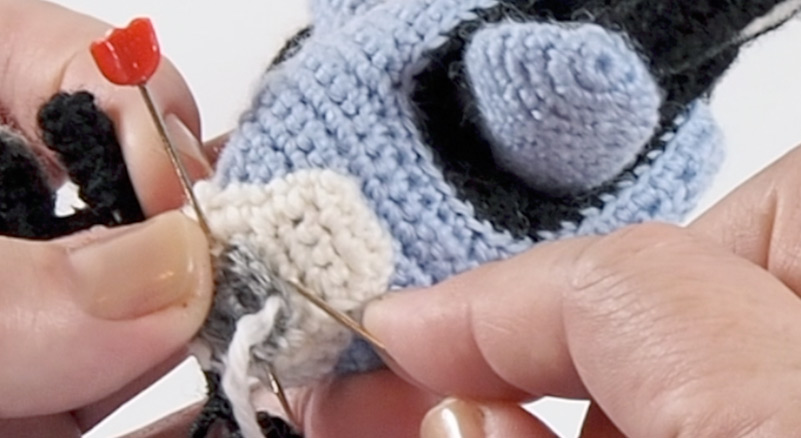
13 Front Fender
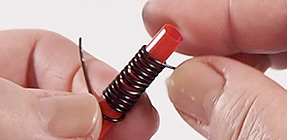
14 Headlight
15 Rear Tire, Rear Tire Cover, Motor
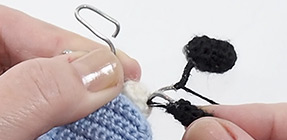
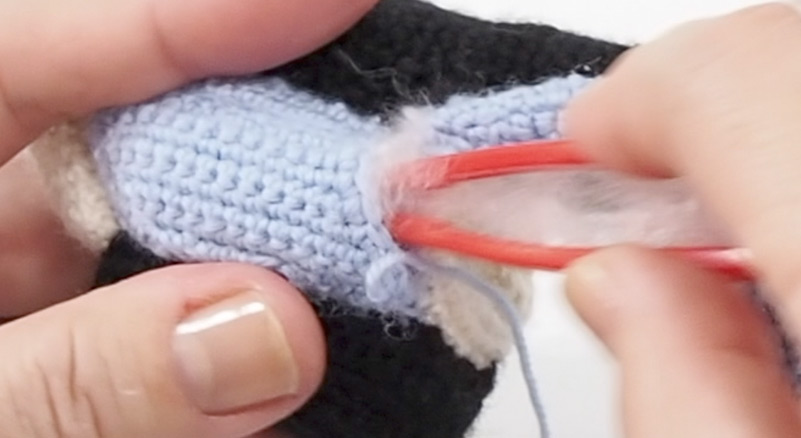
16 Suspension
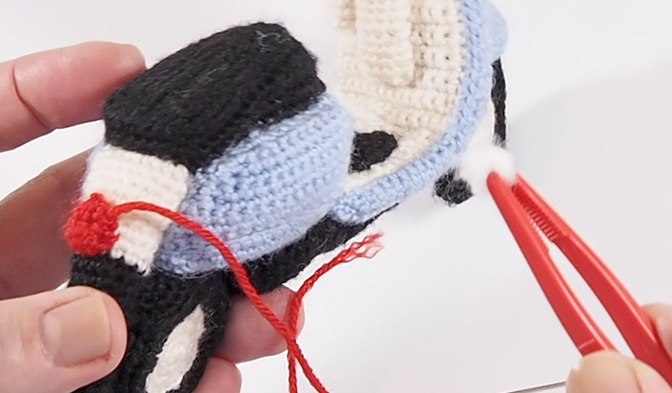
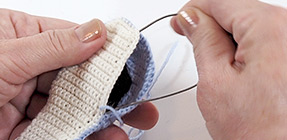
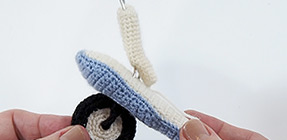
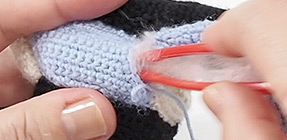
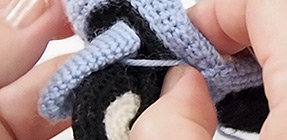
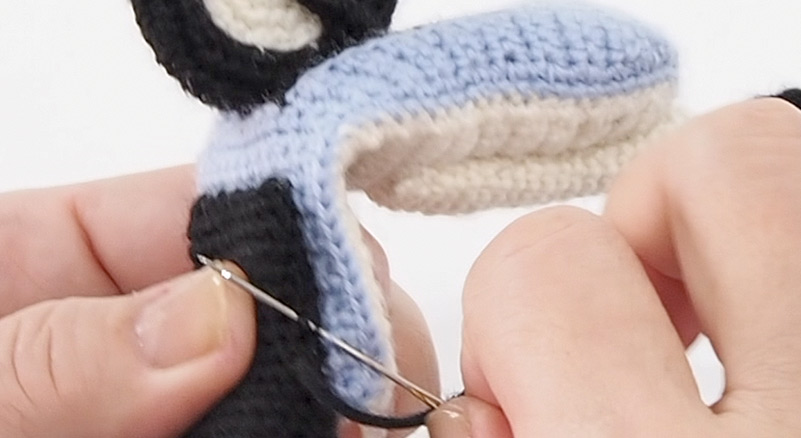
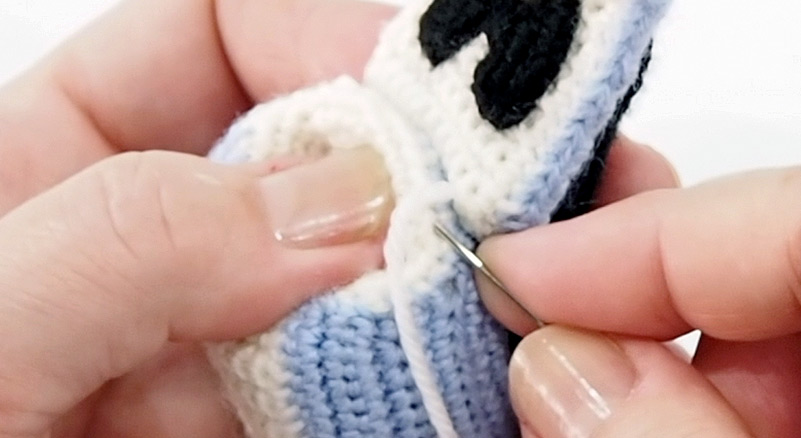
17 Finishing Touches
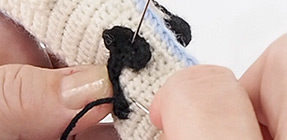
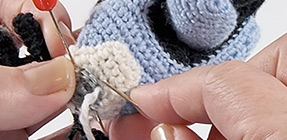
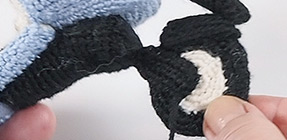
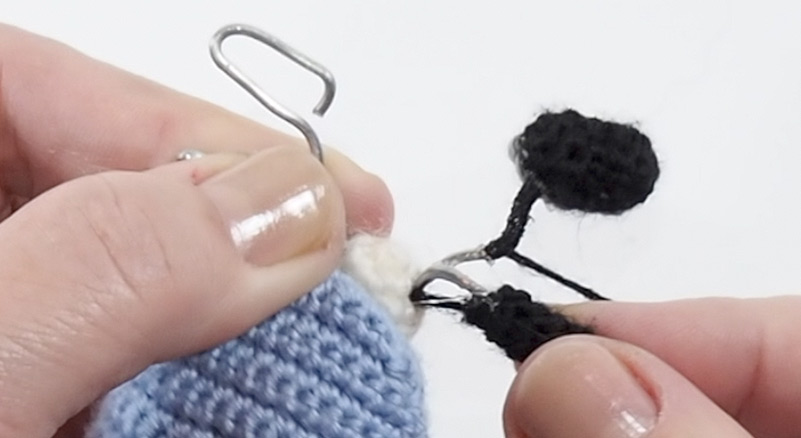
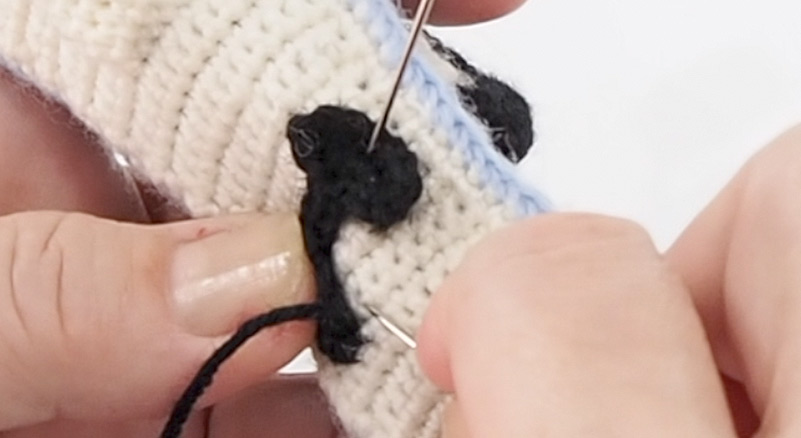
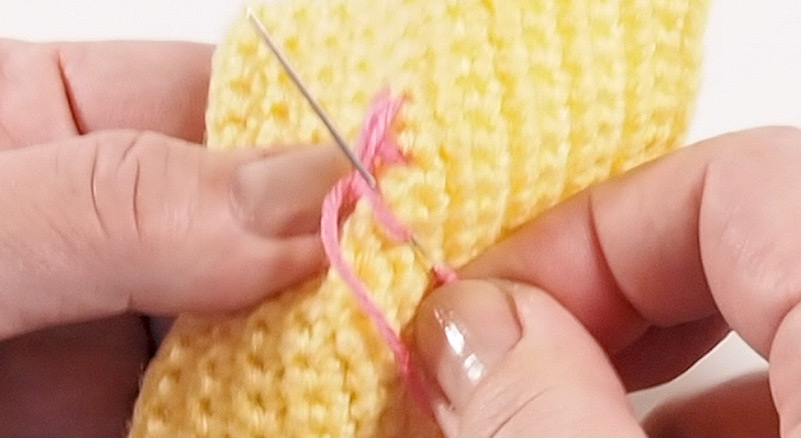
18 Embroidery
19 End of the Grip (Orange version)


Official social media gallery -
Send in pictures of your work!
Let us post the work you have created using the how-to guide on this site on the official Yamaha Motor amigurumi / needle felting account on Instagram.
Just fill in the required fields on the posting page and upload photos of your work. We are looking forward to seeing them.
Terms of use
These contents are operated by Yahama Motor Co., Ltd. and are provided free of charge with the premise that they will be used in the pursuit of hobbies by individuals.
Please read the terms of use of the website before use. We hope you enjoy these contents.>Terms of use