Non-Contact 3D Measurement of Cores for High Dimensional Accuracy
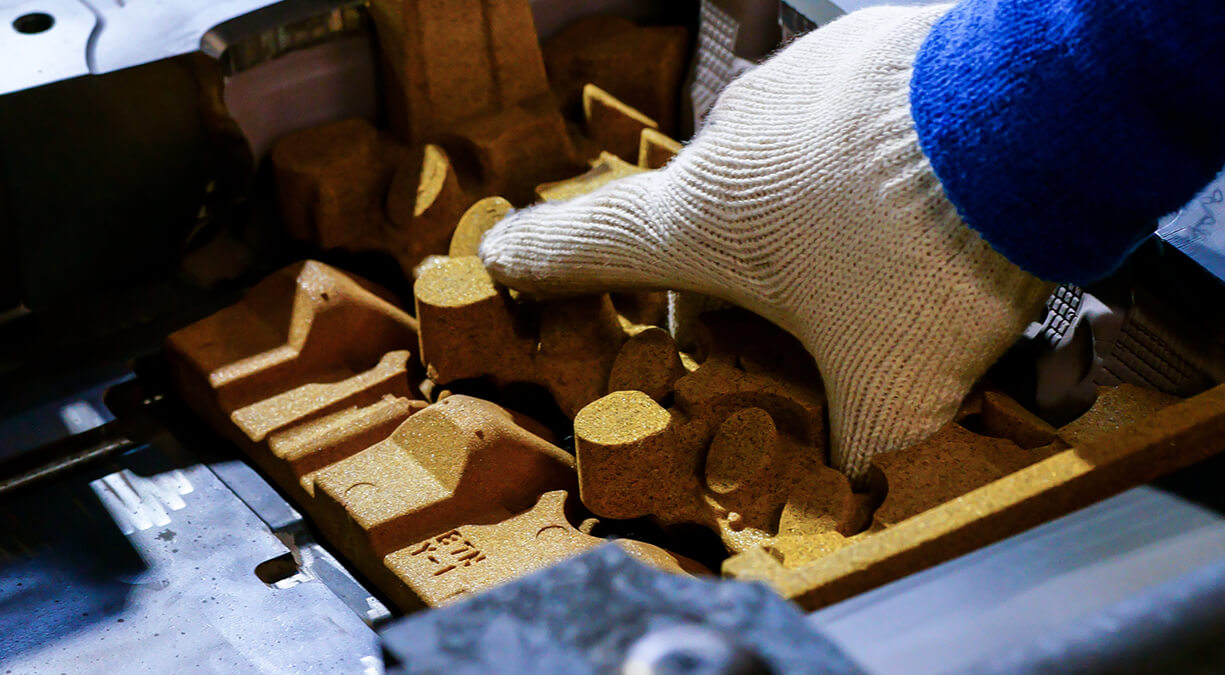
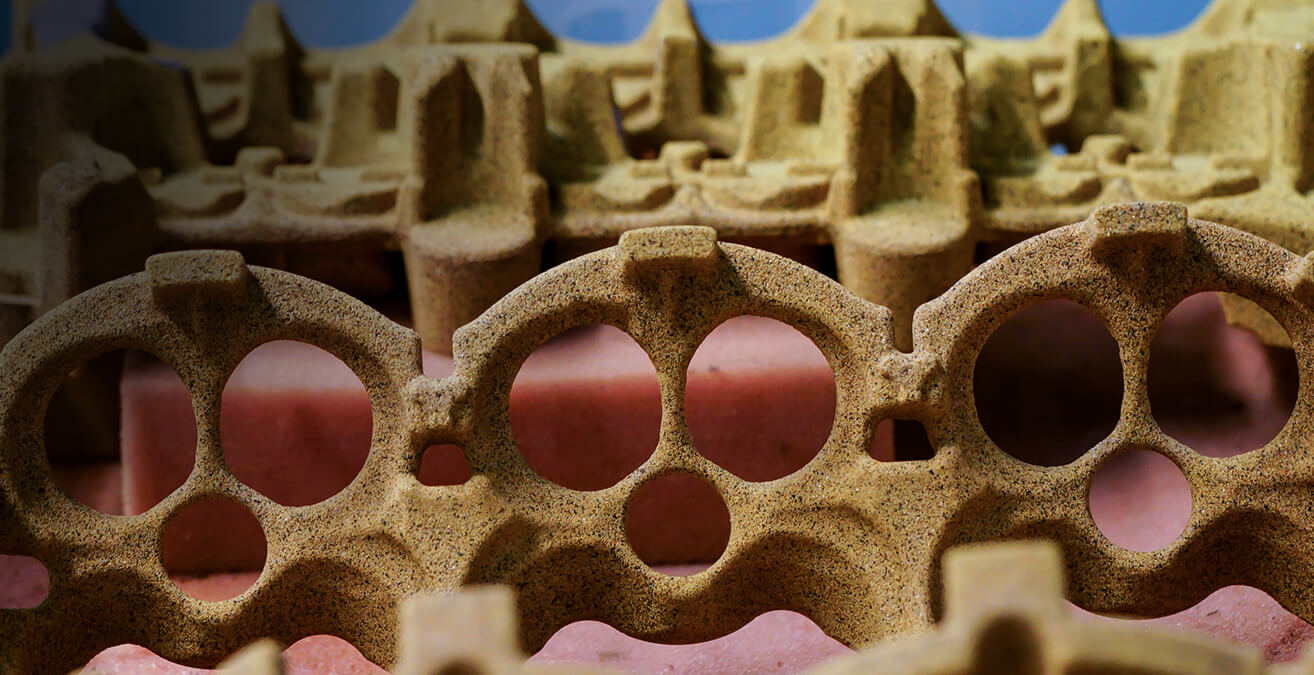
When making a casting that requires a hollow portion, like a bell for example, a structure made primarily of packed sand is used in the casting process. Called a “core,” this is set inside the mold and the casting process begins. After the casting has cooled, the sand core is removed, leaving behind the hollow space it was designed to create.
Although cores play a critical role in the casting process and directly influence the quality as well as performance of the final piece, said final piece bears no sign that the cores ever existed—they are “disappearing parts.” Thanks to a newly devised measurement method, the complex shapes of the multiple cores employed for casting the MT-09’s cylinder head are being measured with even greater accuracy to ensure consistent casting precision.
Are Two Checkpoints Really Enough?
Keeping cylinder head temperatures in check has taken on greater importance in recent years to improve fuel efficiency as well as ensure an engine clears exhaust emissions standards. To that end, the passageways comprising the cylinder head’s water jacket for circulating coolant have become more complex, and thus the cores used to produce these hollow passages now require levels of precision greater than ever before.
Previously, the dimensional precision of the passageways was ensured with two pivotal “checkpoints.” First is measuring the core boxes used to create the cores themselves, and the second is a full CT scan inspection of each and every finished cast product once the core has been removed. However, some questioned if just these two checkpoints were really enough.
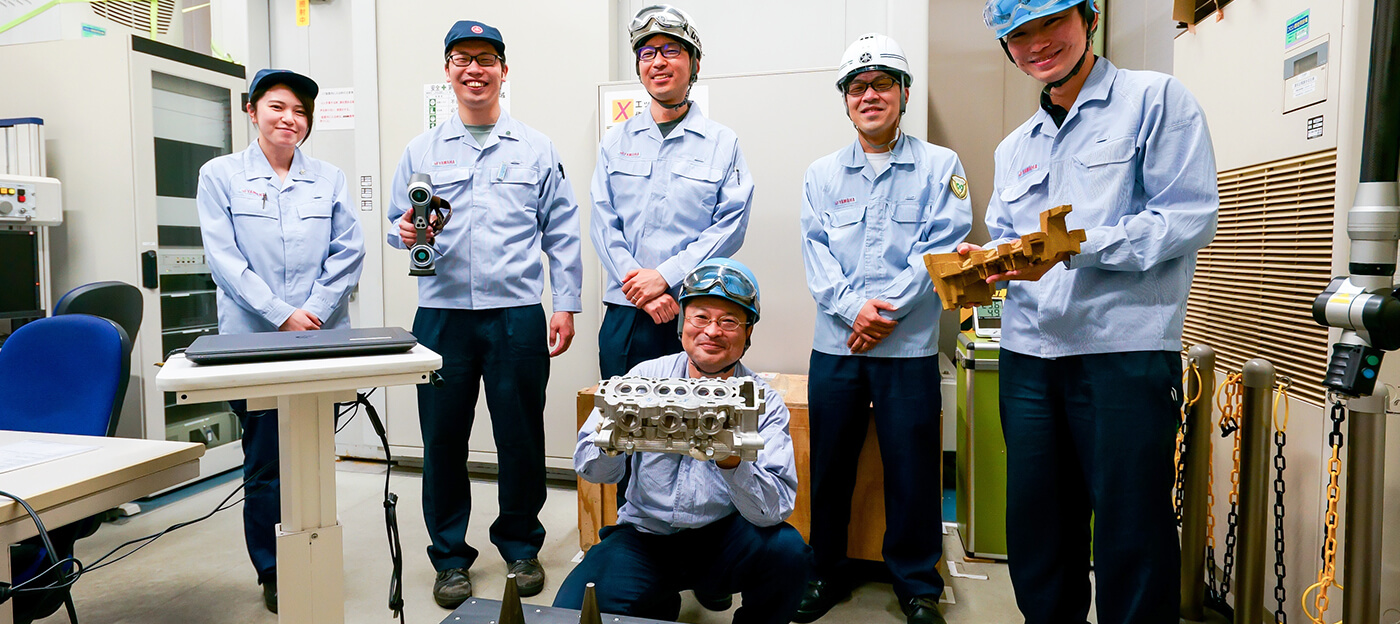
It was one young engineer that joined Yamaha just three years ago: “Since the MT-09 is a triple, the cylinder head design requires long cores and there are some concerns about their arcs. So, shouldn’t we measure the core itself as part of a three-stage inspection process to really ensure precision?”
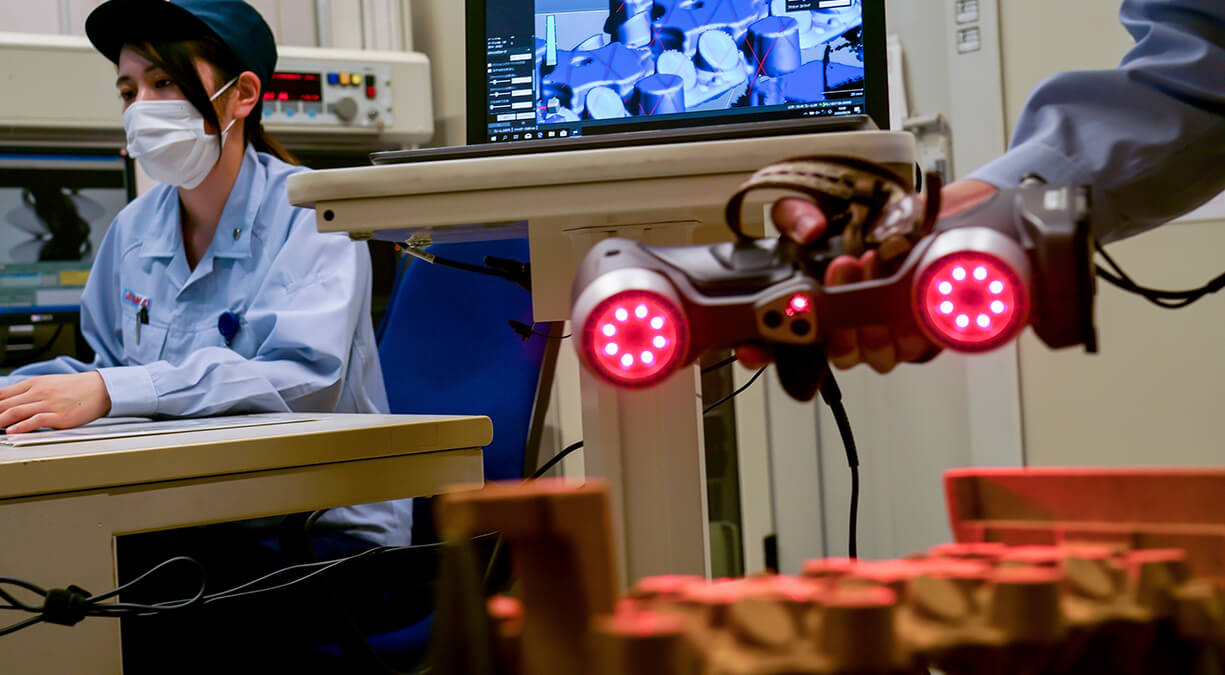
Before, cores were measured using a needle to trace the outline of the core’s surface, but because the shapes had become so complex, there were places the needle simply couldn’t reach. On top of that, the process is incredibly time-consuming, so it was also impractical to measure every part produced. But there was still the desire to measure the core itself, so Yamaha devised a new method using a handy scanner to perform non-contact 3D measurement.

As If They Never Even Existed
As the core rests on an inspection bench, its complex undulations, indents, compound curves and surfaces are illuminated by the red lights of the scanner. The information is converted into 3D data and the core gradually emerges on the adjacent monitor. What the screen also shows is the core’s original 3D data designed to serve as the comparison criteria for everything. The two images are overlayed for comparison, and should there be a misalignment somewhere in the dimensions, they appear as different shades of color to show the operator where they exist.
“Molds deform,” says one engineer. “If we notice even the slightest deformation, we have to immediately make adjustments to return it to the original dimensions. This is because the core’s dimensional accuracy can be the difference between a product clearing or failing to meet emissions standards.”
This is exactly why Yamaha felt it was imperative to precisely measure the core’s dimensions in its entirety, and the brainstorming sessions and discussions to devise a measurement procedure to do that in a short time came from the bottom up.
However, cores are “disappearing parts” that vanish before the casting is complete and removed. Their breathtaking precision and beauty go largely unseen and unadmired. Even the owners of the new MT-09 will neither see nor touch them. The fact that they disappear and nothing out of the ordinary happens and nothing stays in the back of the mind of the rider is perhaps the only—and greatest—proof of their precision construction.

New Measuring Techniques Stimulate Development
“Measuring equipment and data processing technology advances rapidly,” says the young engineer. “Within the span of just a day, there’s the possibility of a new and improved measuring method being born somewhere. But at this moment in time, I can say with confidence that the work we’re doing would be highly respected by anybody in the industry.”
These measurements are not done just as a process for evaluating a complete part and ensuring quality; it is a technical field with forward-looking possibilities waiting to be discovered. Further development of core measuring techniques may eventually lead to freeing engineers of design constraints.
If these engineers can rest assured that Yamaha’s manufacturing specialists have their backs and can guarantee excellent quality and precision for whatever complex lines they come up with, they can focus purely on pursuing design for quality and performance. “Our job is not merely making parts that conform to the design drawings,” says the young engineer that developed this new measuring procedure. “Making more improvements to the technology along the way is what really drives the spirit of a developer and that’s how we want to be at Yamaha.”


