Realizing quality that satisfies Quantity x Quality x Labor-saving: SMT solution
Here is a SMT solution you can experience in quality control work by adopting Yamaha’s SMT equipment.

Speed solution

Minimizing defects that happen during processing
If your processes are generating a lot of defective products, ordinarily you might need to offset this risk with measures such as producing a few extra units to satisfy required quantities.
Yamaha’s 1 STOP SMART SOLUTION can help you minimize defects that occur during production processes.
 Using pre-reflow inspection to prevent defects happening in large quantities
Customers are increasingly adopting pre-reflow inspections to achieve better quality.
Pre-reflow inspection can detect sequential defects before solder solidifies, preventing large quantities of defective products from arising after reflow.
Example: When flux blurs characters, making them undetectable during post-reflow inspection
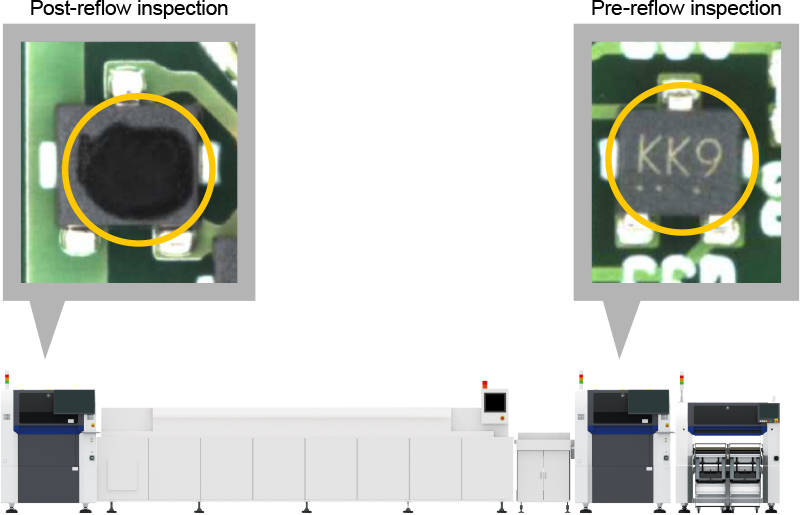
Automatic defect detection before reflow enables you to automate first article checking, reduce repair work processes, and lower the cost of disposal losses
Polarity inspection and character inspection before reflow reduces incorrect evaluation by the inspection system, improving the non-adjusted ratio.
Identifying the causes of defects further prevents faulty processes and improves quality throughout all processes
 Linking the inspection system and mounter to prevent defects

When you find a defect, surveying the process and its source is a tiresome task.
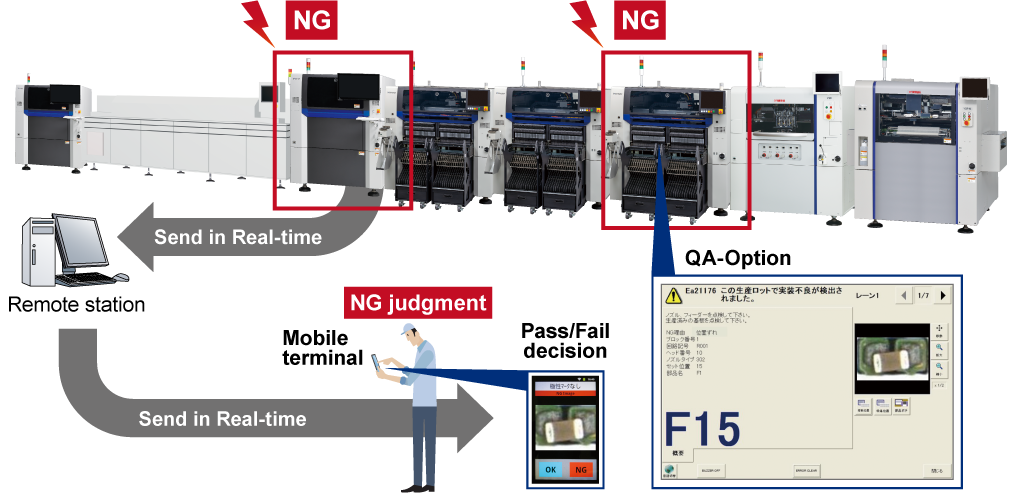
Because Yamaha links the mounter and AOI, if a defect is detected, the mounter that generated it is instantly stopped, preventing more defects down the line and helping you identify why the defect occurred.
QA Option

Quality solution

High-performance PCB inspection with advanced repeatability
For SMT production sites, defects seeping into later processes that leak to customers and the market can become an excruciating problem.
To avoid this problem, Yamaha’s inspection systems provide advanced repeated inspection features to minimize the chance of defects leaving your factory floor.
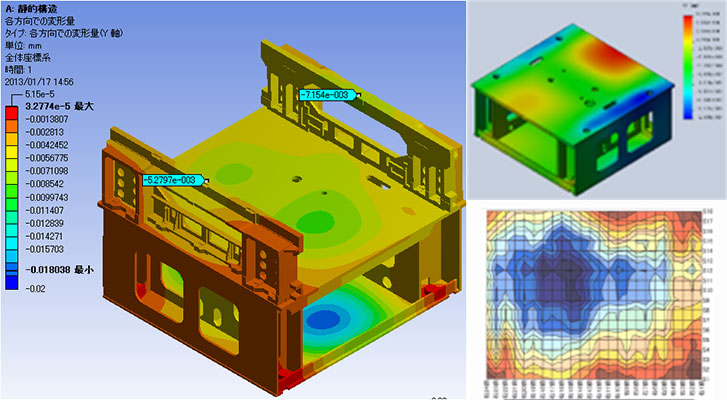
 Inspection system with a robust mounter frame design
Mounters can mount components precisely at super high-speeds, with over 10 nozzles just a few microns apart.
What underpins this ability is the frame that supports the mounter.
Capitalizing on our strength as a mounter manufacturer, Yamaha uses robust frames in inspection systems too, achieving one of the highest inspection accuracies in the industry.
Robust frame
 Multi-functional inspection systems that suit a diverse range of SMT PCBs
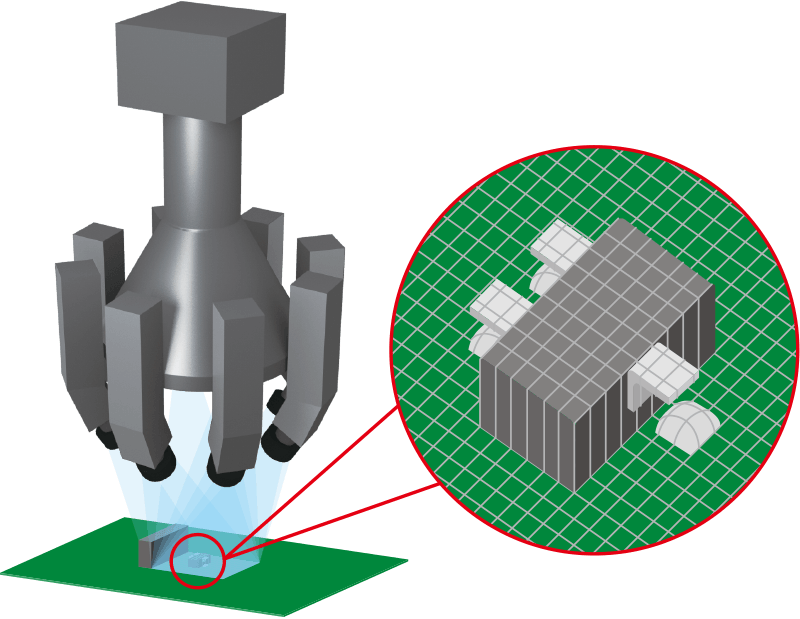
Yamaha AOI features multi-functional capabilities that can accommodate PCBs that are hard to inspect three-dimensionally, such as tall components and wafer components. SPI also offers the advantage of inspecting not just solder but also glue, rendering it fit for use in various situations to prevent defects from leaving your production floor.
8-way projector (AOI)
Coaxial lighting (AOI)

Character inspection (AOI)

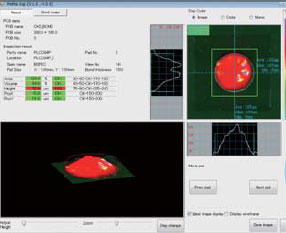
Bond inspection
 High-speed, high-resolution inspection
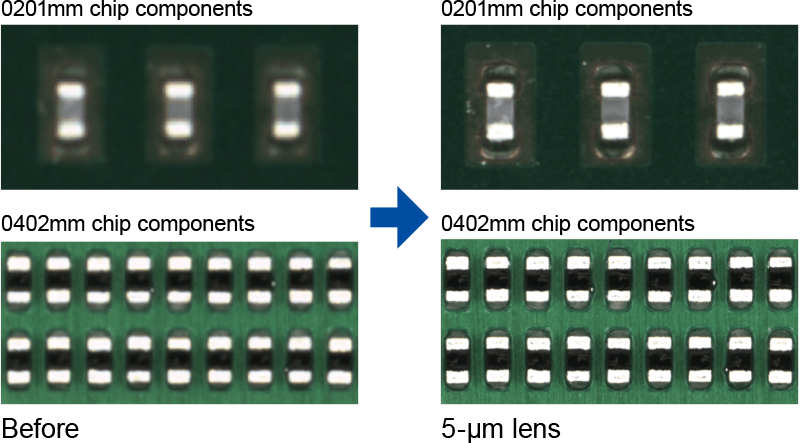
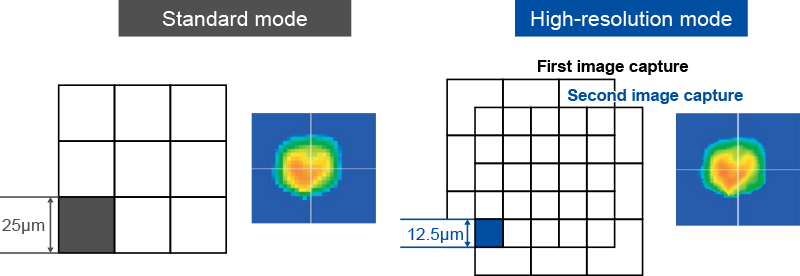
For accurate inspection, obtaining high-resolution images is critical.
Yamaha realizes accurate inspection with a technology that emulates high resolution by using a 5-µm super-high-resolution lens and taking shots multiple times.
5-µm super-high-resolution lens (AOI)
Super-resolution technology (SPI)
Resource solution

Analyzing the causes of defects
When defects occur, the key point is to respond appropriately to prevent them from happening again.
1 STOP SMART SOLUTION enables you to take efficient and effective steps to put these measures in place.
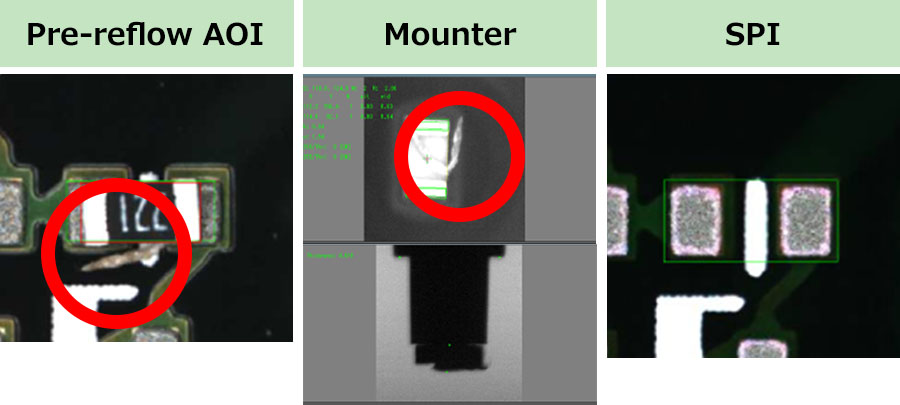
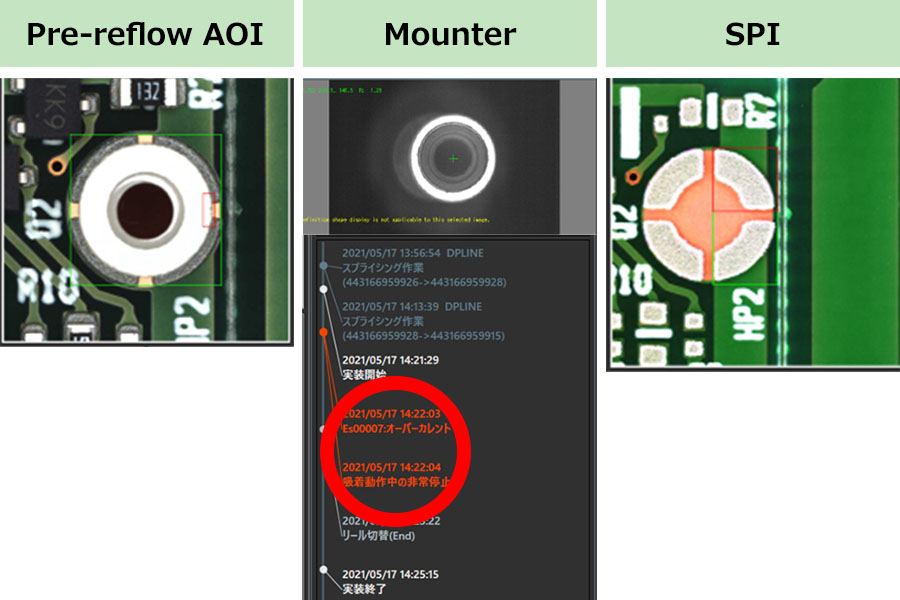
 Identifying the cause of a defects by comparing images from each process

When defective PCBs were found after reflow, production has been hard to improve because it has been difficult to identify which process was responsible.
To speed up improvement, 1 STOP SMART SOLUTION can compare images from all processes and identify which process started to show defects.
Process Correlation

[Example of identifying the source of a defect]
Foreign object found on components
[Cause]
The cause was the foreign object sticking to the components from the beginning.
[Measure]
Feed back the finding to the component manufacturer
[不良発生原因特定事例]
部品の表裏反転が発生
[Cause]
The defect was identified to have happened when the reel was switched.Failed splicing was the cause.
[Measure]
Training conducted again on splicing.
 Identifying the cause of defects from data

To help you identify the cause of defects, 1 STOP SMART SOLUTION enables you to identify relationships between machines from copious volumes of log data output from the machines. One example is the amount of solder decreasing when the rolling radius between the SPI and printer becomes smaller.
Analysing Dashboard

Related contents
- Product
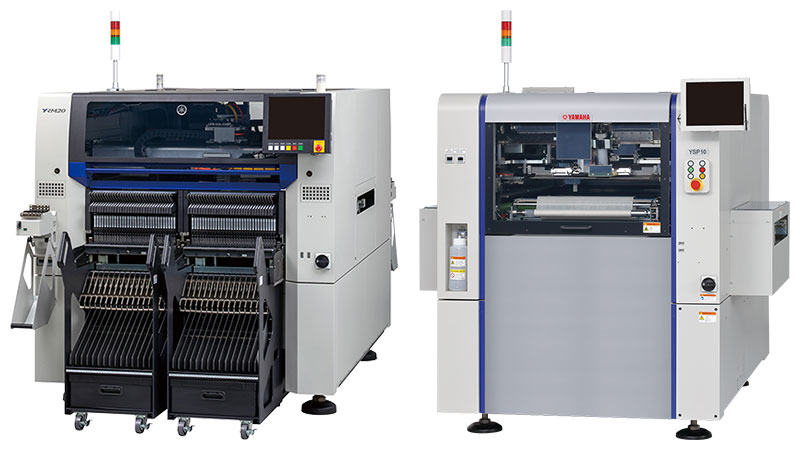
- Introduce our product lineup, including surface mounters, solder printers, and visual inspection machines.

- Intelligent Factory
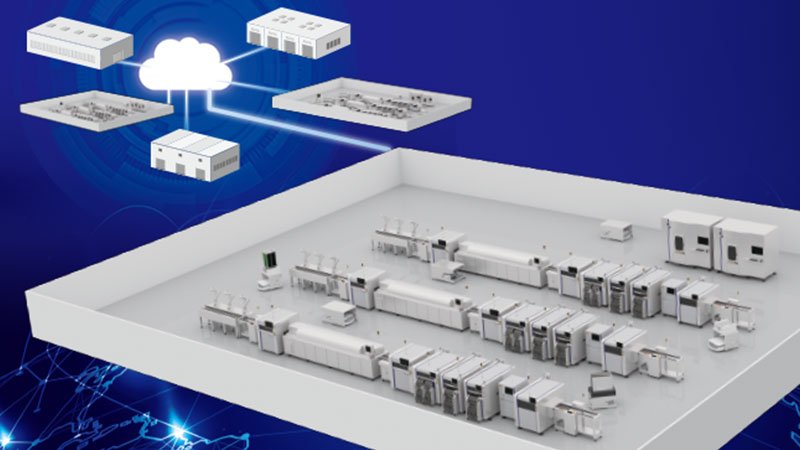
- IoT/M2M Integration system - System allows linking our SMT machines to equipment made by other companies and give all-around high productivity in the mounting process.
- Showroom
- Find and explore SMT Smart Showroom or Virtual Showroom

- Model Lineup
- The following showcases our lineup of models that solve customers' issues.