Rugby ball how-to guide
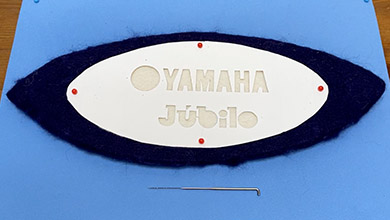
The Yamaha Motor Jubilo Official Mascot Ball in needle felting. We have made how-to videos and patterns.


Let’s try making a life-size rugby ball by needle felting.
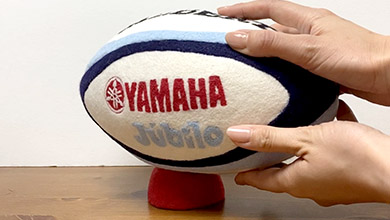
We made a life-size Rugby Top League The Yamaha Motor Jubilo Official Mascot Ball with needle felting.
We have made a how-to guide for a realistic reproduction of a rugby ball with needle felting.
Watch the videos that show the pattern and how to make it to challenge yourself to make the rugby ball.

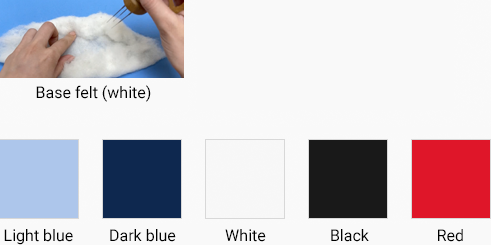
Wool
You will need white base felt and the following colours of slivers in order to make the ball.

Tools you will need

In addition to the tools introduced in the guide to successful felting even for beginners, you will need to following tools to make the rugby ball.
[1] Cutting mat [2] Precision cutter [3] Punching needle (with at least two needles) [4] Measuring tape [5] Short pins [6] Pins [7] Scissors
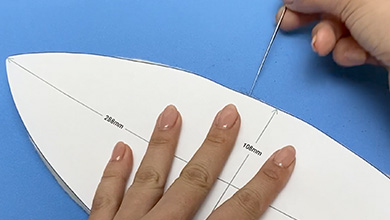
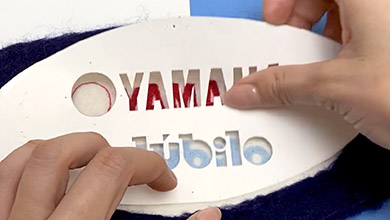
Pattern
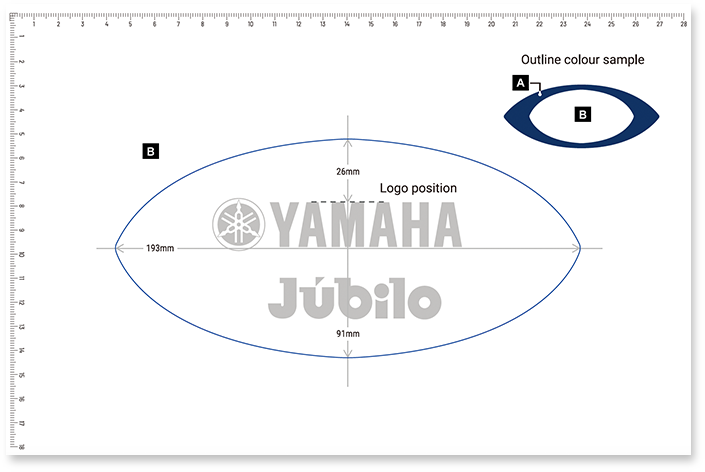
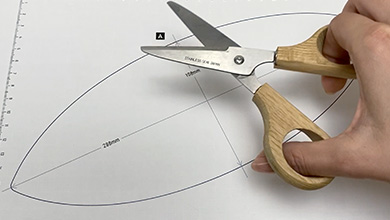
In order to make each part, match the shape and size to the pattern. We have provided the pattern in a PDF file so please download and print it for use.
When printing out, adjust the printing method to get the correct measurements by checking the scale on the paper with a ruler.

Check the finished firmness
The firmness standard for making the rugby ball panels is the same as that for the 1.8cm ball made from 1g of felt as shown in the Guide to successful needle felting even for beginners (basic course) – how to make a felt ball.
If the felting is not firm enough, it may be off-kilter when you assemble it and the ball may fall apart so it is important to poke it firmly and make it hard.
The stuffing portion of the rugby ball does not have to be hard like the panels. See the how-to video for details.

Now that you have prepared everything, let’s get to making the rugby ball!
1 Make the panels
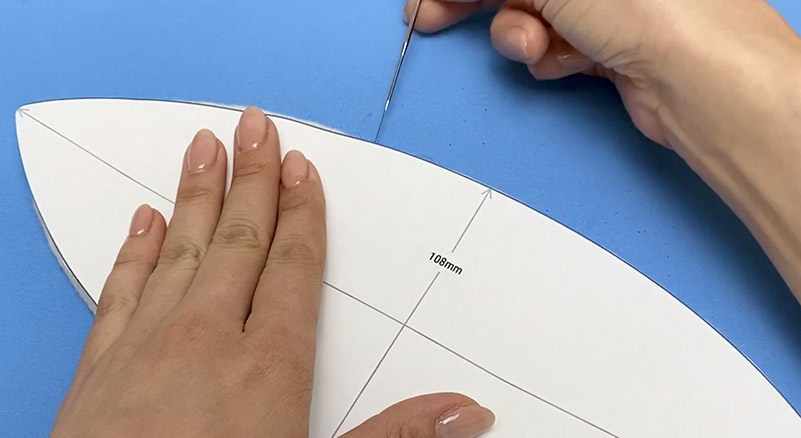
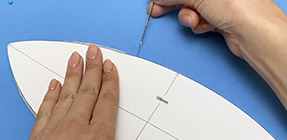
Cut out the pattern.
-
-
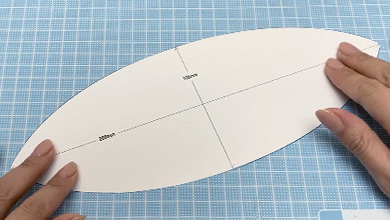
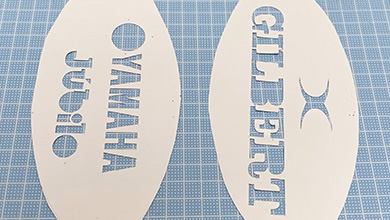
Cut out patterns A, B, C and D with scissors.
-
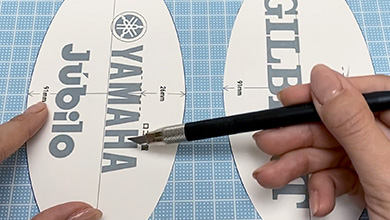
Cut out the letters in patterns B and C with a precision cutter, taking care not to cut yourself.
-
Make pattern A.
-
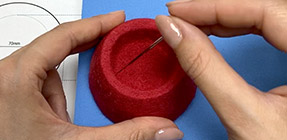
Poke a rough shape with a punching needle.
-
-
Place pattern A on top of the side, apply pressure and poke with a finishing needle.
-
Place white slivers on top and poke the surface with a punching needle.
-

-

Once it has firmed up, use a finishing needle to poke lightly in a shallow manner to smooth out the surface.
Poke the panel outline colours.
-
Fix pattern B in the centre with pins.
-
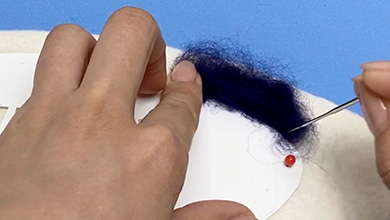
Colour the remaining white part by tearing small dark blue slivers and poke.
-
-
-
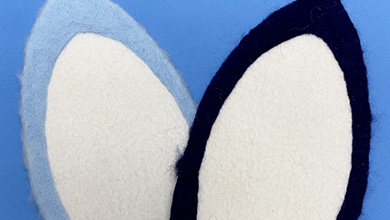
Make 2 panel outlines in light blue and 2 in dark blue.
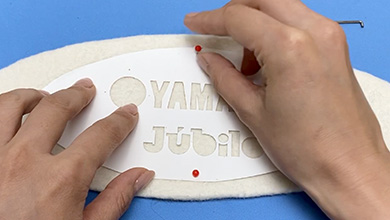
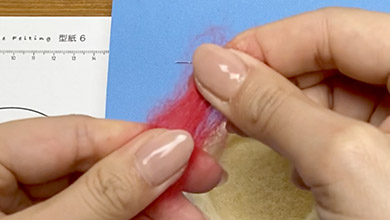
2 Apply the logos
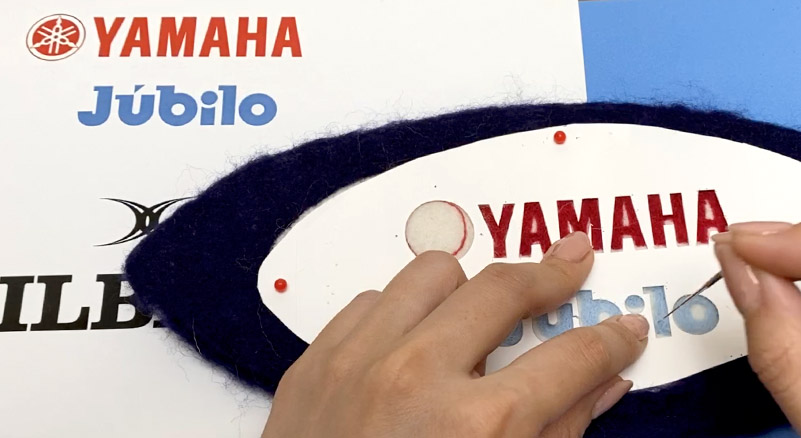
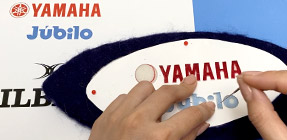
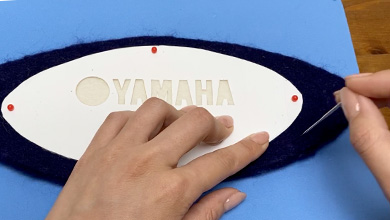
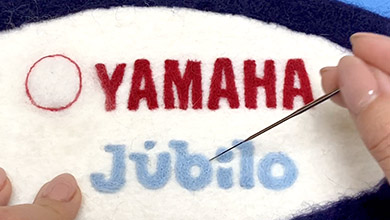
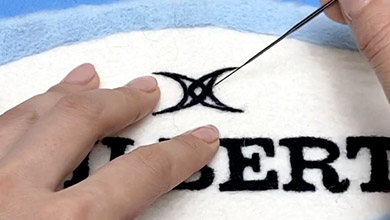
Apply the YAMAHA logo.
-
Line pattern B up with the white area and fix with pins.
-
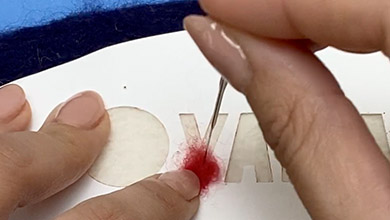
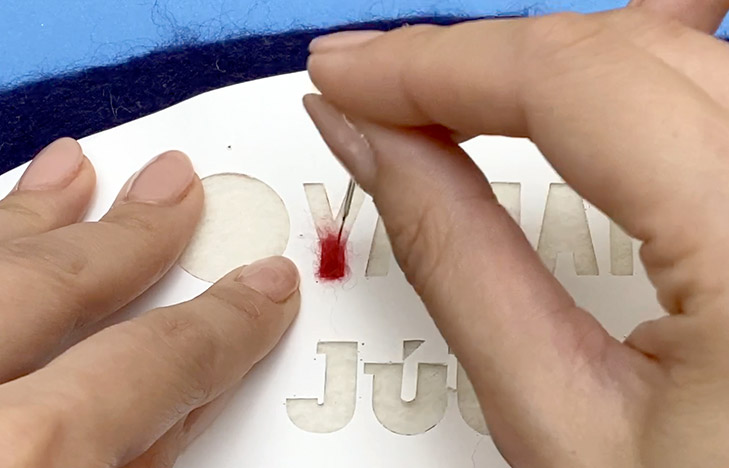
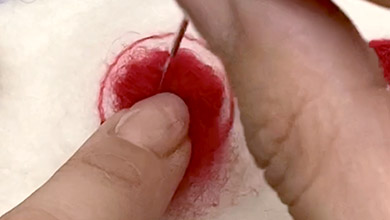
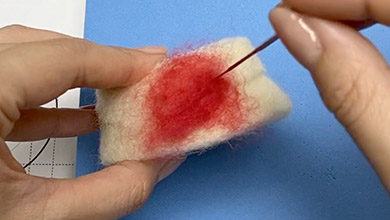
Tear small slivers of red, add little by little to the pattern and poke.
-
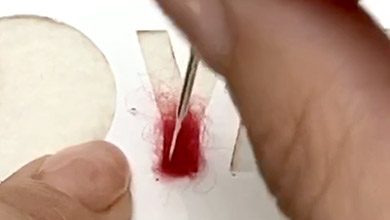
Pay particular attention to the corners in the pattern and poke.
-
Poke the different colours while referring to the pattern.
-
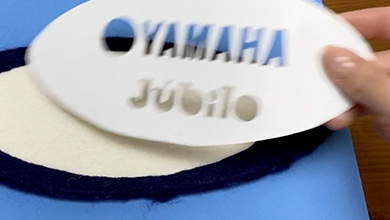
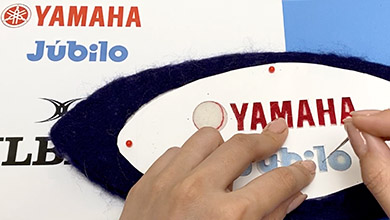
Once both logos have been applied, remove the pattern and tidy up the shapes.
-
-
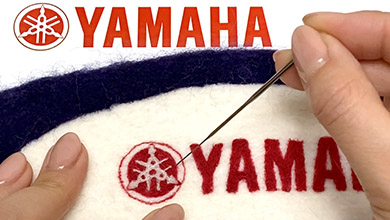
For the tuning fork logo, apply the outer circle first then finish the interior referring to the pattern.
-
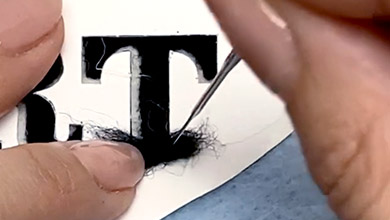
Apply the GILBERT logo.
-
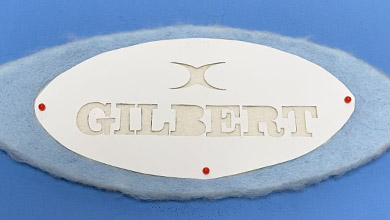
Line pattern C up with the white area and fix with pins.
-
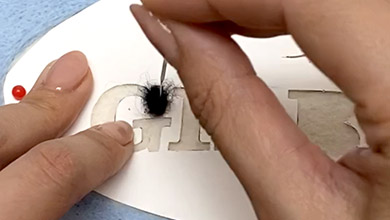
Tear small slivers of black, add little by little to the pattern and poke.
-
-

Remove the pattern and tidy up the shapes.
-
-
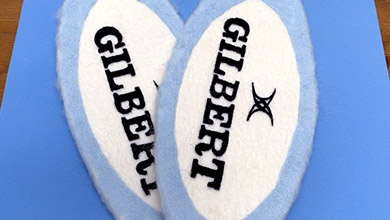
Make two more the same.
-
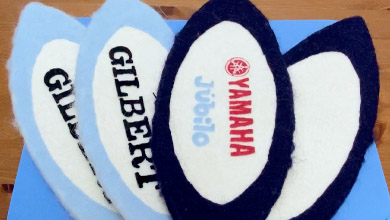
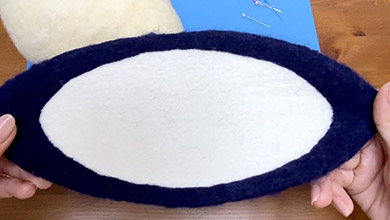
Completed panels.
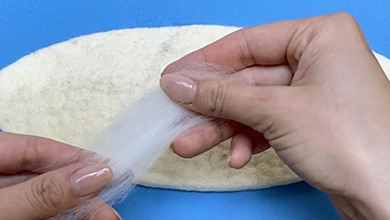
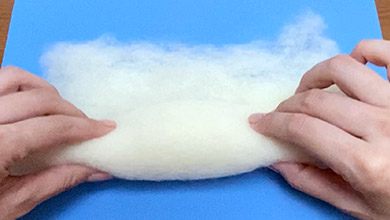
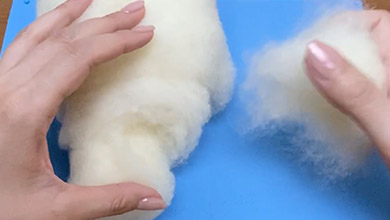
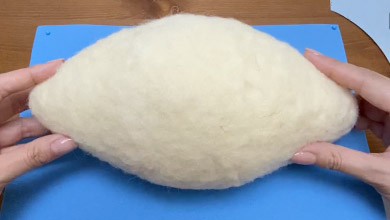
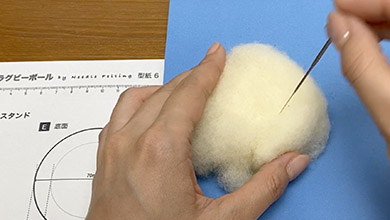
3 Make the stuffing
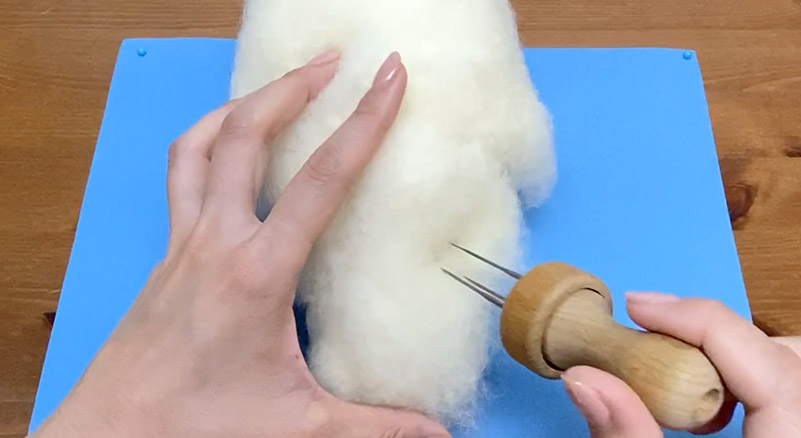
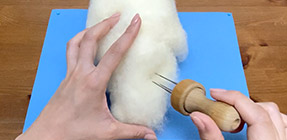
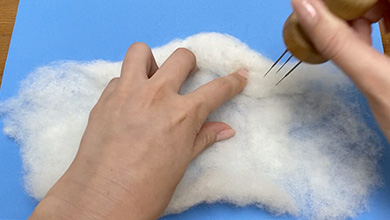
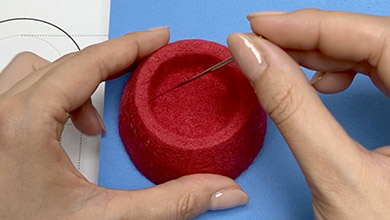
Make the stuffing.
-
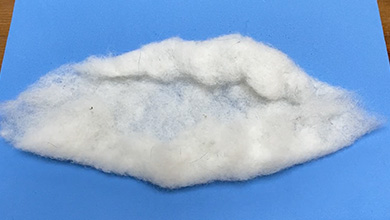
Tear a piece of white base felt to the same width as pattern D and poke with a punching needle.
-
-
-
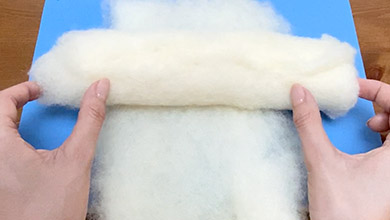
Wrap this in a piece of felt narrower by 3cm at each end and poke.
-
-
Wrap one more piece of felt narrower by 3cm at each end and poke.
-

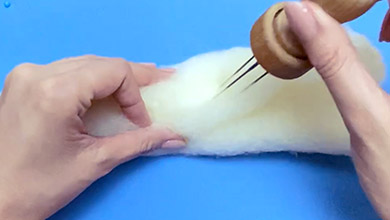
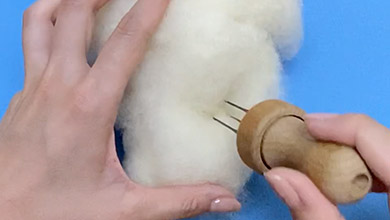
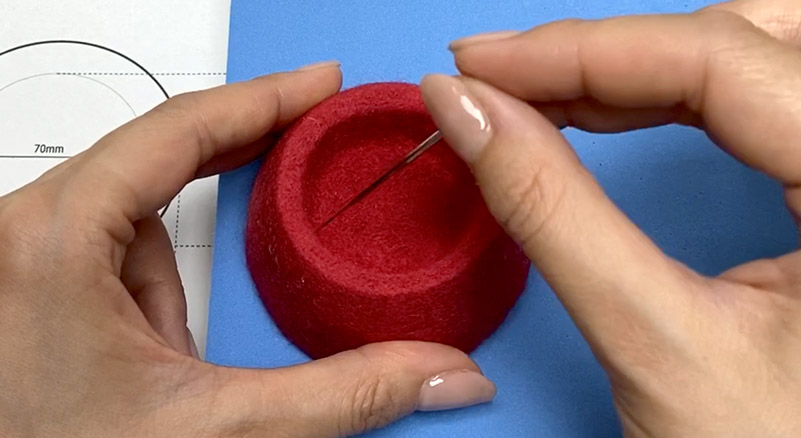
What to do if your needle breaks.
-
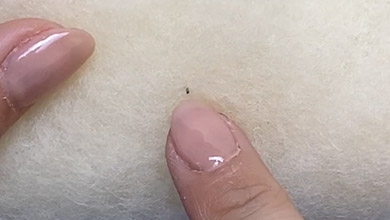
Press gently to find where the needle is located (be careful not to prick your finger).
-
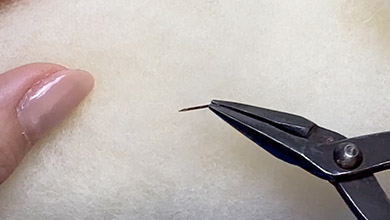
Once you have found it, grip the end with long-nosed pliers and pull it out.
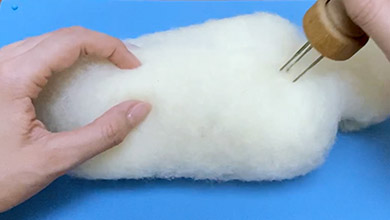
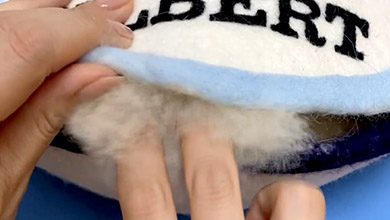
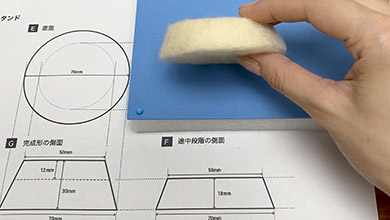
Tidy up the shape.
-

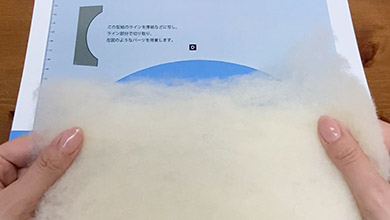
Check with the pattern and add white base felt to tidy up the shape.
-
-
-
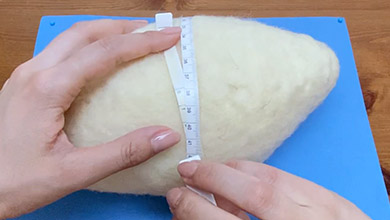
Check that the circumference is 380mm.
-
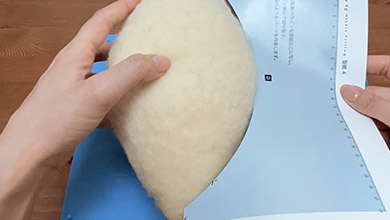
-
4 Assemble the rugby ball
Assembly
-
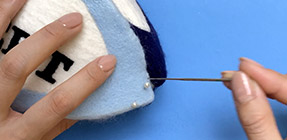
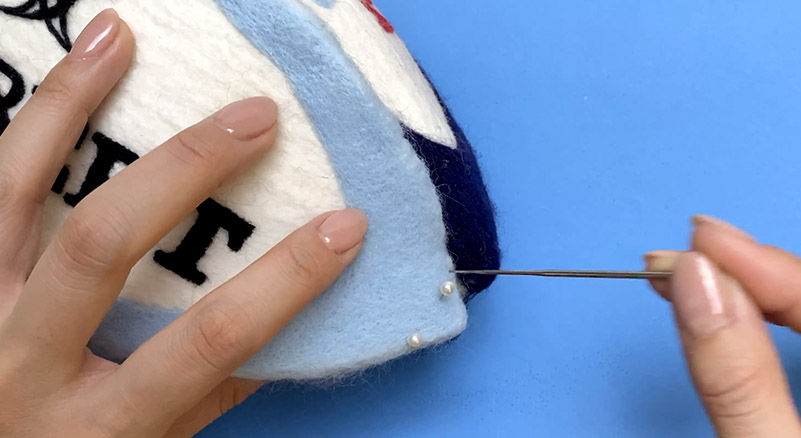
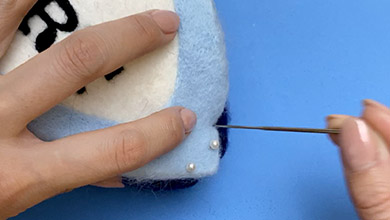
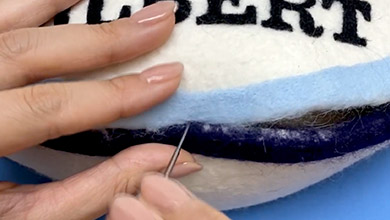
Start by attaching the panels outlined in dark blue to the stuffing.
-
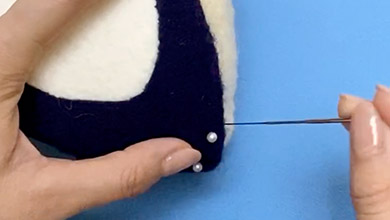
Fix the tips with pins and firmly poke from the tip to the stuffing.
-
Poke the sides in the same way.
-
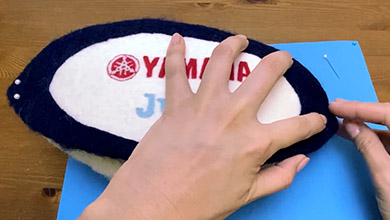
Fix the YAMAHA tuning fork logo on the opposite panel with pins so that it comes to the left and poke firmly.
-
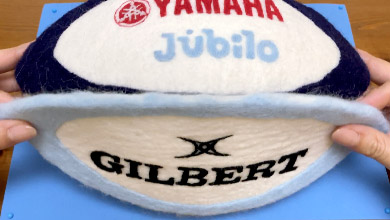
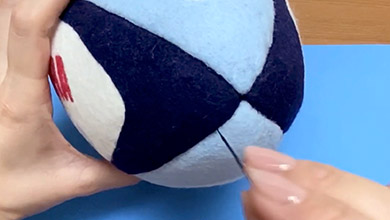
In the opening, poke the GILBERT panel so that the G it comes to the left, the same as the tuning fork logo.
-
-
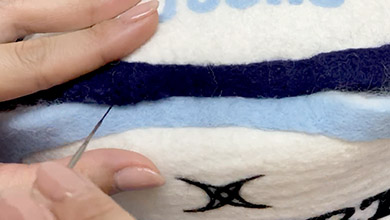
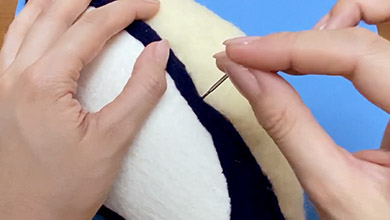
Poke the sides firmly.
-
If there is a cavity in the stuffing, poke base felt in from an opening and poke the panel.
-
-
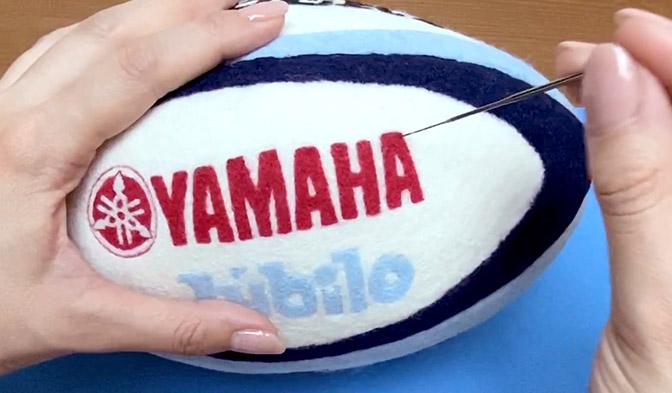
Check the whole ball and tidy up where needed.
-
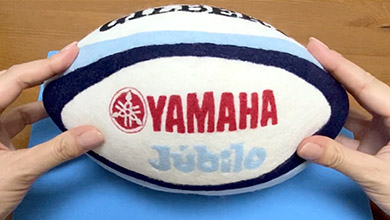
Your rugby ball is complete!
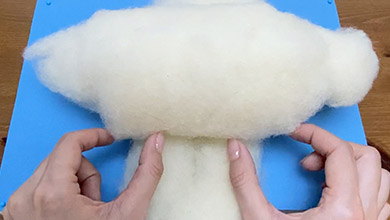
5 Ball stand


Official social media gallery -
Send in pictures of your work!
Let us post the work you have created using the how-to guide on this site on the official Yamaha Motor amigurumi / needle felting account on Instagram.
Just fill in the required fields on the posting page and upload photos of your work. We are looking forward to seeing them.
Terms of use
These contents are operated by Yahama Motor Co., Ltd. and are provided free of charge with the premise that they will be used in the pursuit of hobbies by individuals.
Please read the terms of use of the website before use. We hope you enjoy these contents.>Terms of use