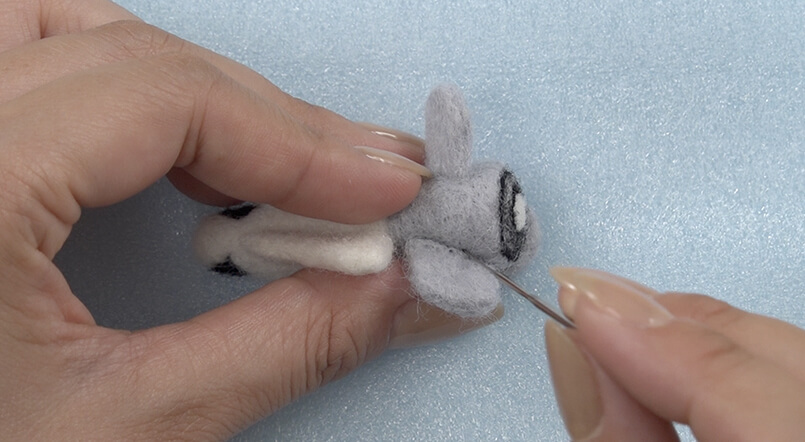
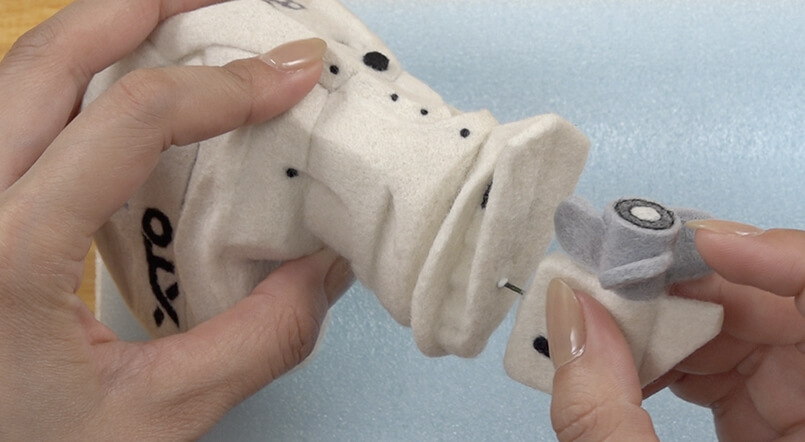
Outboard F450A how-to guide
An outboard the size of an instant noodle cup lid holder, reproduced with needle felting. We provide how-to videos. Why not have a go?
Use needle felting to create a mini-sized F450A outboard!
The F450A, the largest horsepower outboard, is beautifully formed and is over 200 cm high. It is a sight to behold.
The F450A has been boldly arranged for needle felting to be used as a lid holder for instant noodle cups.
The shape is attractive whether you use it or display it.
Please take a look at the pattern and the how-to videos and give it a try!
⋯⋯
* Please take care to avoid burns when handling hot water.
* When actually using your creation as a lid holder for an instant noodle cup, make sure to check the stability of the cup and your creation.
* Depending on the shape of the cup, it may not be possible to place your creation on the lid.
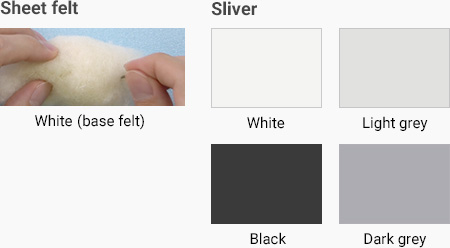
Wool
To make the Outboard F450A, prepare wool in the following colours.
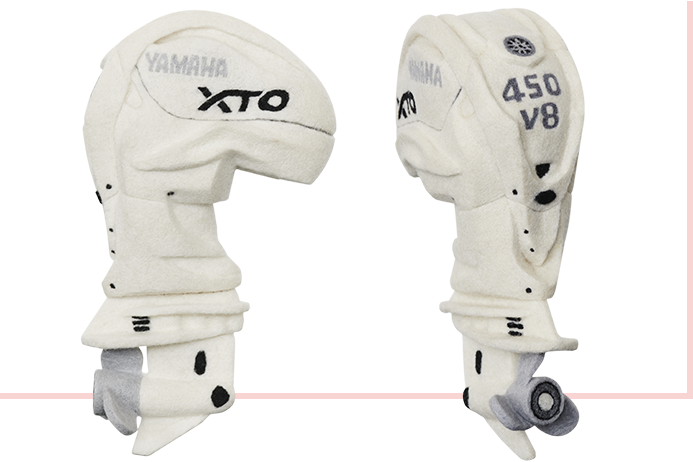
Tools you will need
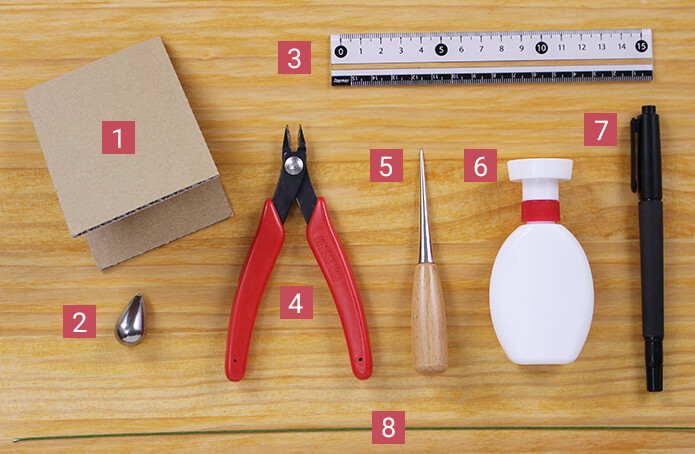
In addition to the tools introduced in the guide to successful felting even for beginners, you will need to following tools to make the Outboard F450A.
[1] Sandwich card [2] Weight (tungsten size 14 – around 50g) [3] Ruler [4] Pliers [5] Punch [6] Adhesive [7] Permanent marker [8] Wire size 20
* You can purchase weights at fishing tackle shops, etc.
Pattern
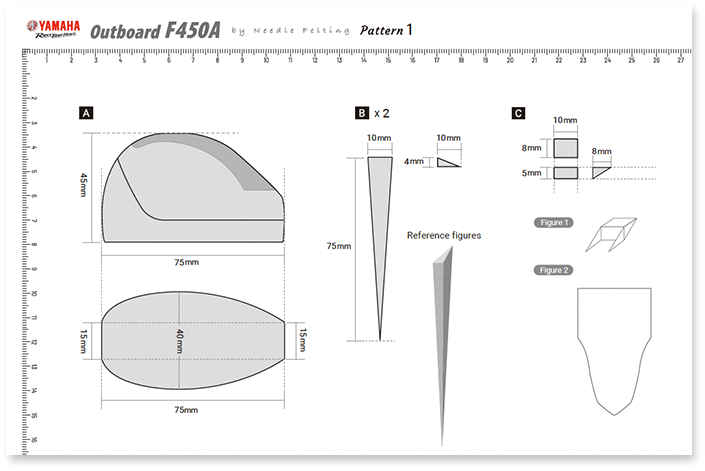
In order to make each part, match the shape and size to the pattern. We have provided the pattern in a PDF file so please download and print it for use.
When printing out, adjust the printing method to get the correct measurements by checking the scale on the paper with a ruler.
Check the finished firmness
As you poke the needle into the wool, it becomes more and more firm. You may wonder how firm you need to make the wool.
The firmness of the 1.8cm ball made from 1g of wool as shown in the felt ball how-to guide in the Basic Needle Felting Lesson is the standard firmness for making the Outboard F450A.
If the felt is not firm enough, it will be off-kilter when assembling or the finished item will fall apart so it is important to work the felt to make it firm.
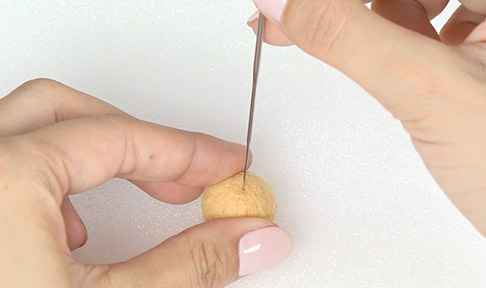
1 Making the upper part - Part 1
-
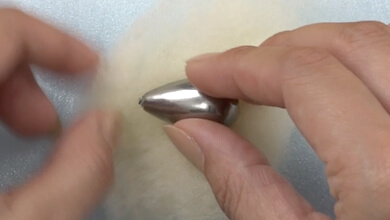
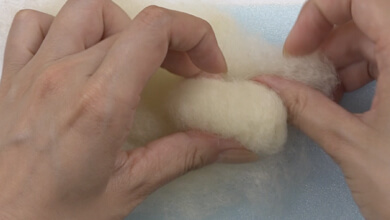
Wrap the weight in the base felt and poke lightly.
-
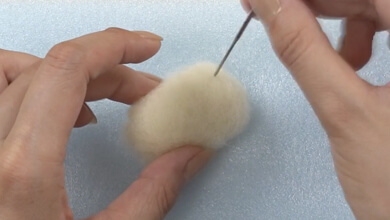
-
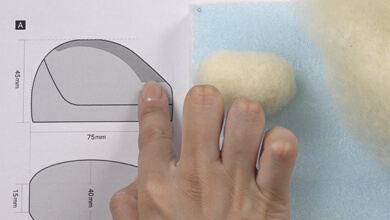
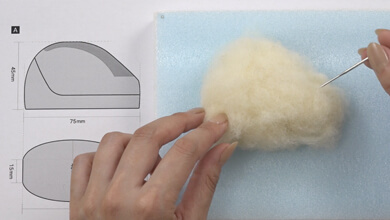
Make the shape with the weight at the tip of Pattern A.
-
-
-
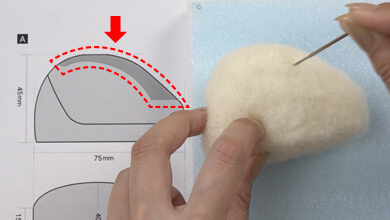
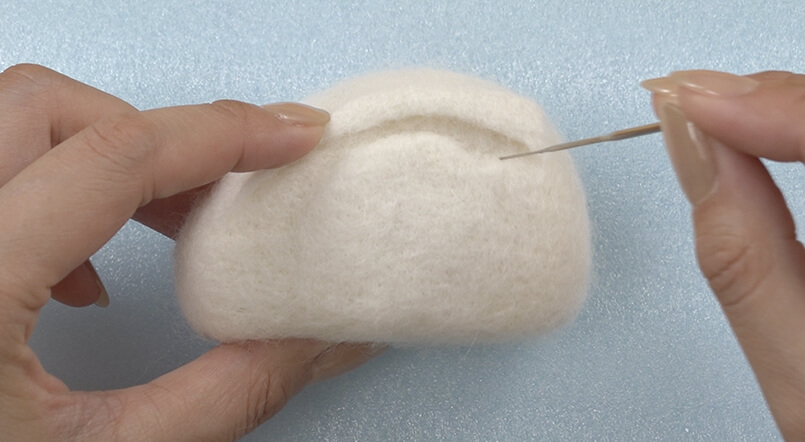
Poke a 5mm indent as shown in the dark grey part of Pattern A.
-
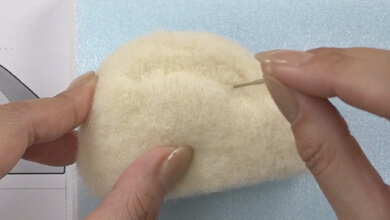
-
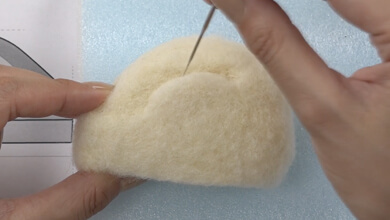
Poke the same dent into the opposite side.
-
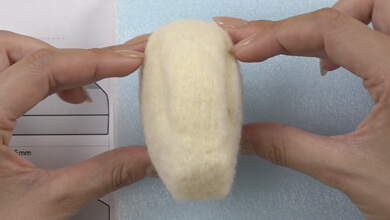
-
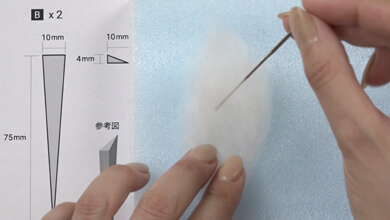
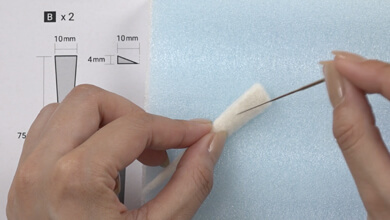
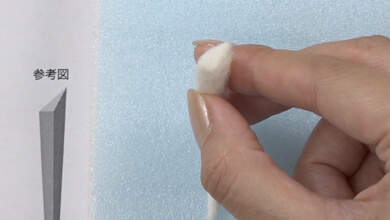
Make the shape in Pattern B with a sliver of white.
-
-
-
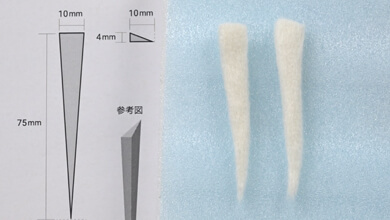
Make two of these.
-
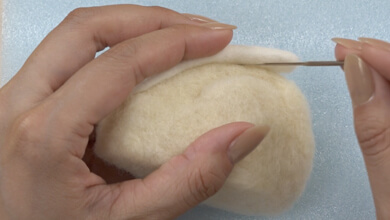
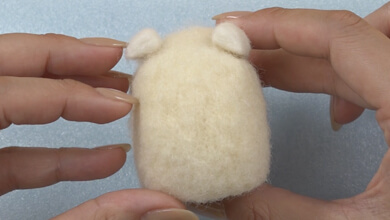
Poke Part B into the felt above the indent in Part A to attach.
-
-
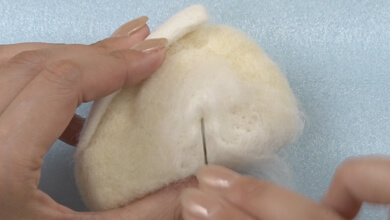
Poke and attach a sliver of white to the whole head.
-
-
-
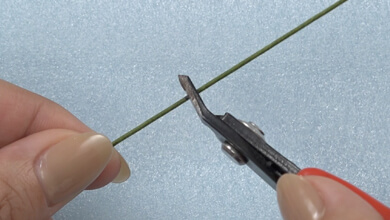
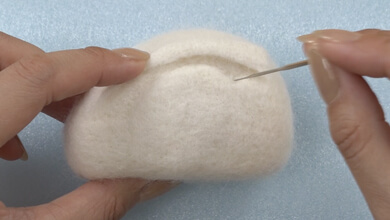
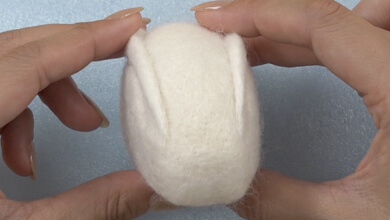
Cut the wire to 80mm.
-
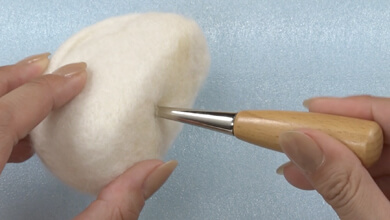
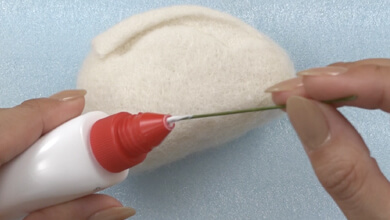
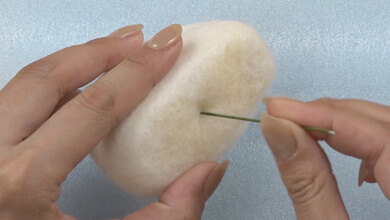
Make a hole in the bottom of the head with a punch. Insert the wire with adhesive on the tip.
-
-
2 Making the upper part - Part 2
-

Wrap and attach base felt to the wire at the back 2/3 of the head to a thickness of 15mm.
-

-

-

Make the shape as shown in Photo 1.
-

Poke and attach a sliver of white.
-

Wrap base felt around the rest of the wire and poke to attach.
-

Size: height 30mm width 25mm
It should be 5mm lower at the front than the part just made. -

-

-

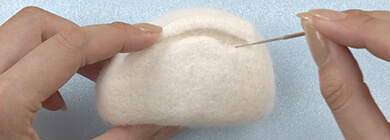
Poke a number of times to make an indent as shown on the line in pattern A.
Caution! Be careful not to touch the weight with the needle. -

-

Mix light grey and black slivers.
-

Poke and attach the mixed sliver to the indent.
-

Refer to the red dotted line in Pattern Photo 2. Put a sliver of white under the indent, poke to attach and shape.
-

-

Make the same on the opposite side.
-

-

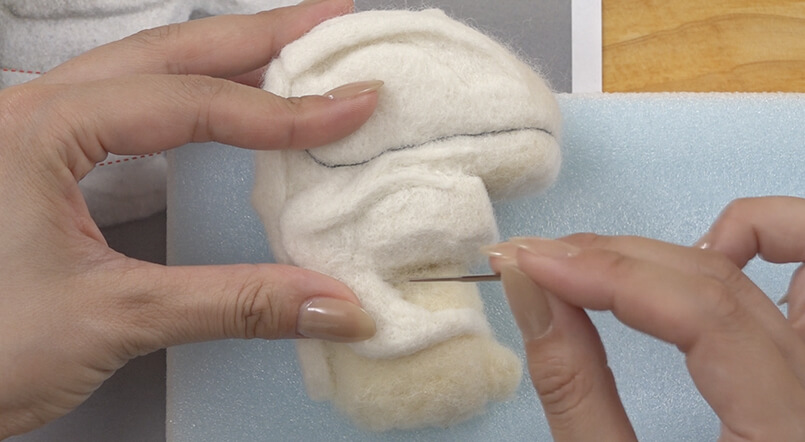
Refer to Photo 2. Make a bump on the side of the head with a sliver of white.
-

-

Make the same on the opposite side.
-
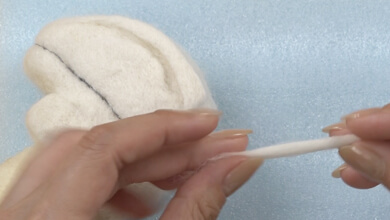
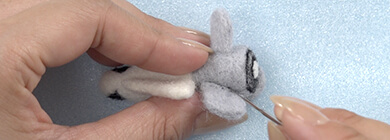
Poke and attach a sliver of white that you have rolled in your palms to the side of Part B and poke until the top becomes a point.
-
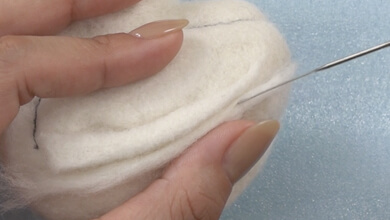
-
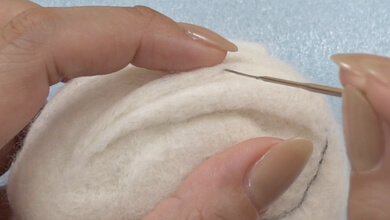
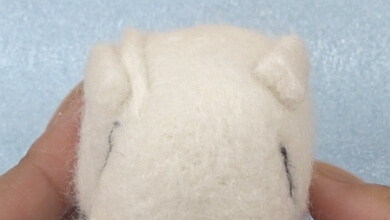
Lightly poke evenly and define the corners.
-
-
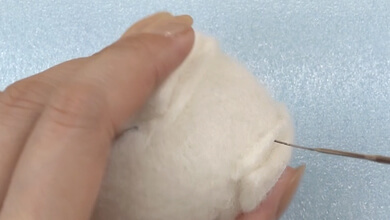
Make the same on the opposite side.
-
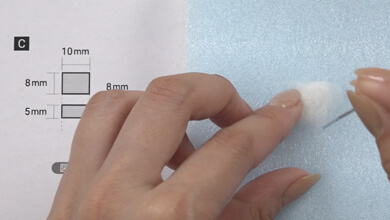
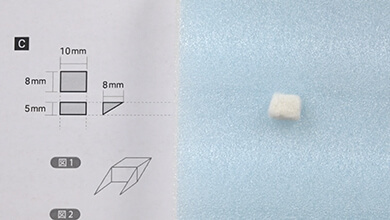
Make the shape in Pattern C with a sliver of white.
-
-
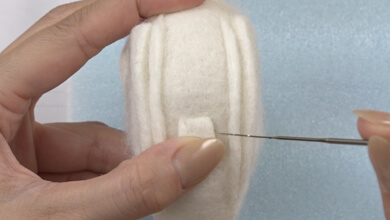
Place Part C on the top cowl and poke to attach.
-
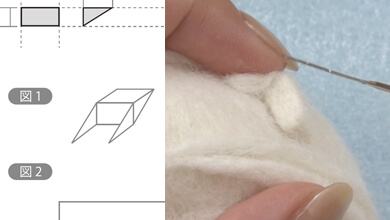
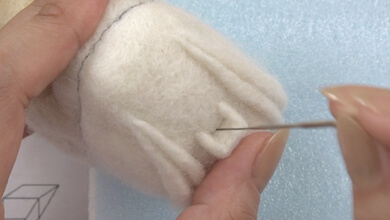
Poke and attach a sliver of white that you have rolled between your fingers to form the shape in Figure 1.
-
-
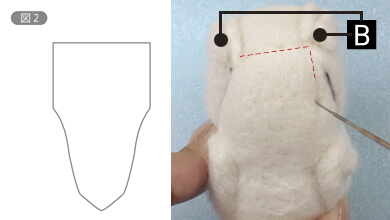
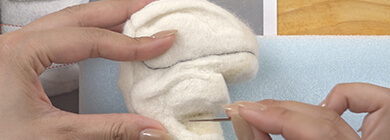
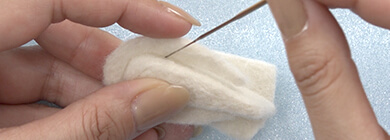
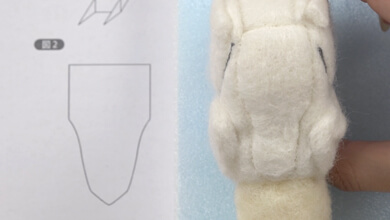
Starting from the inside of Part B, poke a line with a needle to form the shape in Figure 2.
-
-
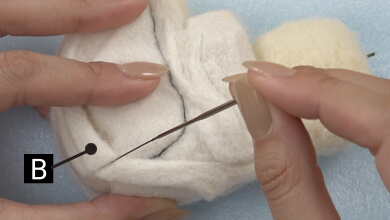
Add slivers of white and poke until the edge of the line you have just made is the same height as Part B.
-
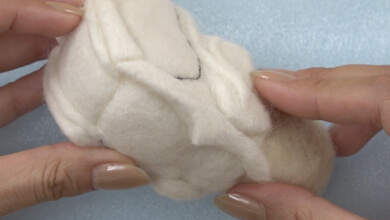
-
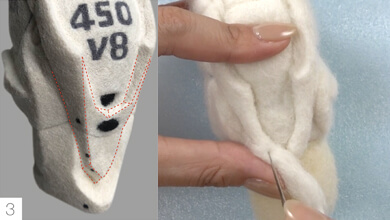
Refer to Photo 3 and poke and attach a sliver of white to make a line on the bottom of 30mm in length and 5mm in height.
-
-
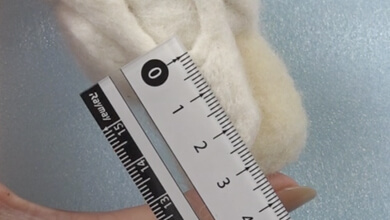
-
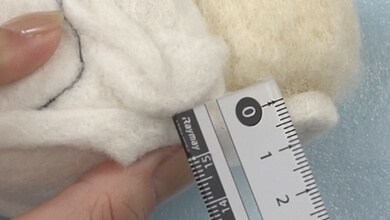
-
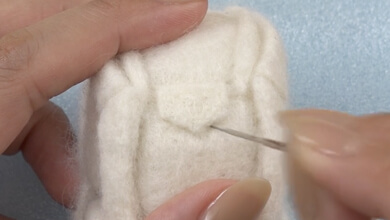
Poke and attach a sliver of white to the base shape. (size: w: 20mm l: 13mm h: 2mm)
-
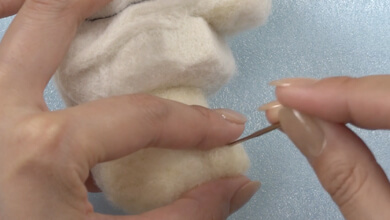
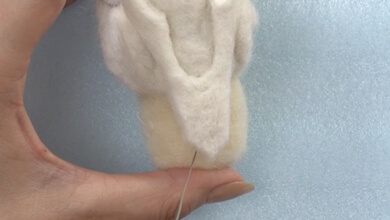
Poke and attach a pinch of base felt to the bottom part of the felt-wrapped wire.
-
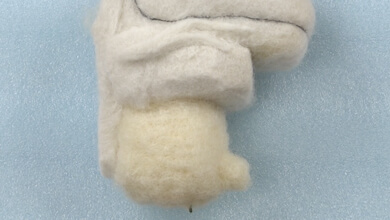
Make sure it sticks out about 10mm.
-
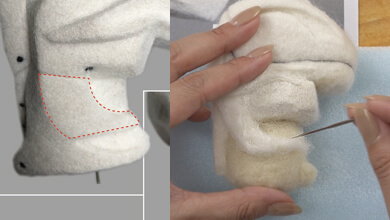
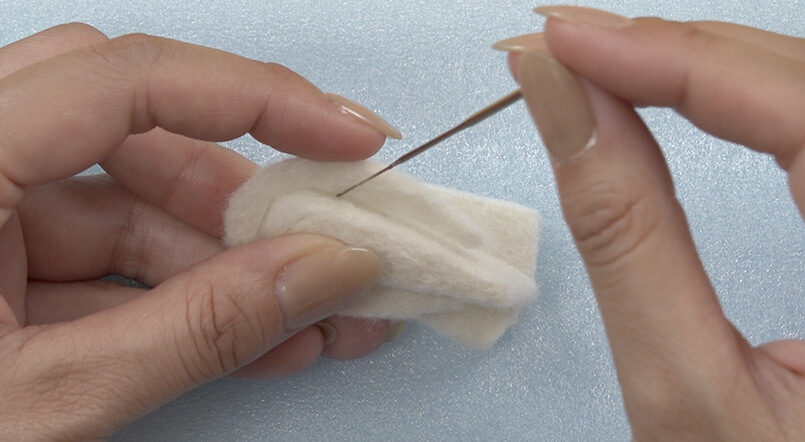
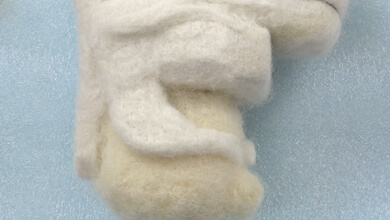
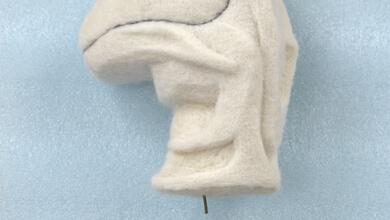
Make a loose L-shape with a sliver of white as shown in Photo 4.
-
-
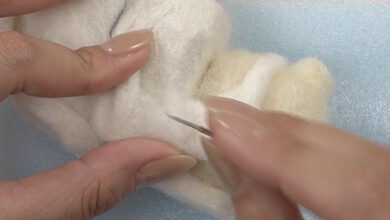
Poke and fix slivers of white until the height is the same.
-
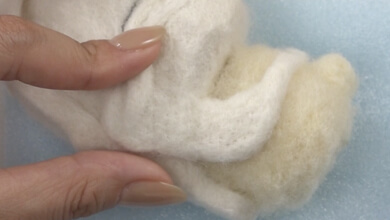
-
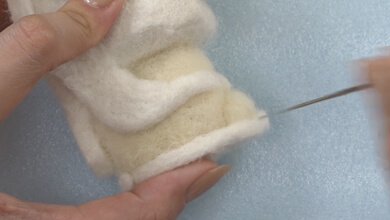
Poke and attach slivers of white with a width of 5mm right round the bottom where the base felt is visible.
-
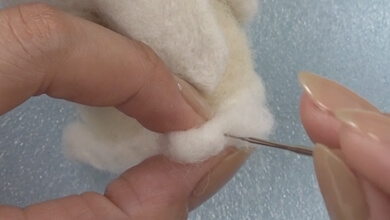
Add slivers to make the back around 10mm in height.
-
-
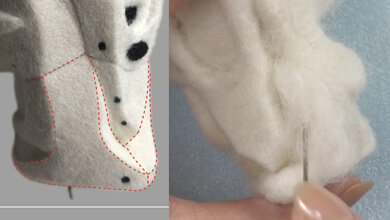
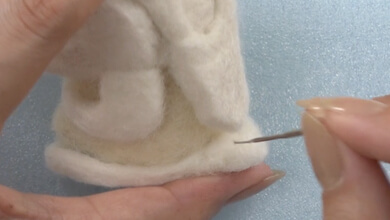
Make a smooth link between the loose L-shape and the back as shown in Photo 5.
-
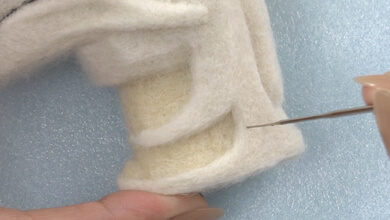
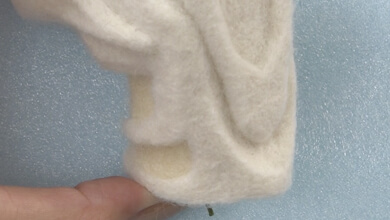
Poke and attach slivers of white to the parts where the base felt is visible.
-
-
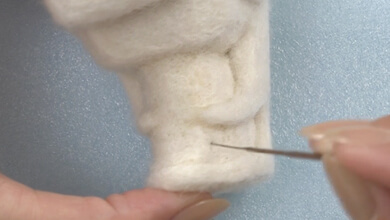
Poke and attach slivers of white to the other parts where the base felt is visible.
-
3 Making the upper part - Part 3
-

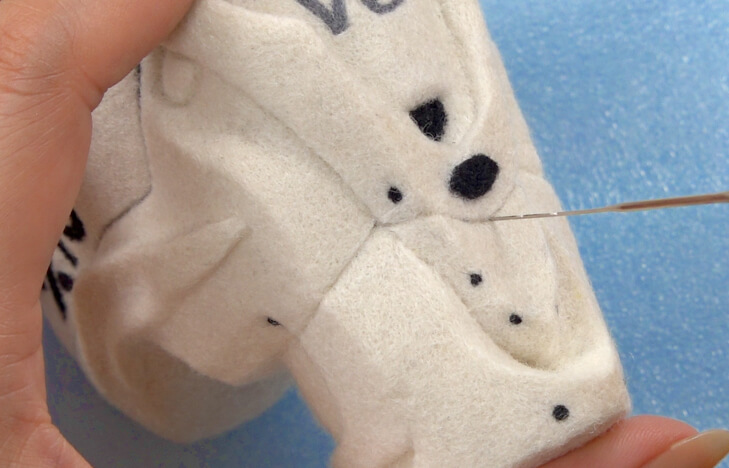
Go round the cowl lock lever a few times, firmly poke and make an indent.
-

Roll a small sliver of black between your fingers and apply bolt holes.
-

Apply a total of 10 bolt holes on both sides.
-

Apply an idle hole with a sliver of black.
-

Apply a black sliver above the idle hole. Apply firmly so that it is one level lower.
-

[Apply the tuning fork logo] Apply a circle with a sliver of black.
-

Apply the edges with dark grey.
-

Apply the tuning fork mark with light grey.
-

-

Apply the 450 and V8 logos with dark grey.
-

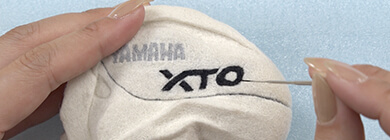
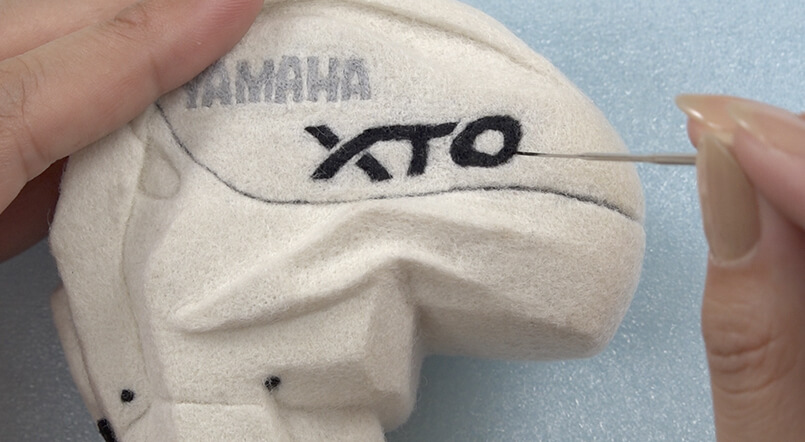
Apply YAMAHA with a sliver of light grey on the side of the head.
-

Apply XTO with a sliver of black. Apply the same to the opposite side.
-

Insert a line by poking with the needle.
-

The upper part is finished!
4 Making the middle part
-

Make the shape shown in Pattern D with a sliver of white.
-

-

-

Make the shape shown in Pattern E with a sliver of white.
-

Use a sandwich card to tidy the shape.
-

Make two of these.
-

Make the shape shown in Pattern F with a sliver of white.
-

-

Poke and attach Part E to the bottom of Part D.
-

-

Poke and attach Part E in the same way on the opposite side.
-

Poke and attach Part F a little under the top of Part D.
-

-

-

Firmly poke 3 indents between Parts E and F with the needle.
-

Make the same indents on the opposite side.
-

Apply the 3 lines with slivers of black.
-

Apply the same to the opposite side.
-

The middle of the part is finished!
5 Making the screw part
-

Make the shape shown in Pattern G with a sliver of white.
-

-

Poke and attach the dark grey part of the pattern with a sliver of light grey.
-

-

Mix black and white with a 1:1 ratio.
-

Poke and attach the mixed sliver on the back of Part G to make a 12mm circle.
-

-

Pinch a sliver of white, poke and attach in the centre.
-

-

Poke and attach a rolled sliver of black round the exterior and interior of the circle.
-

-

-

Apply the shape in Pattern G to the tip of Part G with a sliver of black.
-

Apply the same to the opposite side.
-

Make the shape shown in Pattern H with a sliver of white.
-

Use a sandwich card to tidy the shape.
-

-

Make the shape shown in Pattern I with a sliver of white.
-

-

-

Apply the dark grey part of Pattern I with a sliver of dark grey.
-

Apply the same to the opposite side.
-

-

Make the shape shown in Pattern J with a sliver of light grey.
-

Use a sandwich card to tidy the shape.
-

-

Make three of these.
-

Poke and attach Part H to the bottom of part G.
-

-

Poke and attach Parts J diagonally on the grey part of Part G.
-

-

-

-

Cut the wire to 20mm.
-

Make a hole in the middle of Part I with a punch
-

Insert the wire with adhesive on the tip.
-

-

Poke and attach Part I and the screw part.
-

The screw part is finished!
-

6 Assembly
-

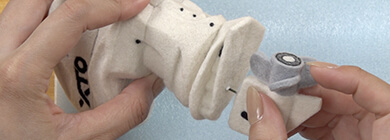
Assemble the three parts.
-

-

Make a hole in Part D with a punch
-

and insert wire with adhesive on the tip into the top of the part.
-

-

Firmly poke and attach the join with a needle.
-

-

Make a hole in the bottom of Part D with a punch.
-

Put adhesive on the wire sticking out of the screw part and insert into Part D.
-

Firmly poke the join with a needle and fix.
-

-

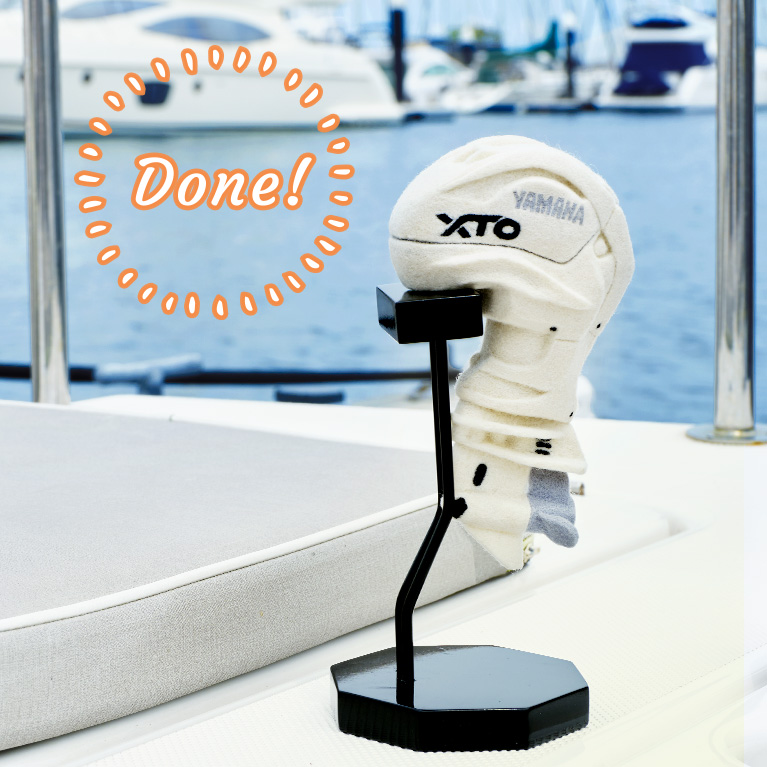
Finished!
-

Use this to hold down the lid of your instant noodle cup.

Official social media gallery -
Send in pictures of your work!
Let us post the work you have created using the how-to guide on this site on the official Yamaha Motor amigurumi / needle felting account on Instagram.
Just fill in the required fields on the posting page and upload photos of your work. We are looking forward to seeing them.
Terms of use
These contents are operated by Yahama Motor Co., Ltd. and are provided free of charge with the premise that they will be used in the pursuit of hobbies by individuals.
Please read the terms of use of the website before use. We hope you enjoy these contents.>Terms of use


