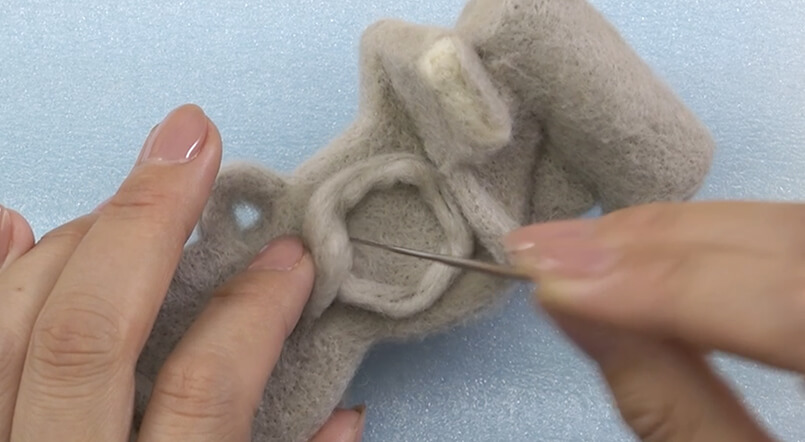
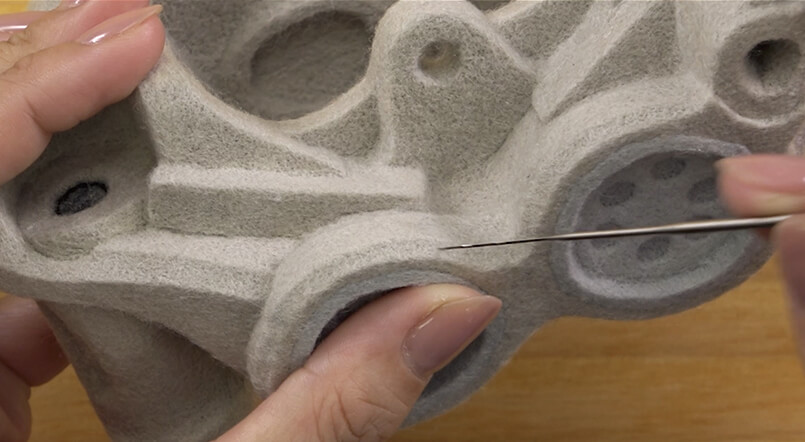
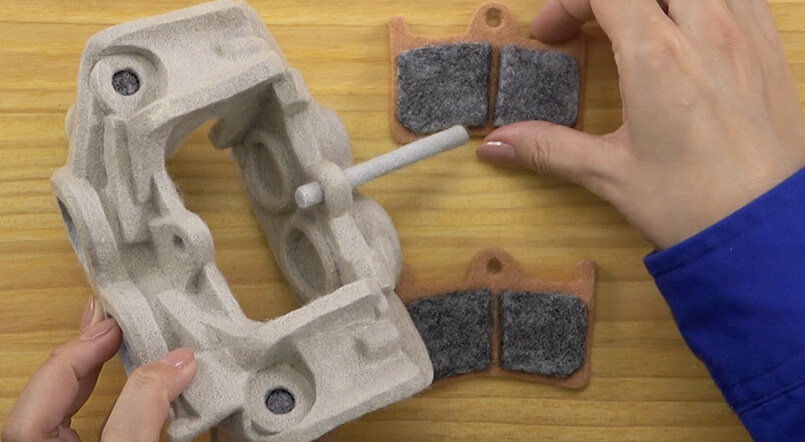
YZF-R1M brake caliper how-to guide
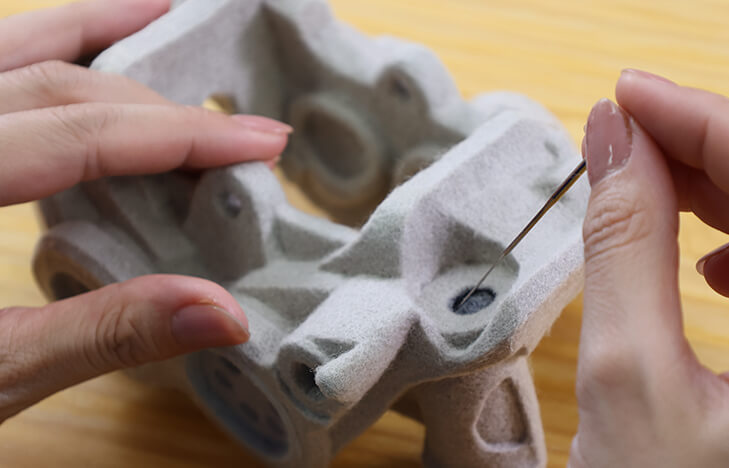
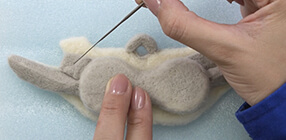
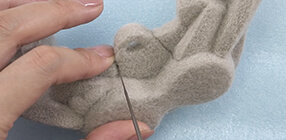
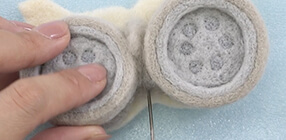
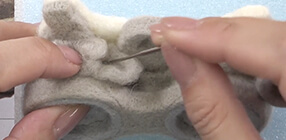
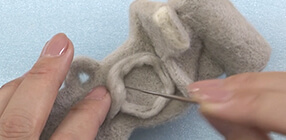
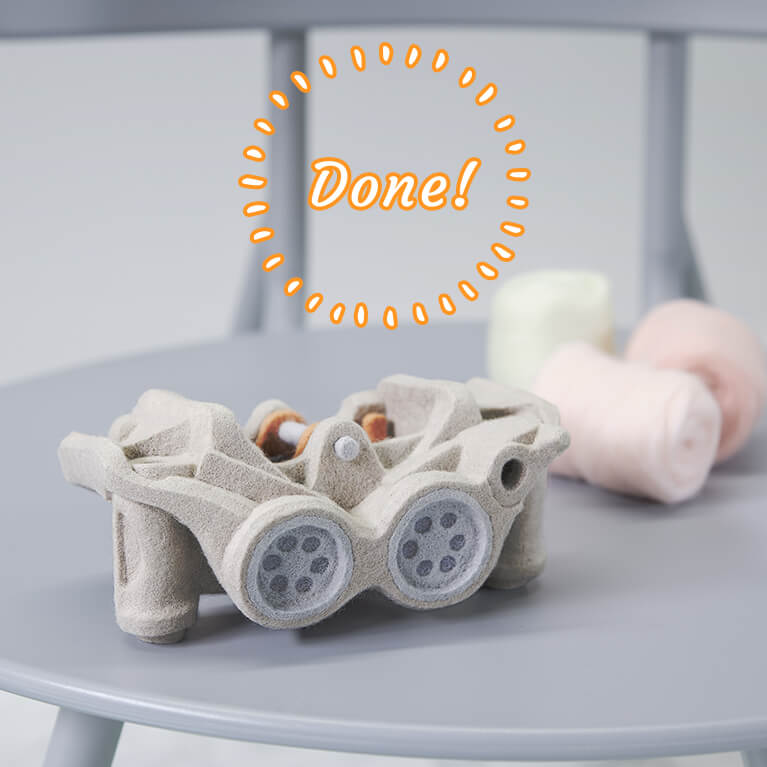
An almost life-size YZF-R1M brake caliper made by needle felting. Go ahead and take up the challenge!
Let's try making a brake caliper by needle felting.
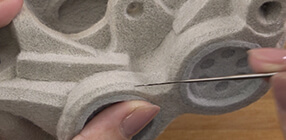
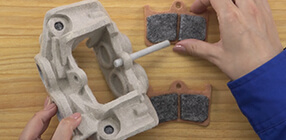
It is the brake caliper which adjusts a bike’s speed enclosing the disc plate that is attached to the wheel that spins at high speed with disc pads.
We have completely reproduced an almost life-size brake caliper mounted on the YZF-R1M! It is almost life-size and made of felt!
Why don’t you take up the challenge and make it according to the pattern and the how-to videos?
Wool
You will need the following colours of felt to make the YZF-R1M brake caliper.

Tools you will need
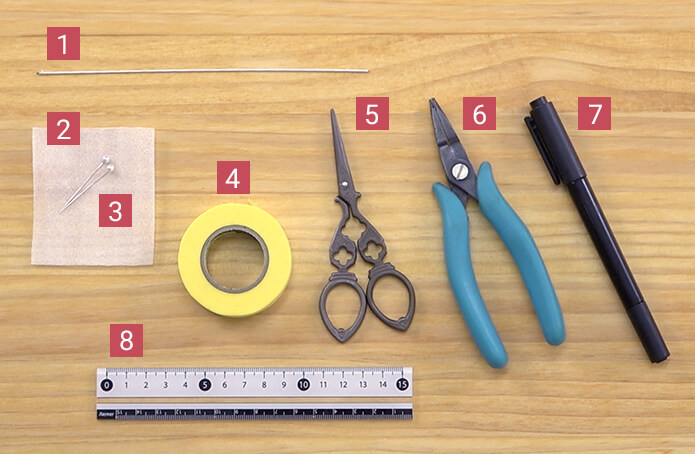
In addition to the tools introduced in the guide to successful felting even for beginners, you will need to following tools to make the YZF-R1M brake caliper.
[1] Wire [2] Packing materials [3] Pins [4] Masking tape [5] Scissors [6] Pliers [7] Permanent marker [8] Ruler
Pattern
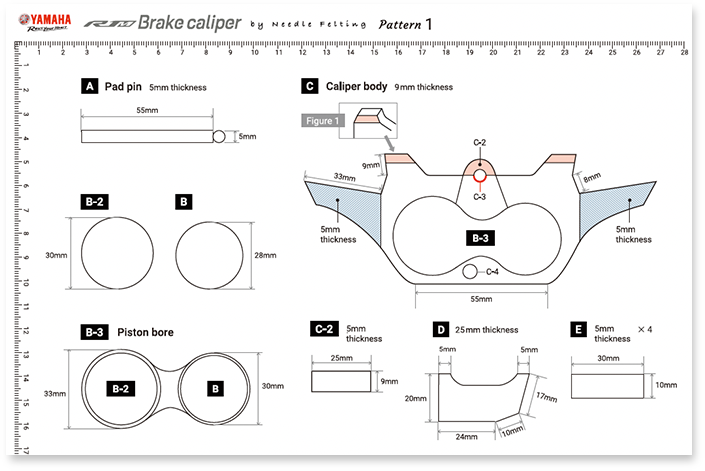
In order to make each part, match the shape and size to the pattern. We have provided the pattern in a PDF file so please download and print it for use.
When printing out, adjust the printing method to get the correct measurements by checking the scale on the paper with a ruler.
Check the finished firmness
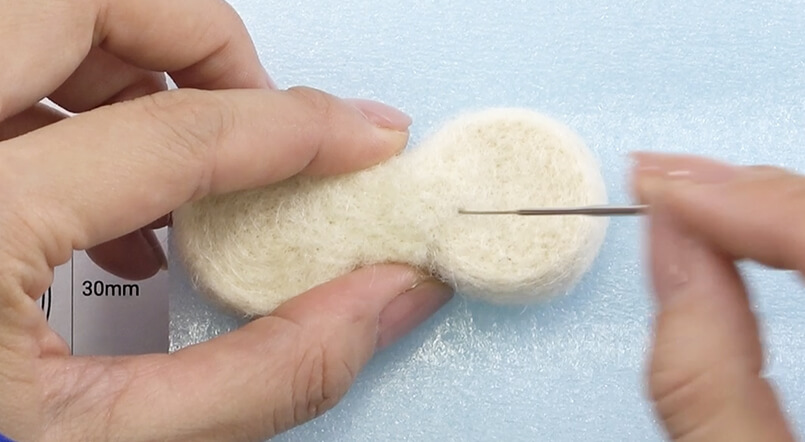
As you poke the needle into the wool, it becomes more and more firm. You may wonder how firm you need to make the wool.
The firmness of the 1.8cm ball made from 1g of wool as shown in the felt ball how-to guide in the Basic Needle Felting Lesson is the standard firmness for making the YZF-R1M brake caliper.
If the felt is not firm enough, it will be off-kilter when assembling or the finished item will fall apart so it is important to work the felt to make it firm.
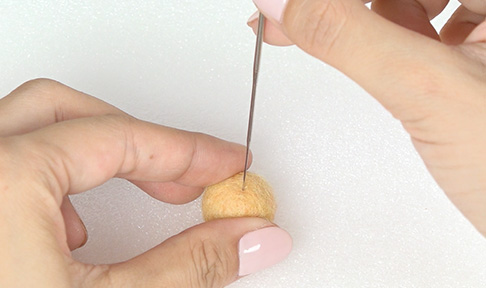
1 Make the pad pin and the piston bore
Make the pad pin
-
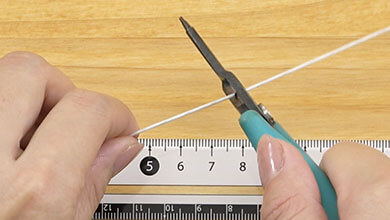
Cut the wire to 50mm.
-
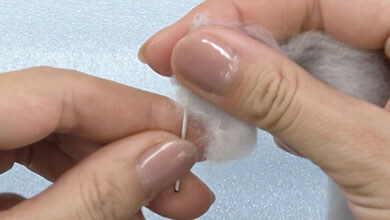
Wrap the wire in silver grey.
-
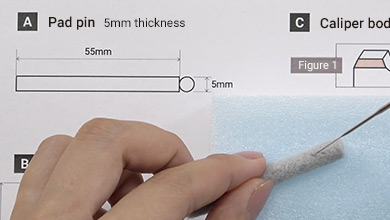
Straighten out to match Pattern A.
Make the piston bore
-
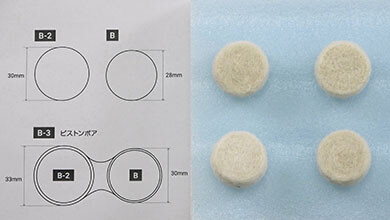
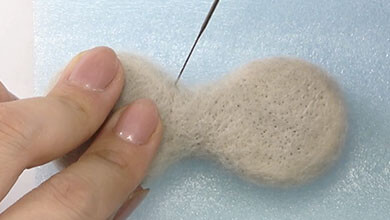
Make two each to match Patterns B and B-2 with base felt.
-
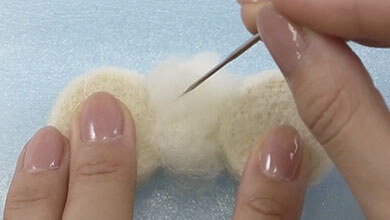
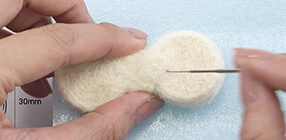
Fill the space between B and B-2 with base felt as shown in Pattern B-3.
-
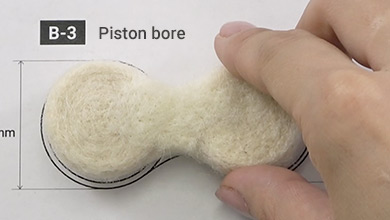
-
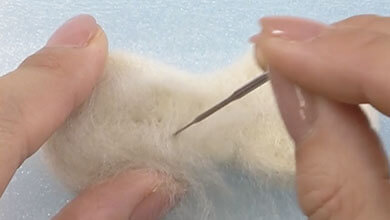
Cover with dove grey and poke until it gets to the same size as B-3.
-
2 Make the caliper body
Make the caliper body
-

Make a shape with base felt to match Pattern C.
-

Poke until it gets to a thickness of 5mm.
-

Poke the white area of Pattern C with base felt until it gets to a thickness of 9mm.
-

-

Poke dove grey onto Pattern C-3.
-

Make a shape to match pattern C-2 with dove grey.
-

Make two of these.
-

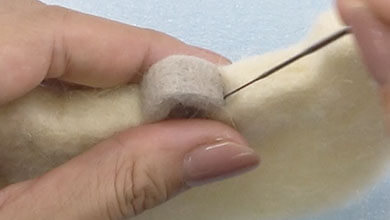
Bend part C-2 on C-2 as described in Pattern C and poke to attach.
-
-
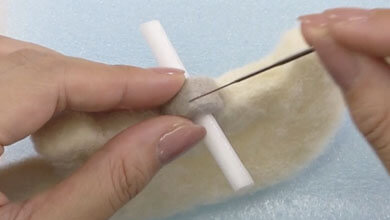
Thread through the rolled packing materials until it gets to a diameter of 5mm and poke.
-
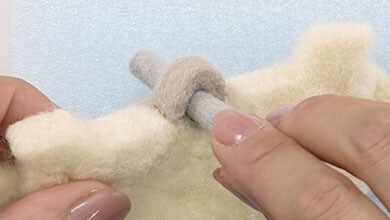
Check that the pin goes through the hole you have made.
-
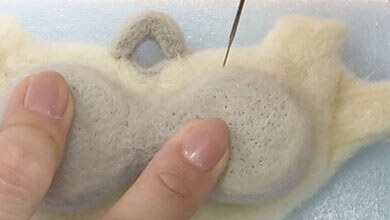
Poke part B-3 (piston bore) into Pattern C B-3 area.
-
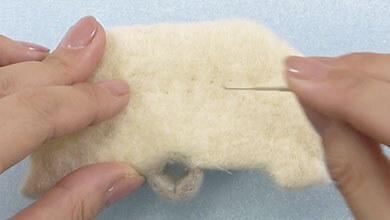
Attach firmly from the back, too.
Make the irregular parts of the caliper body
-
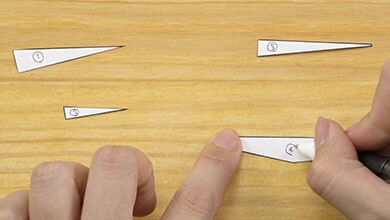
Cut the pattern from cut 1 to cut 4.
-
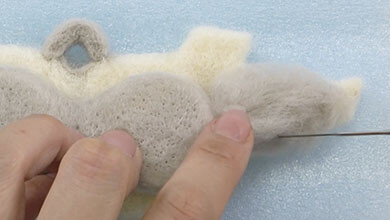
Use dove grey to make the irregular sides.
-
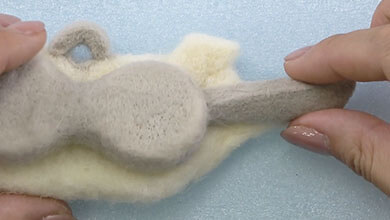
-
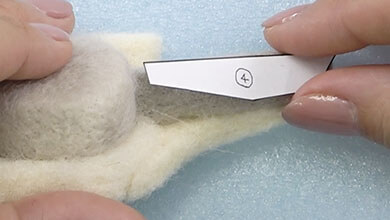
Poke the cut pattern parts to match the shape.
-
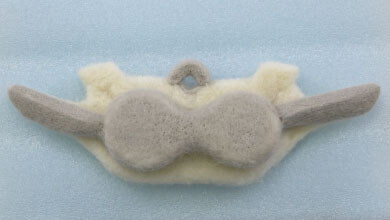
Make the same shape on the other side.
-
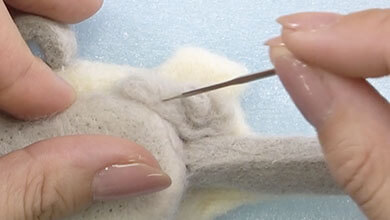
Continue to make the indents on the sides.
-
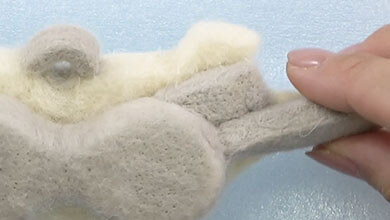
-
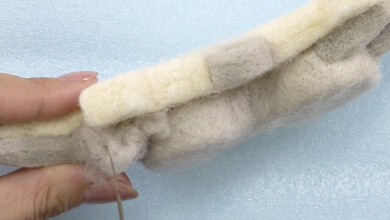
Make the same shape on the other side.
-
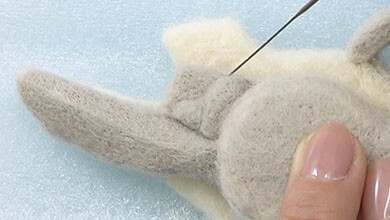
Add a protrusion like the one on the screen to the parts you made on the left side.
-
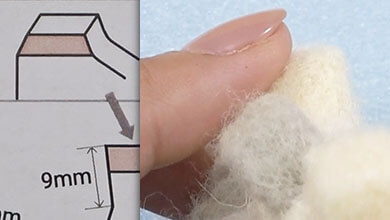
Make a bevel as shown in Pattern C in Figure 1.
3 Make the caliper body sides
Make the caliper body sides
-

Make a shape to make Pattern D with base felt.
-

-

Make two of these.
-

Poke the back of the caliper body that you made earlier.
-

-

Attach to the other one.
-

Take a pinch of dove grey to the indented part of part D and poke into the shape of a kamaboko fish sausage.
-

Attach at the position which is closer to the centre of the brake caliper than the indented part of D.
-

Attach to the other side.
-

Use dove grey to make a shape to match Pattern E.
-

Make four of these.
-

Attach to the blue area of Figure 2 (inside of caliper body).
-

Attach to the other side.
-

Use base felt to fill in the gap in the red area in Figure 2 5mm lower than part D and E.
-

Use base felt to fill the other side in the same way.
-

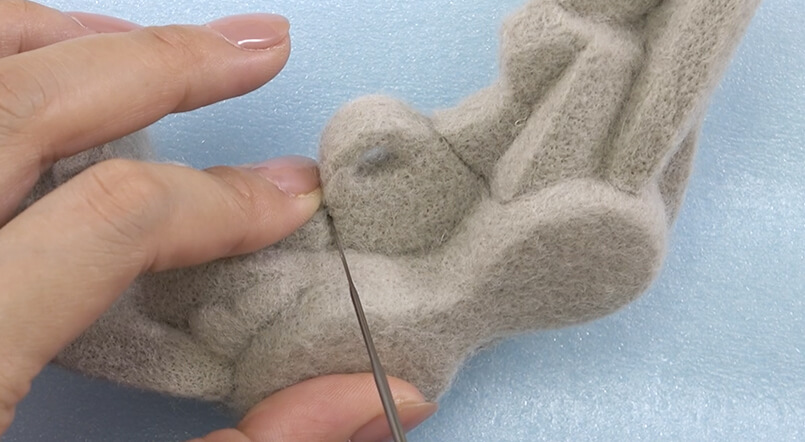
Refer to Figure 3 and use dove grey to make indents that stick out 2mm before part D.
-

-

Use base felt to fill the other side in the same way.
-

Attach dove grey to the parts where base felt is visible apart from the inside of part D.
-

-

Attach dove grey to the back, too.
-

Mix black and silver grey and embroider C-4 in Pattern C.
-

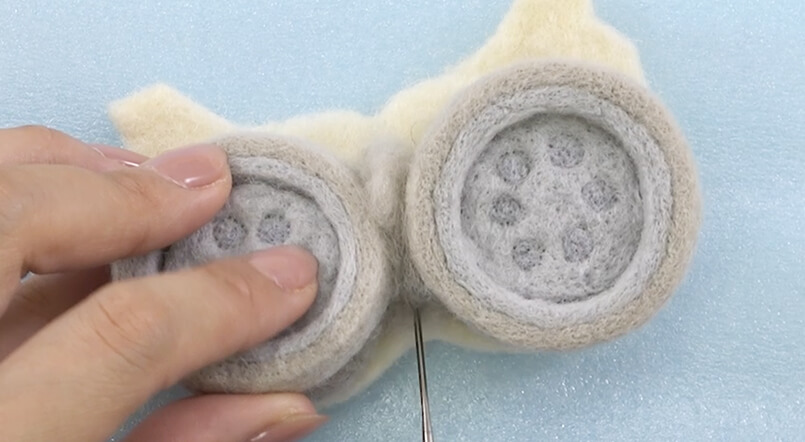
Refer to Figure 4 and poke making the mark shape of the bottom of the piston bore with dove grey.
-
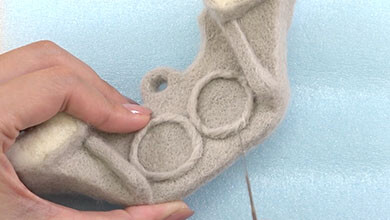
Poke a donut shape of 28mm in diameter, 2mm in height and 3mm in width with dove grey on the back of the piston bore.
-
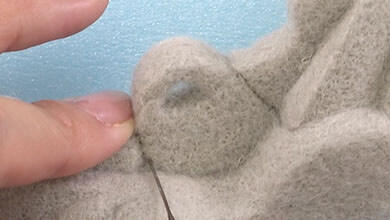
Make a line with the needle under part C.
-
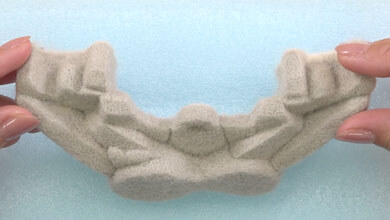
One side of the caliper is complete.
4 Make the other side of the caliper body
Make the other side of the caliper body
-

Use base felt to make a shape to match Pattern F with a thickness of 5mm.
-

Refer to Pattern F and attach the piston bore parts (B, B-2).
-

-

Make the shapes in Pattern G-1 and G-2 in dove grey.
-

Make the shapes in Pattern G-3 and G-4 in dove grey.
-

Attach B to G-2 and B-2 to G-1 by winding so that they stick out at the top by 2mm.
-

-

Attach the bottom of B to G-4 and the bottom of B-2 to G-3 by winding.
-

Attach B and the top of B-2 with silver grey.
-

-

Continue to attach the interior of G-1 and G-2 to the part 2mm from the edge.
-

Insert the needles into the colour body and make the borders clear.
-

Attach the circle on the piston bore cover of Figure 5 with grey.
-

The finish is neater if you poke it so that the circle part is slightly indented.
-

Fill the piston bore gap.
-

Use dove grey between B and B-2 to fill in so that they are the same height as G-1 and G-2.
-

-

Refer to Figure 6 and fill the red area and the white area with dove grey to make them the same height.
-

Don’t fill in the blue area; leave it indented.
-

Add colour to part F F-3 with dove grey.
-

Attach C-2 to the blue area.
-

Attach dove grey so that F-2 is the same height as C-2.
-

-

Put on and attach dove grey so that F-3 is 10mm in height.
-

Attach to the other side, too.
5 Make the banjo bolts hole and the indents on the sides
Make the banjo bolts hole
-

Make the shape to match Pattern H with dove grey.
-

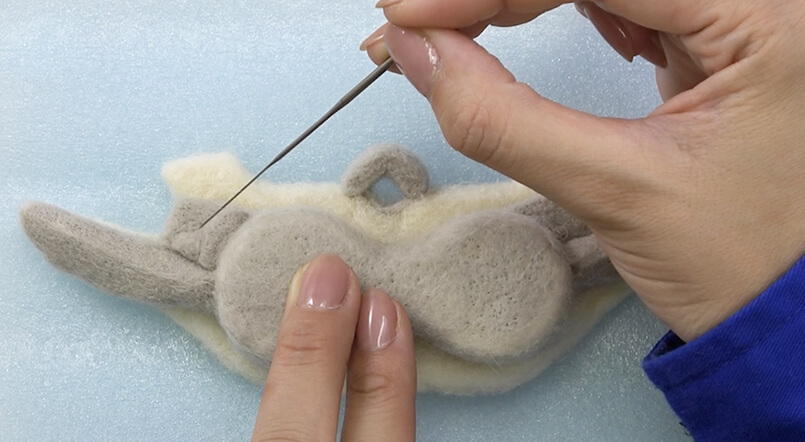
In order to make part H into a ring, wind balled up packing material round H and join.
-

Poke the join with dove grey from the top.
-

-

Attach part H that you just made to the top of the base felt.
-

Attach part H that you just made to the top of the base felt.
Make the indents on the sides
-

Refer to Figure 8 and make the indents on the sides with dove grey.
-

Make the same indents on the other side, too.
-

Make a shape to match Pattern I with base felt.
-

-

Make two more the same.
-

Poke firmly to make a deep indent of 2mm in the semi-circle in Pattern I.
-

Make a shape to match Pattern I-2 with dove grey.
Make two of these. -

Wind I-2 round the bottom of I and attach.
-

Attach dove grey all over.
-

Add and poke a sliver half way round the semi-circle so that it is the same height as I-2.
-

Attach the donut shape with the dove grey used on the bottom of part I.
-

Attach a donut to each of the bottoms.
-

Make a shape to match Pattern J with dove grey.
Make two of these.
6 Attach the parts to the caliper body
-

Make a shape to match Pattern K with base felt.
Make two of these. -

Attach K to the back of part F.
-

Attach K to the opposite side, too.
-

Attach part E to the bottom of K that you just attached.
-

Attach part E to the bottom of the opposite side of K.
-

Attach the sides of K to part I.
-

Attach firmly.
-

Attach part I to the opposite side of K, too.
-

Attach part J to the gap between the caliper body and part I.
-

Attach part J to the opposite side too in the same way.
-

Fill the gap between part I and part E with dove grey.
-

-

Fill the gap on the opposite side in the same way with dove grey.
-

Make banjo bolts hole H-2 to match the pattern.
-

Attach H-2 to part H.
-

Refer to Figure 9 and add a sliver of dove grey and blend 2mm under part H.
-

-

Refer to Figure 10 Left 3 and make caliper body sides with base felt.
-

-

Poke dove grey on top of the base felt.
-

Refer to Figure 10 Left 1 and make the side shapes with base felt.
-

Poke dove grey on top of the base felt.
-

Check if part I is firmly attached.
-

Attach with dove grey on the top middle of the hole so that it is the same depth as the bottom middle.
-

Attach all the base felt that is sticking out, including the front and back, with dove grey.
-

-
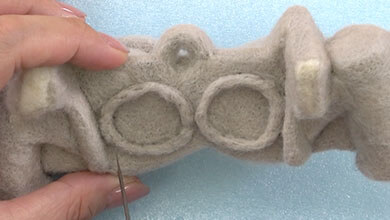
Attach dove grey to the donut on the inside in the same way as the other side of the caliper body.
-
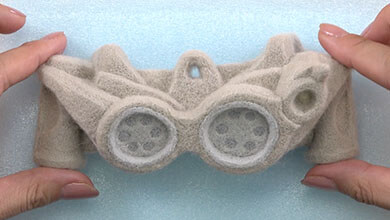
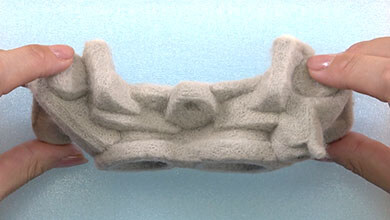
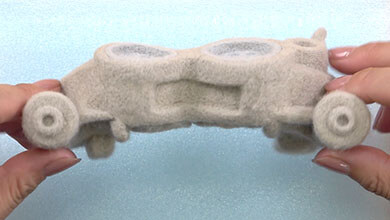
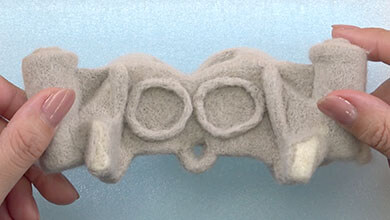
This is what it looks like so far.
-
-
-
7 Assemble the caliper body
Assemble the caliper body
-

Fix both sides of the caliper body with pins.
-

-

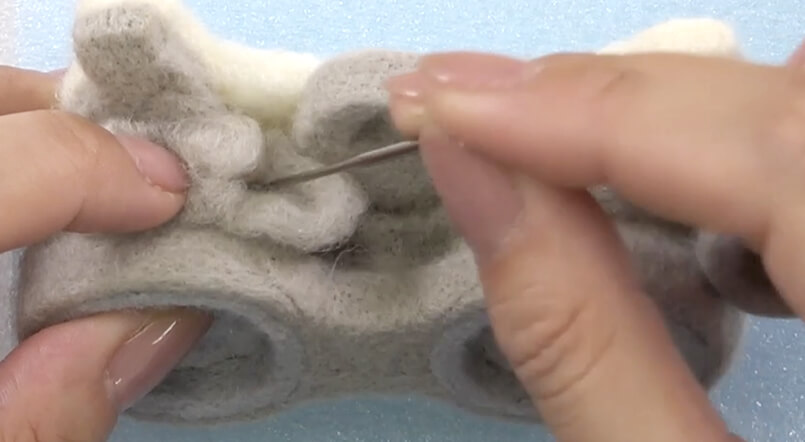
Put base felt in the gaps that appear in the sides and attach while tidying the shape.
-

-

Check that the space from part C to F is 45mm.
-

Turn it over and fill the gap with base felt.
-

Attach dove grey to the parts where base felt is sticking out.
-

Attach dove grey to the parts where the base felt is sticking out on the opposite side, too.
Finish the details
-

Mix silver grey and black 2:1.
-

Attach the mixed sliver to part I and the hole part of H.
-

-

Sew right around so that the piston bore corners on both sides are bevelled.
Firmly attach the needle from both sides of the corner to form the corners properly. -

The caliper body is complete!
8 Make the brake pads - Finished
Make the brake pads
-

Use brick red to make the shape to match Pattern L.
Make two of these.
Make the hole part of the brake pad
-

Use brick red to make the shape to match Pattern L-2.
Make two of these. -

Attach L-2 so that it is the red part of Pattern L.
-

Make the friction material
-

Mix silver grey and black 3:1.
-

Make a shape to match Pattern L-3.
-

Attach 2 L-3 to part L in the position in the figure.
-

Attach 2 L-3 to part L in the position in the figure.
Poke gently and in a shallow manner so that the colours don’t go through to the back and get mixed. -

-

Set the caliper body and brake pad.
-

Finished!

Official social media gallery -
Send in pictures of your work!
Let us post the work you have created using the how-to guide on this site on the official Yamaha Motor amigurumi / needle felting account on Instagram.
Just fill in the required fields on the posting page and upload photos of your work. We are looking forward to seeing them.
Terms of use
These contents are operated by Yahama Motor Co., Ltd. and are provided free of charge with the premise that they will be used in the pursuit of hobbies by individuals.
Please read the terms of use of the website before use. We hope you enjoy these contents.>Terms of use


