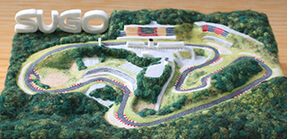
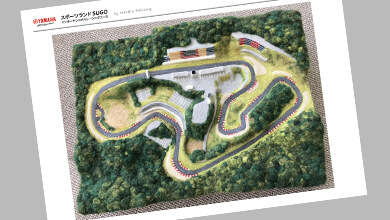
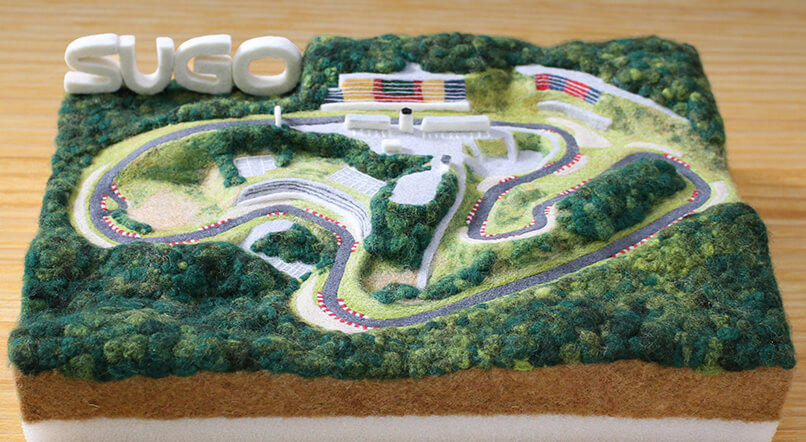
Sportsland SUGO international racing course how-to guide
A tiny racing course to display at home. We provide how-to videos. Why not take up the challenge?


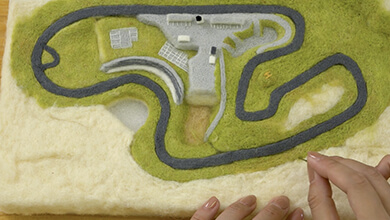
Let’s make a SUGO racing course diorama by needle felting
to display at home.
Sportsland SUGO is one of Japan’s foremost circuits holding numerous international standard races.
This 3.7 km-long international racing course boasts Japan’s most dramatic elevation difference (69.83m) making for impressive races.
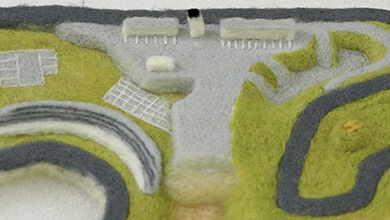
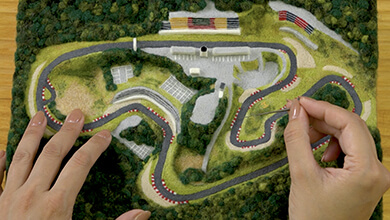
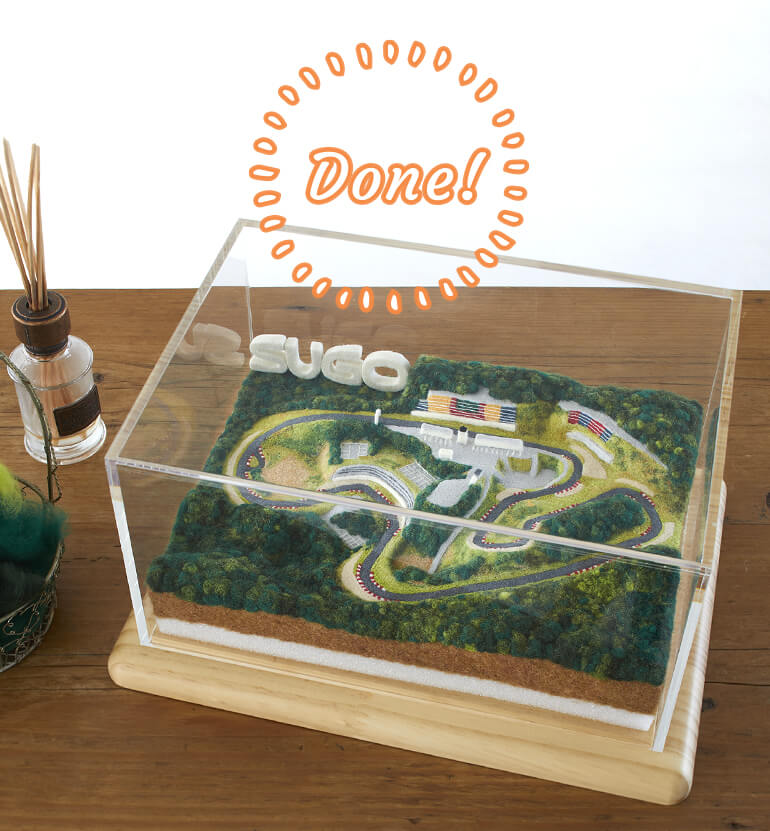
The international racing course that has become a diorama to celebrate SUGO’s 50th anniversary.
Why don’t you display a tiny circuit in your home?

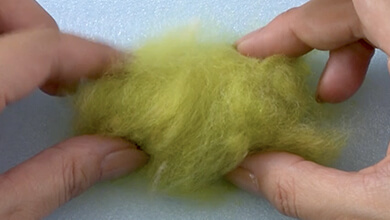
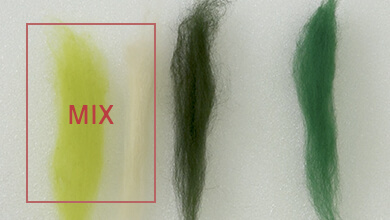
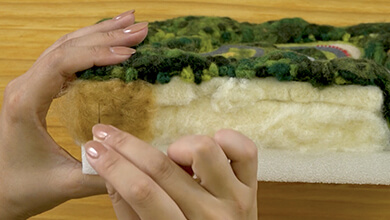
Wool
Please prepare the following colours of felt for making the Sportsland SUGO diorama.

Tools you will need
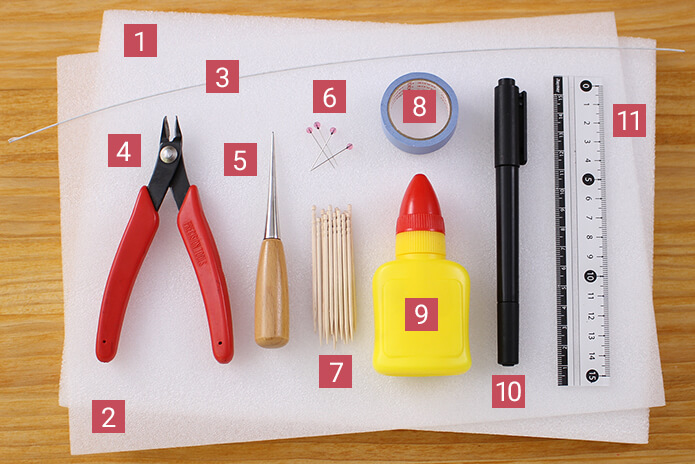
You will need the basic tools listed on the Guide to successful needle felting even for beginners (basic course) as well as the following tools to make the Sportsland SUGO diorama.
[1] A4 felt mat [2] A4 felt mat sheet [3] Wire size 20 [4] Pliers [5] Punch [6] Pins [7] 15 toothpicks [8] Masking tape [9] Glue [10] Permanent marker [11] Ruler
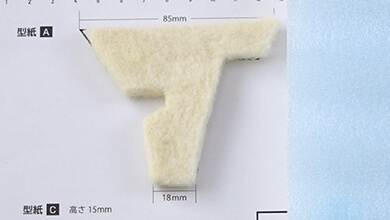
Pattern

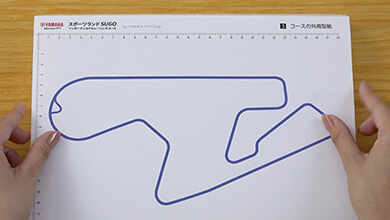
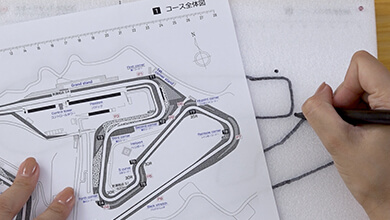
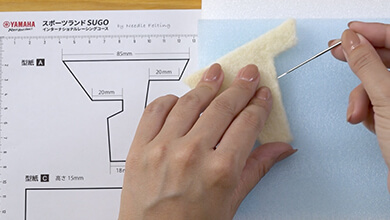
In order to make each part, match the shape and size to the pattern. We have provided the pattern in a PDF file so please download and print it for use.
When printing out, adjust the printing method to get the correct measurements by checking the scale on the paper with a ruler.

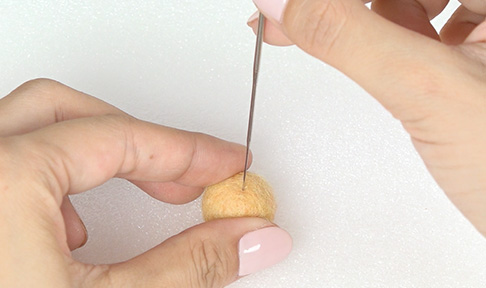
Check the finished firmness
As you poke the needle into the wool, it becomes more and more firm. You may wonder how firm you need to make the wool.
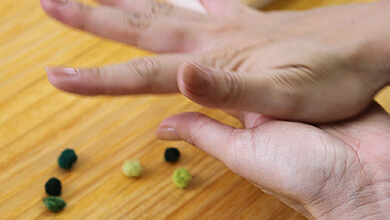
The firmness of the 1.8cm ball made from 1g of wool as shown in the felt ball how-to guide in the Basic Needle Felting Lesson is the standard firmness for making the SUGO racing course diorama.
If the felt is not firm enough, it will be off-kilter when assembling or the finished item will fall apart so it is important to work the felt to make it firm.

Once you have prepared everything let’s get to making the Sportsland SUGO diorama!

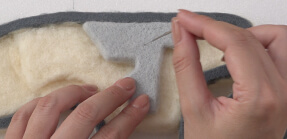
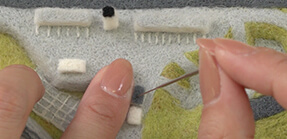
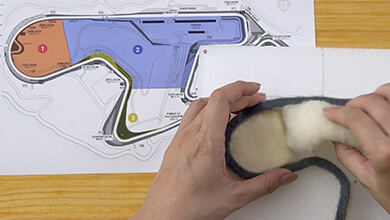
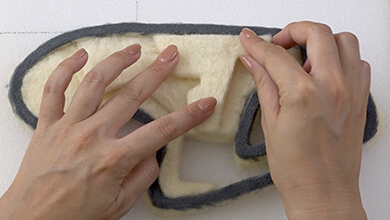
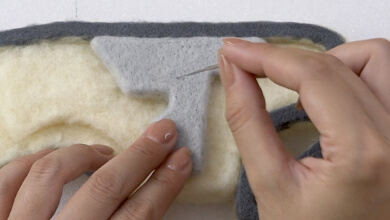
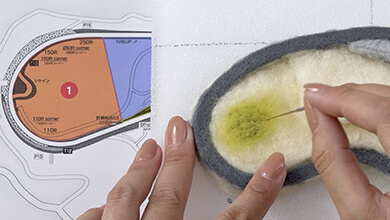
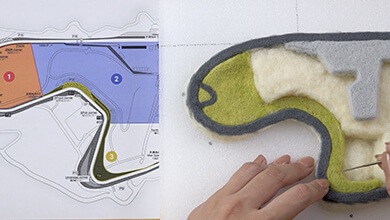
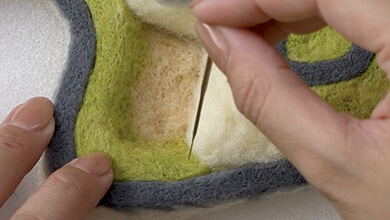
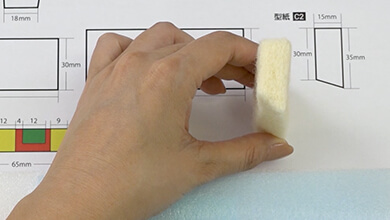
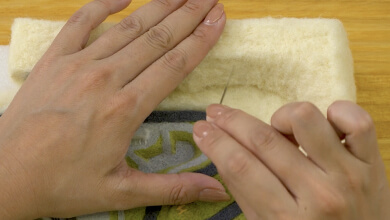
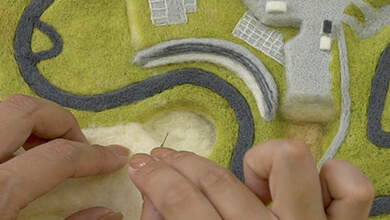
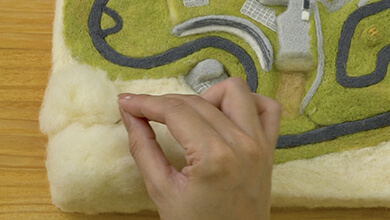
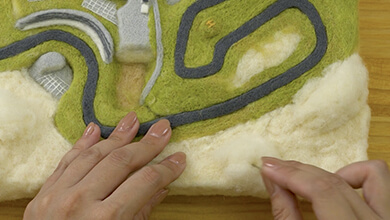
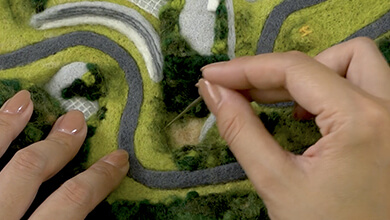
1 Prepare the course base
Prepare the course base
-
-
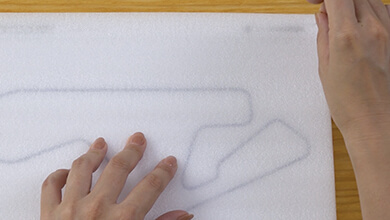
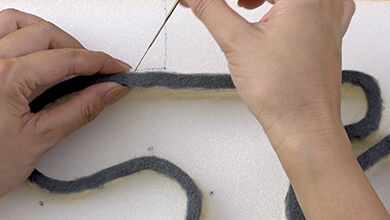
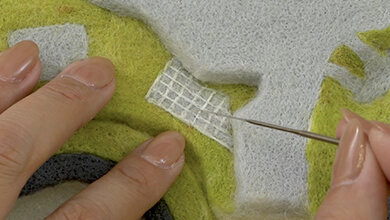
Place a thin sheet over 3. course outside pattern and pin each of the corners
-
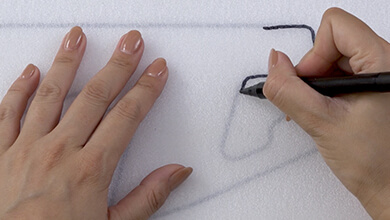
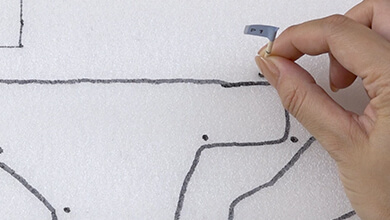
Trace the course shape with a magic marker
-
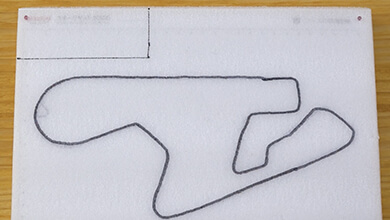
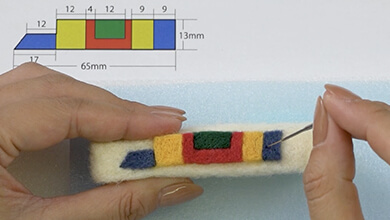
Draw a 45mm x 110mm rectangle in the top left
-
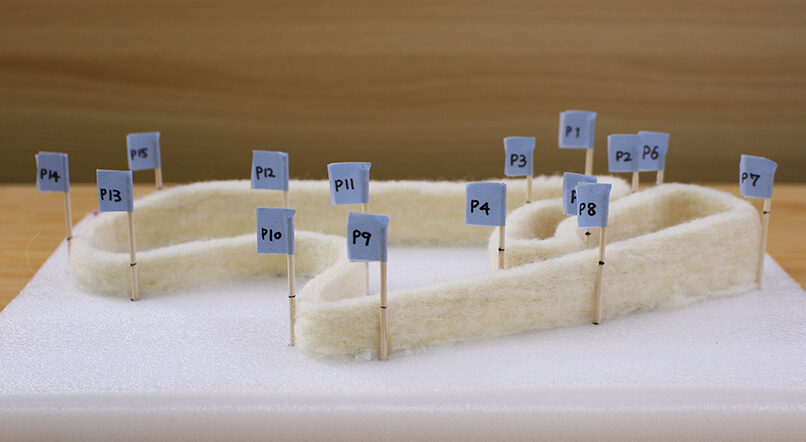
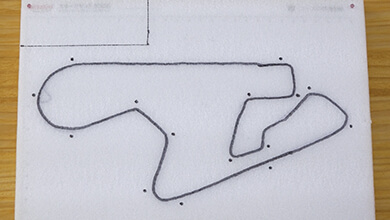
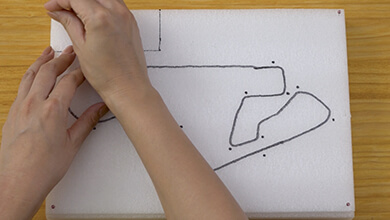
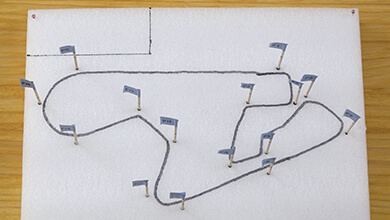
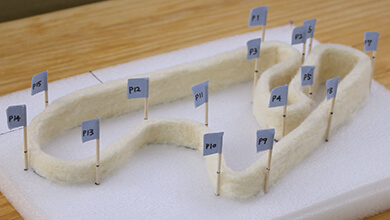
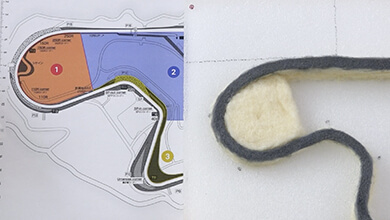
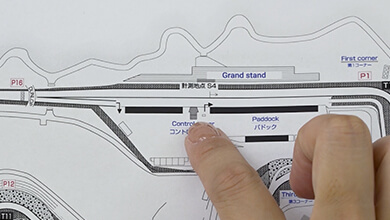
Make marks for the positions of P1 - P15 on 1. Map of whole course
-
-
-
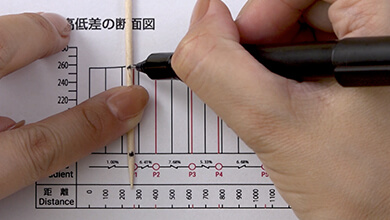
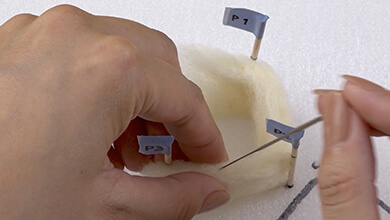
Mark the height differences on the red line from P1 to P15 in the height cross elevation on 2. Course differences on toothpicks
-
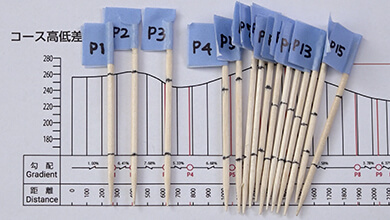
Stick masking tape to the tip of the toothpick in the first mark and write P1
-
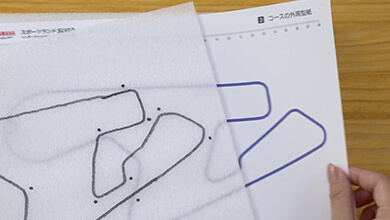
Remove the 3. Course perimeter pattern and put the traced sheet onto an A4 mat, pinning it in all four corners
-
-
Place the toothpicks that you just made in the P points of the course that you traced
-
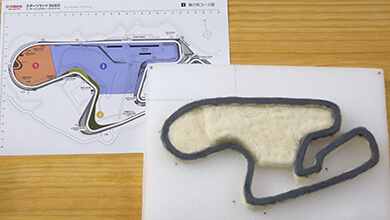
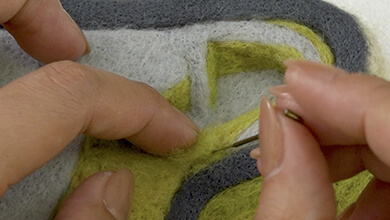
Make the course
-
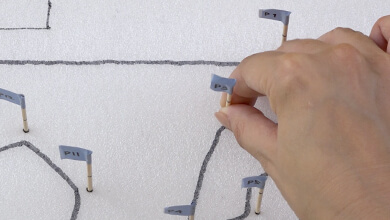
Take away the flags that get in your way as you work
-
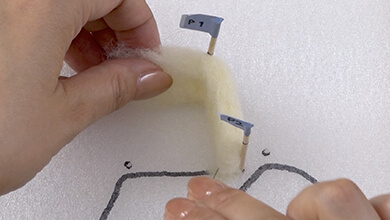
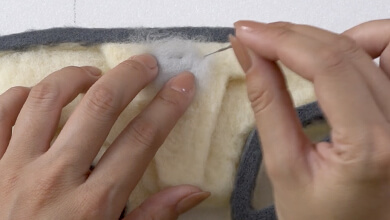
Poke the base felt to attach it on top of the traced course
-
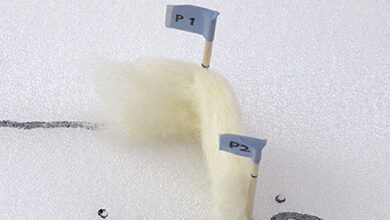
Make sure that the height of the base felt corresponds to the elevation at each point
-
-
Poke so that a slight edge stands up
-
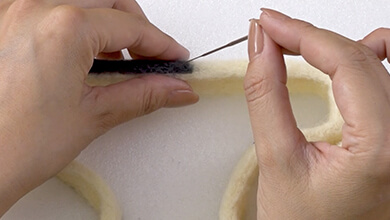
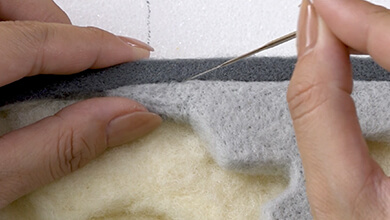
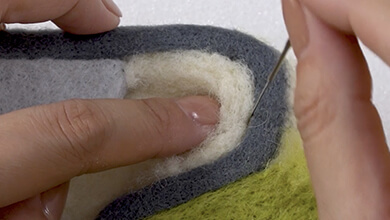
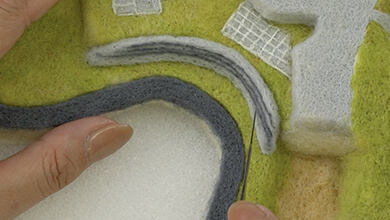
Cover the surface of the course with dark grey and poke
-
-
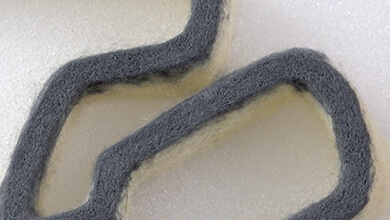
Poke until the surface is flat
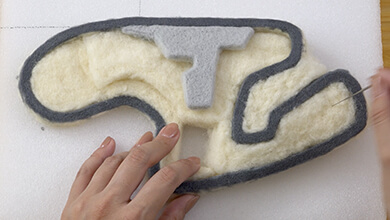
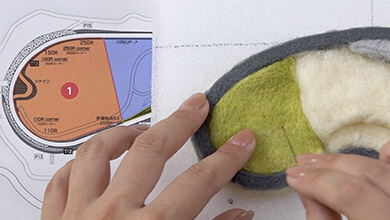
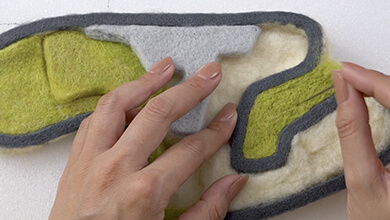
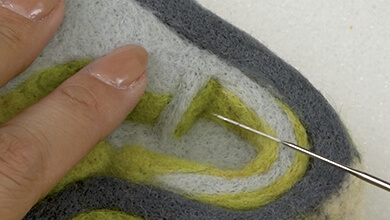
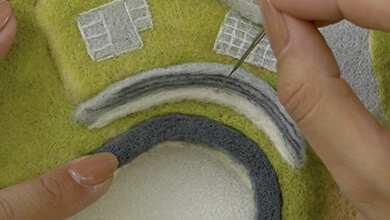
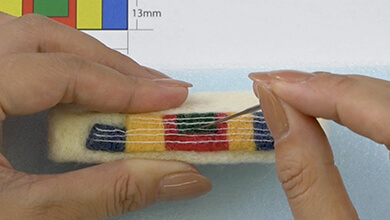
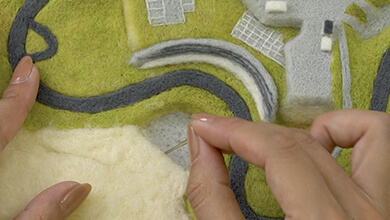
2 Make the course inside
Make the course inside
-
Poke base felt to the same height as the chicane on Sheet 4 - 1 to attach
-
Poke base felt so that it is 5mm higher in 2 than the SP point
-
-
3. Poke the base felt until this part is the same height as the course
-
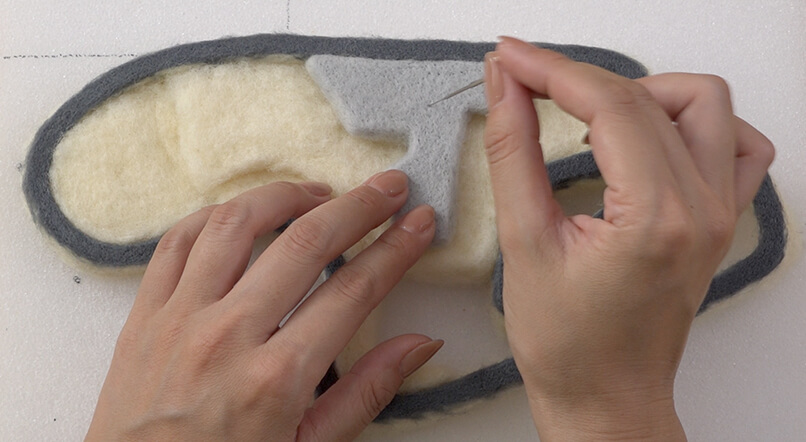
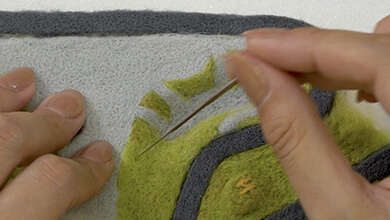
Make the paddock
-
Make the shape in Pattern A with base felt
-
-
Refer to the map of the whole course to poke the paddock you made into place
-
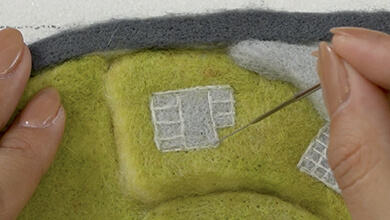
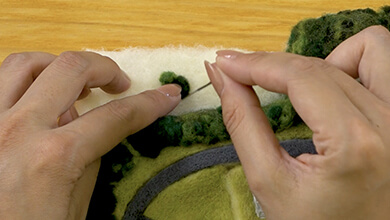
Poke a sliver of light grey on to the paddock
-
-
Use a light grey sliver to increase the left of the paddock by 1.5cm
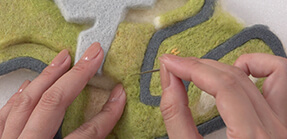
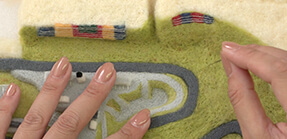
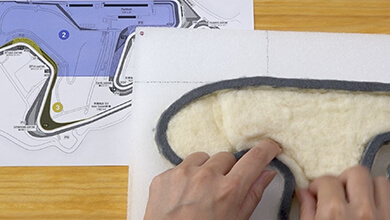
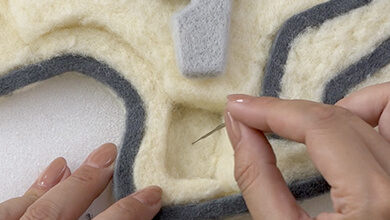
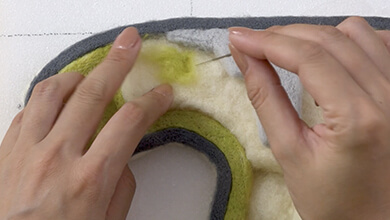
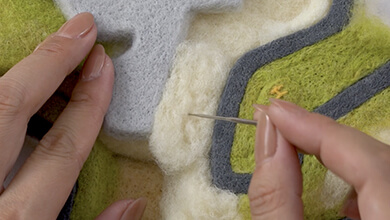
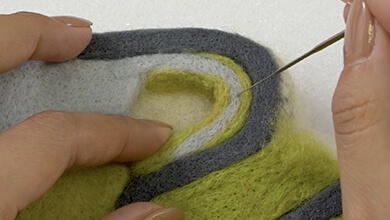
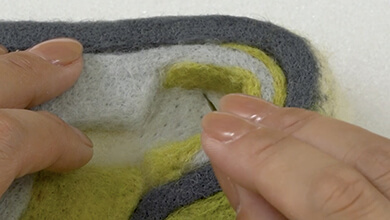
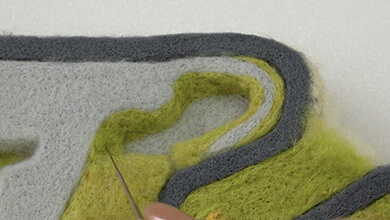
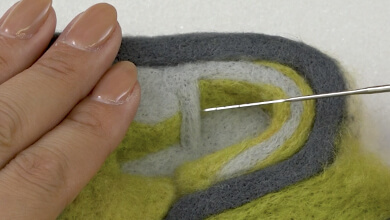
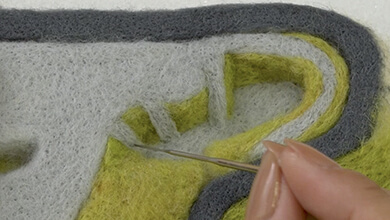
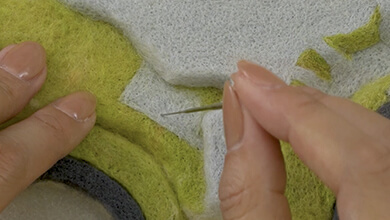
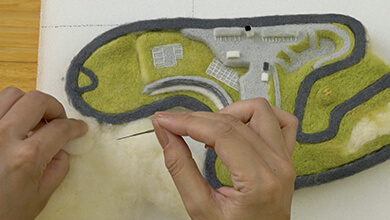
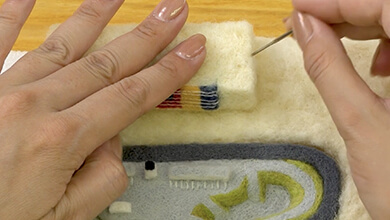
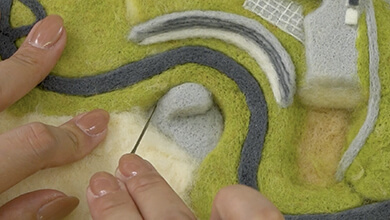
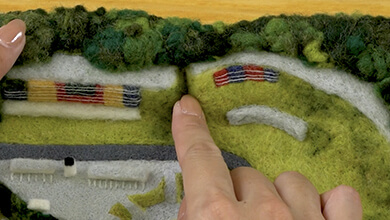
3 Detailed work on the course inside
-
Poke base felt to the same height as the course in the open spaces to attach
-
-
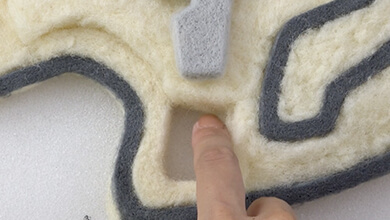
Poke the felt so it is a little lower here
-
-
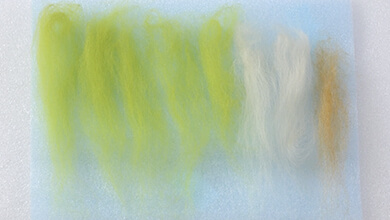
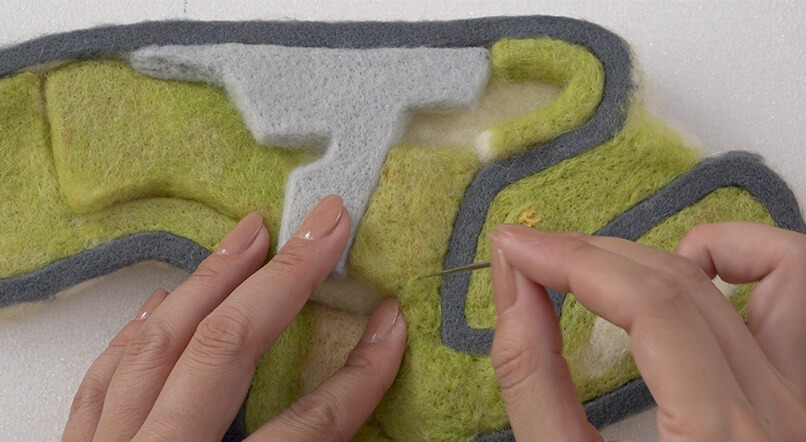
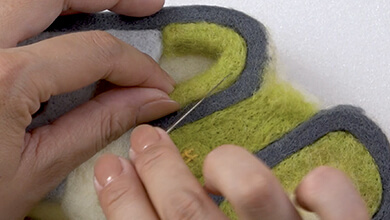
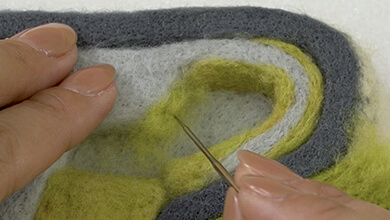
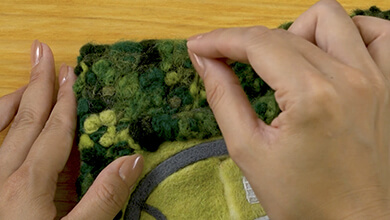
Make the basic grass colour: mix yellowish green, ivory and brown 5:2:1
-
-
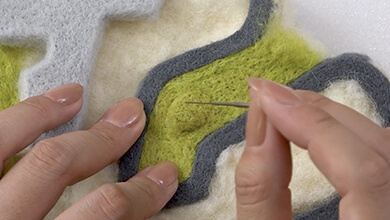
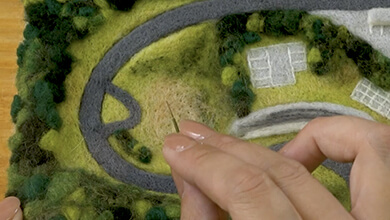
Poke the grass colour in area 1 of 4. Different elevations on course
-
Poke so that edge blends with the course
-
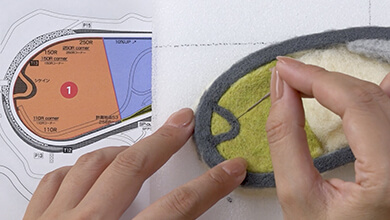
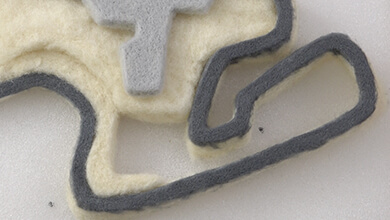
Poke the chicane with dark grey
-
Poke the grass colour in area 3 to attach
-
Make sure the part that joins with area 1 is smooth
-
Poke grass colour to the left of the paddock in area 2
-
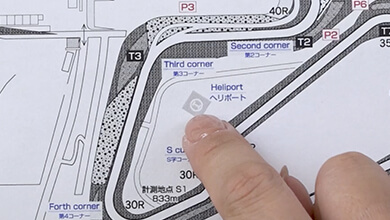
Poke grass colour in the area with the heliport too
-
Make an oval in grass colour around 7mm in height for the heliport
-
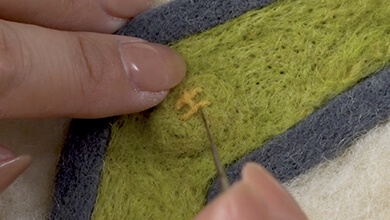
Poke an H in yellow for the heliport
-
Poke grass colour along the inside of the back stretch too
-
Mix brown and ivory 1:1 and poke in the interior of umanose corner
-
Make sure the join with area 3 is smooth
-
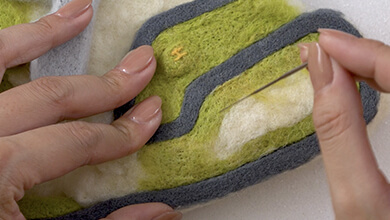
Poke base felt of a width of 1cm along the course inside between the 1st and 2nd corners
-
Poke base felt between the paddock and the 3rd and 4th corners so that it is smooth
-
Poke grass colour on the base felt
-
-
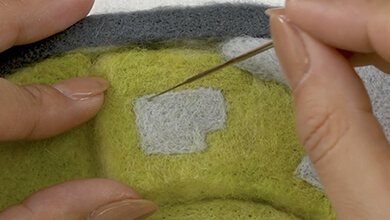
Poke a light grey road inside corners 1 and 2
-
Poke light grey into the hole
-
Poke grass colour into the right wall of the paddock
-
-
Make 3 roads going down from the paddock
-
Poke grass colour in both sides of the 1st road
-
Poke the 2nd and 3rd roads until they are flat
-
Finish the grass on the right of the paddock
-
Finish smoothly by covering with grass colour
-
Poke two car parks into the left side of the paddock
-
-
Poke in the car park line with slivers of white
-
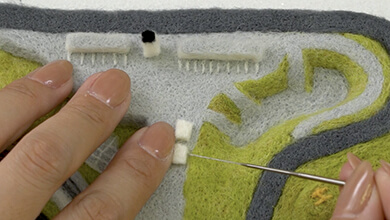
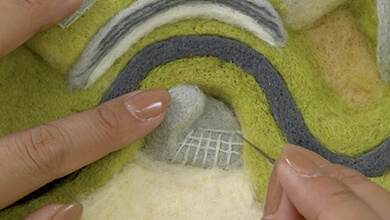
4 SP corner/spectator seating/paddock area
Make the SP Corner/Spectator seating
-
Poke SP Corner spectator seating with light grey
-
Use dark grey slivers to make three horizontal lines
-
Poke a white sliver beneath the spectator seating
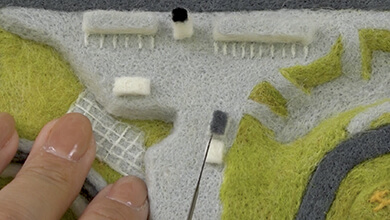
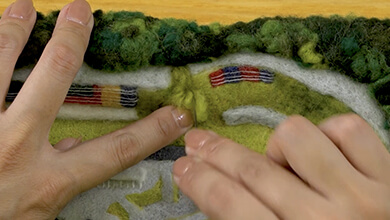
Make the inside of the paddock
-
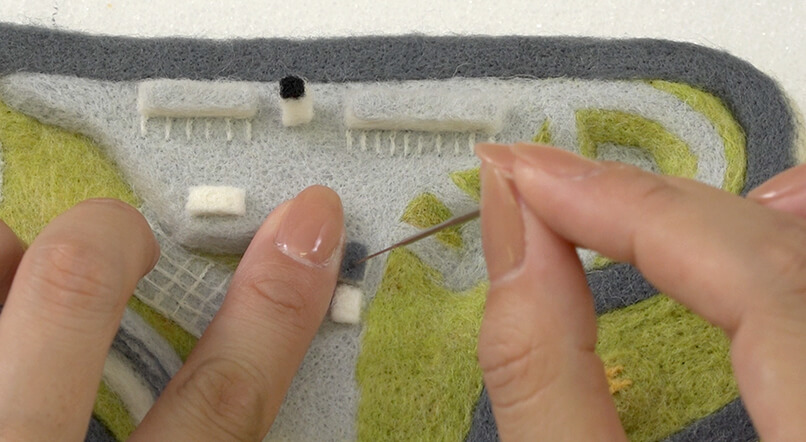
Make the control tower with white slivers
-
Poke to attach a sliver that you have rolled into a loose ball to the paddock
-
Put a little black on top and poke until it becomes a square pillar
-
Make the pit
-
Poke white slivers to either side of the control tower to make rectangles
-
Poke the pit roof with a light grey sliver
-
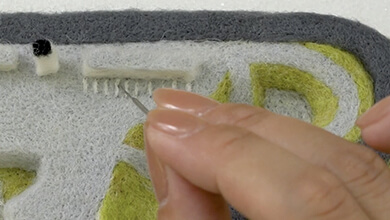
Poke 10 lines on the right of the pit with white slivers
-
Poke 6 white lines on the left of the pit
-
Make the building opposite the pit with a white sliver
-
-
Make two more buildings with white slivers
-
Poke dark grey on the roof of the building closest to the pit
Make the road in the course inside
-
Make a road with a light grey sliver from the back of the building you made to umanose corner
-
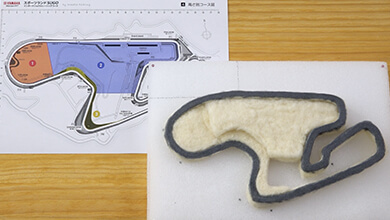
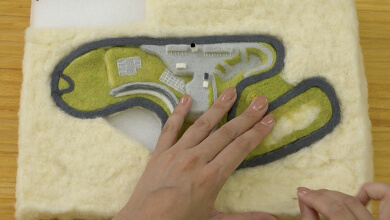
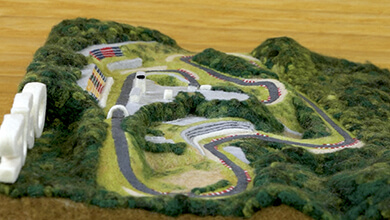
5 Make the course outside
Make the course outside
-
Cover everything else with base felt to the same height as the course apart from the outside of the SP Corner and the rectangle in the top left
-
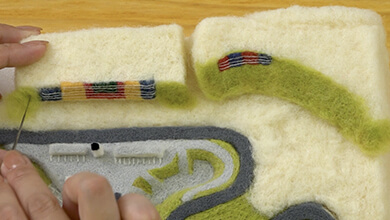
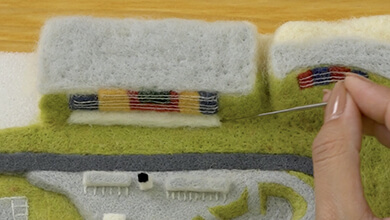
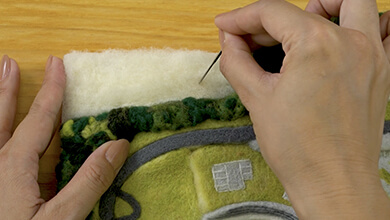
Make the grandstand
-
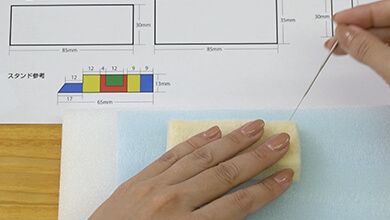
Make the shape with base felt according to Pattern C
-
-
Poke the grandstand so that it is 3mm as shown in the reference
-
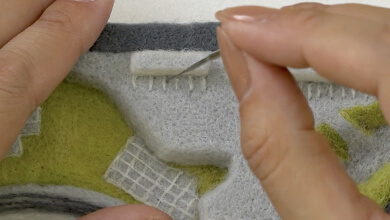
Poke 5 horizontal lines with white slivers
-
Poke the grandstand edge into the base along the upper area of the mat.
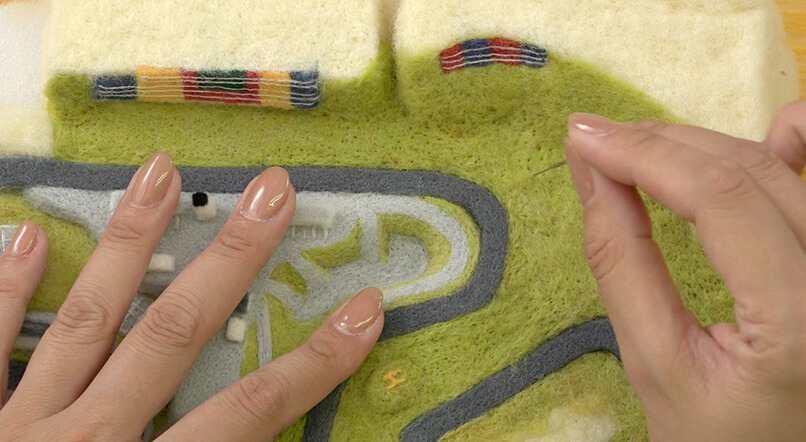
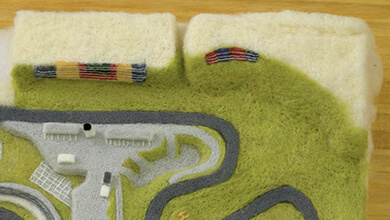
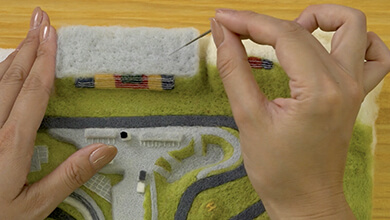
Make the 1st Corner Stand
-
Poke base felt so that it forms a triangle with a rounded edge on the inside and forms the top right corner of the base. Make it the same height as the grandstand
-
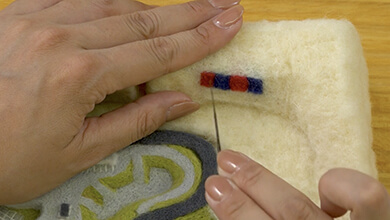
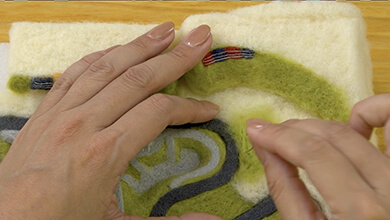
Poke 7mm red and blue slivers alternately
-
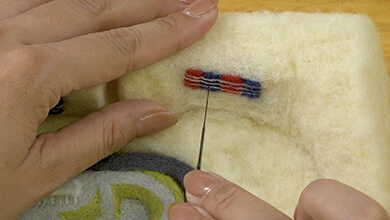
Poke three lines with white slivers
-

Poke 3 horizontal lines with white slivers
-
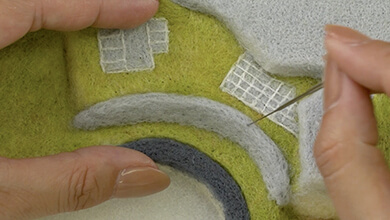
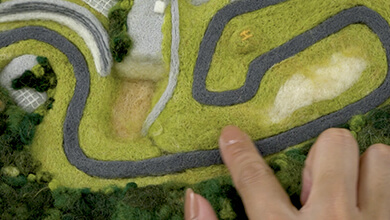
Poke grass colour around the course
-
Poke grass colour from the 1st corner to the edge of the hi-point
-
-
Poke 1cm with base felt on the outside of the SP corner
-
Spread the grass from umanose corner to beside the chicane
-
-
Poke light grey slivers on the top of each stand
-

Make the bottom of the grandstand
-
Poke a white sliver at the bottom of the grandstand
-
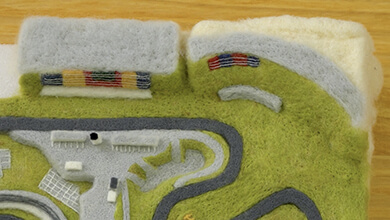
Poke a light grey at the bottom of the 1st corner stand
Make the SP corner outside car park
-
Poke base felt to lightly attach to mat
-
Polke light grey slivers on top of that
-
Make an oval that is the same height as the course with a light grey sliver. Poke to attach the oval to the ground
-
Use white slivers to poke the car park lines in a lattice
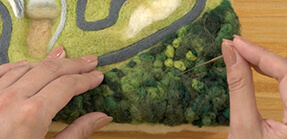
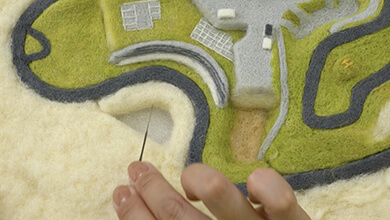
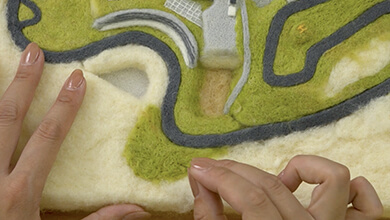
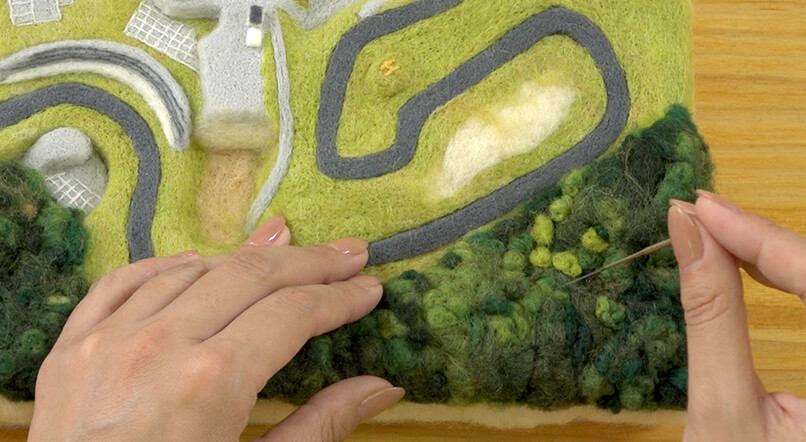
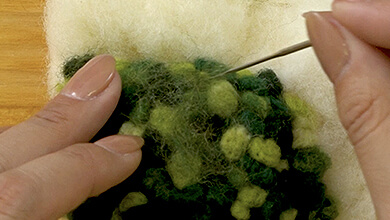
6 Make woods around the course outside
-
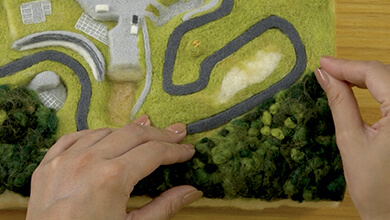
Make the ups and downs of the hill with base felt using the photos of the aerial view and the completed felting
-
-
-
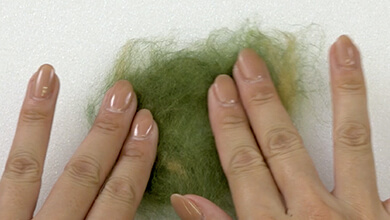
Use green, yellowish green and deep green in single colours of a mix of 1:1 for the woods
-
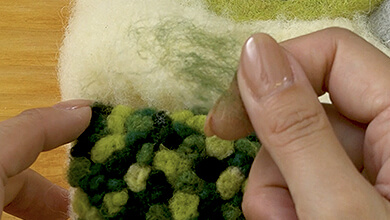
Make light balls in the palms of your hand and poke them randomly around the woods area
-

-

Lightly blend the whole woods by lightly spreading a mixture of the same amounts of green, yellowish green, brown and ivory over the top of the balls you have attached
-
-
-
-
-
-
Poke base felt into the open area at the top left
-
Poke trees on top of this the same way as before
-
-
Poke trees in the interior
-
-
Using the mix that was used for the woods surface, poke trees dotted around
-
Fill joins and gaps to make them smooth
-
-
-
Fill in the west course part with a mixture of brown and ivory 1:1
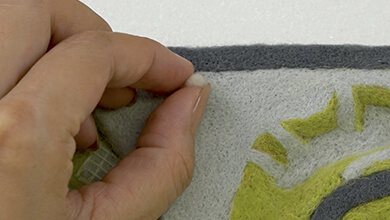
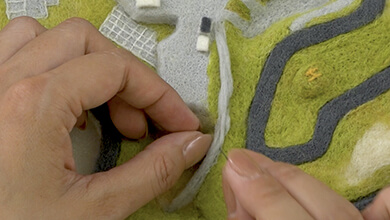
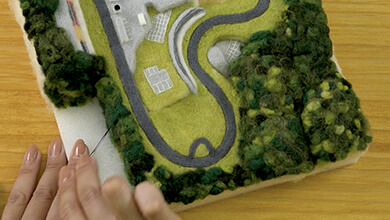
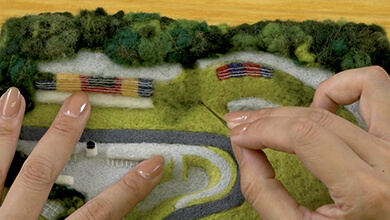
7 Detailed work overall - completion
Detailed work overall
-
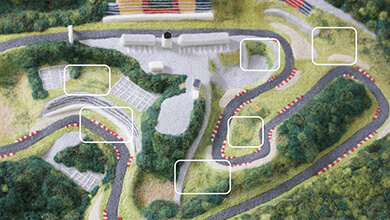
Add colour with mixtures of brown and green, deep green or yellowish green using the photos of the aerial view and the completed felting
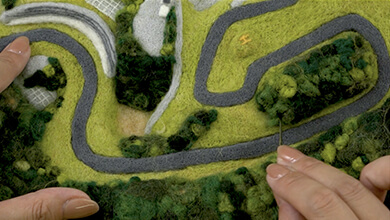
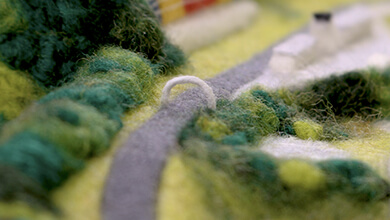
Make the arch
-
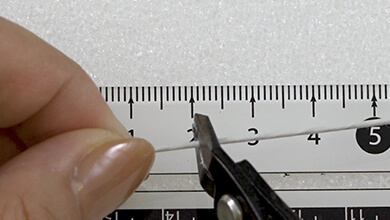
Cut 2cm of wire
-
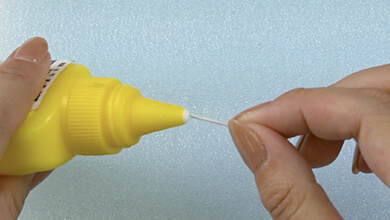
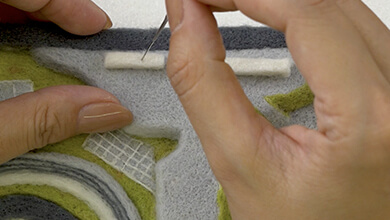
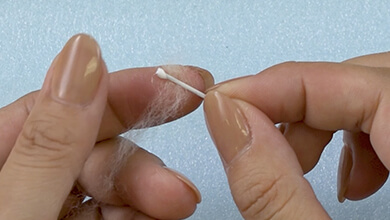
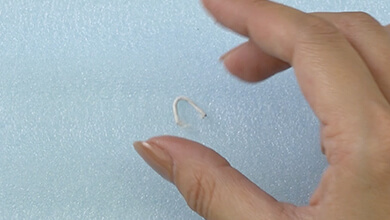
Put bond on the tips of the wire, wrap it in a white sliver and bend it into a U-shape
-
-
-

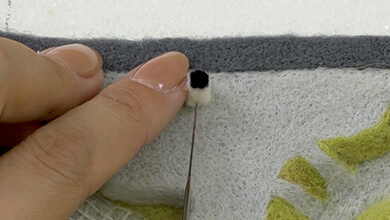
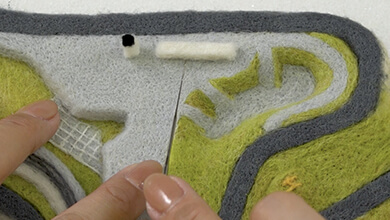
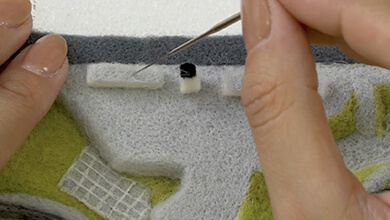
Make a hole with a punch at the left and right of the course at the left edge of the paddock and insert the wire with the bond at the tips
-
Make the kerbstones and escape zone
-
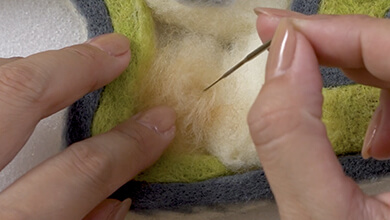
Make the escape zone from umanose corner. Poke with ivory
-
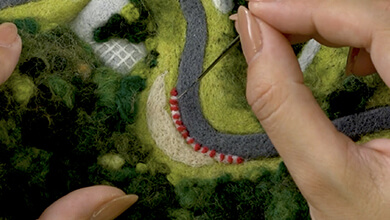
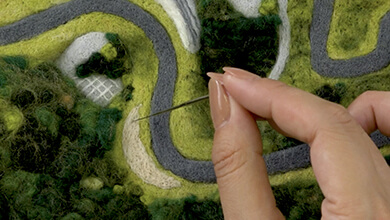
Poke the kerbstones with alternate white and red slivers
-
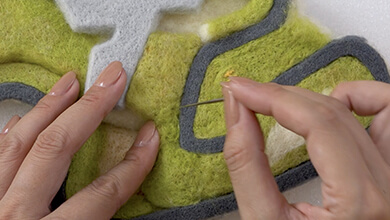
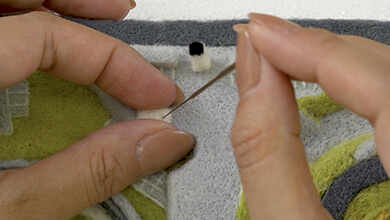
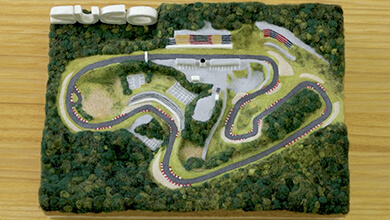
Make the SUGO logo
-
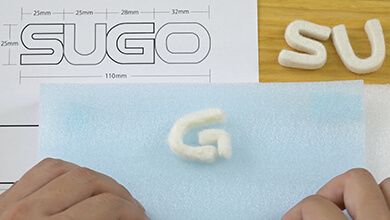
Make the SUGO letters with white slivers according to Pattern B
-
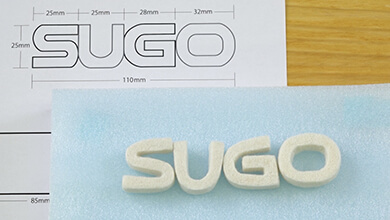
Finish the sides
-
Poke brown everywhere except the side mat
-

Stand the logo up
-
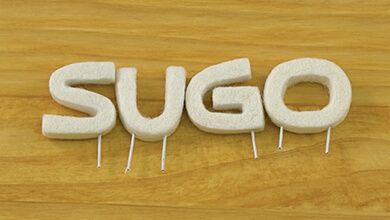
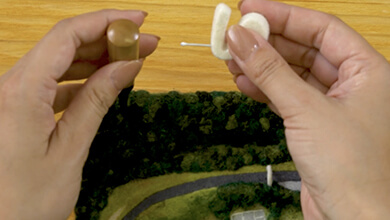
Make a hole with the punch in the bottom of each letter. Cut 2cm pieces of wire, apply bond to the tip and insert
-
-
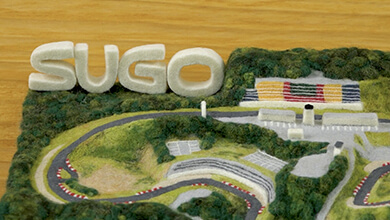
Check the position and punch holes in the top left, inserting and fixing each letter with wire one at a time.
-

-
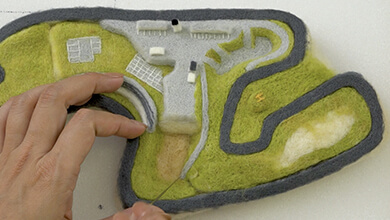
You have finished!

Official social media gallery -
Send in pictures of your work!
Let us post the work you have created using the how-to guide on this site on the official Yamaha Motor amigurumi / needle felting account on Instagram.
Just fill in the required fields on the posting page and upload photos of your work. We are looking forward to seeing them.
Terms of use
These contents are operated by Yahama Motor Co., Ltd. and are provided free of charge with the premise that they will be used in the pursuit of hobbies by individuals.
Please read the terms of use of the website before use. We hope you enjoy these contents.>Terms of use