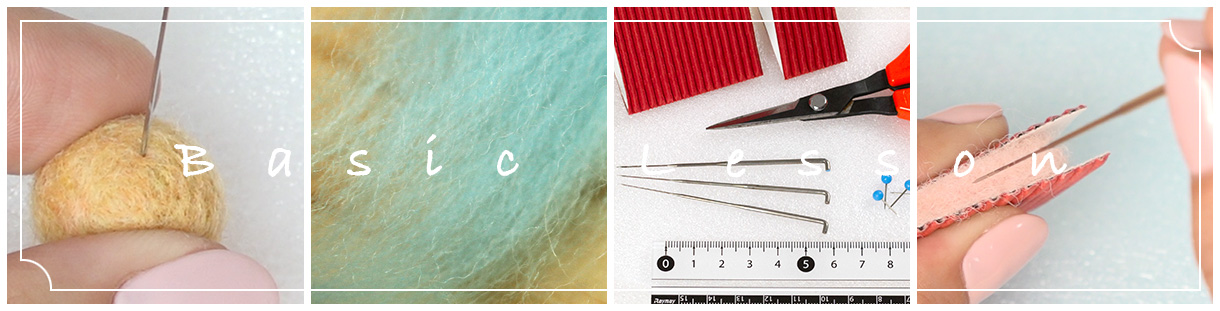
Basic needle felting lesson
This video introduces the basic knowledge that you need to do needle felting.


There are two types of felting: needle felting and hand-made felting. These contents introduce needle felting used to make three dimensional shapes.
Needle felting first started around 120 years ago. It is a method of poking wool with a special needle to make dense fibre mass into felt.
Have a look at this lesson on the basics and maybe you will try your hand at needle felting.

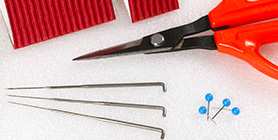
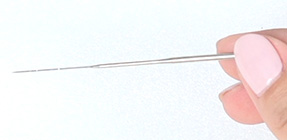

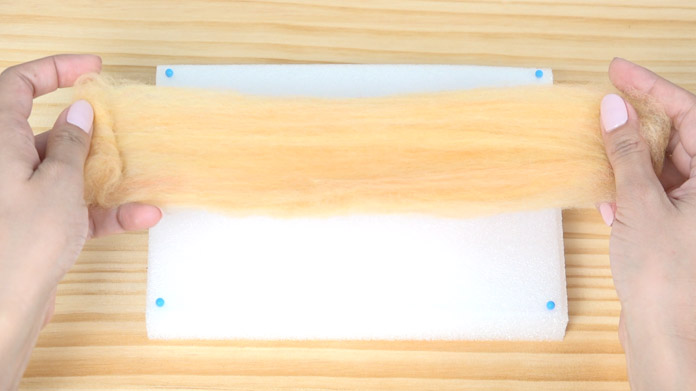
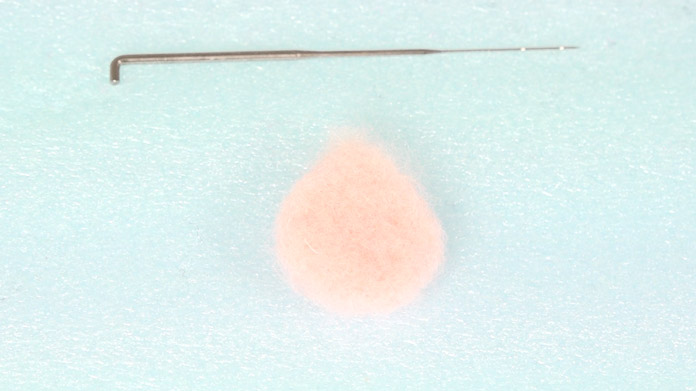
1 Required tools
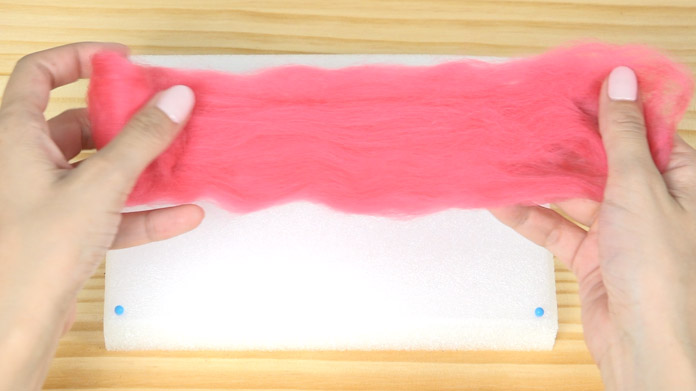
Here are the necessary tools in addition to wool.

[1] needle [2] sandwich card [3] scissors [4] pins [5] ruler [6] mat [7] mat cover [8] scales
The scales are used to weigh the wool Mat + mat cover: put the cover on top of the mat and secure with pins in each corner. Sandwich card: make these yourself using card or cardboard. They are used to get a hold of small parts when you are working on them.
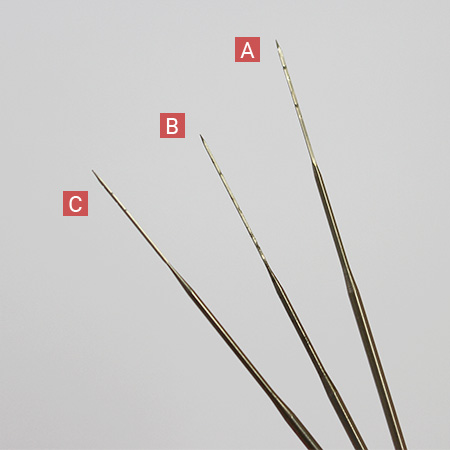
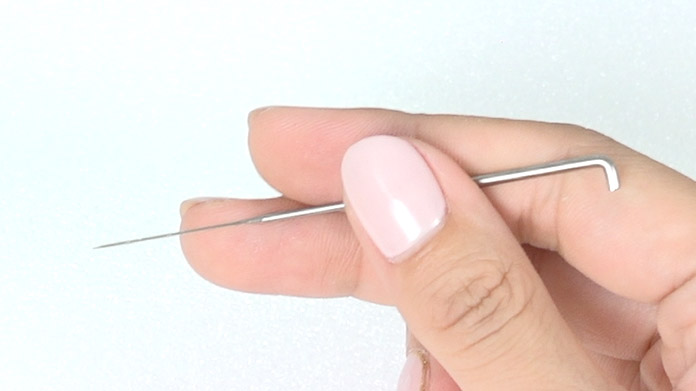
- 3 types of needle
- A. Thick needle: used for shaping and making hollows, etc.
- B. Sculpting needle: used for creating a firm shape from the soft wool.
- C. Very thin needle: used for tidying up visible wool fibres and needle holes once the object is firm enough.
These needles and mats can be purchased at craft or wool shops.
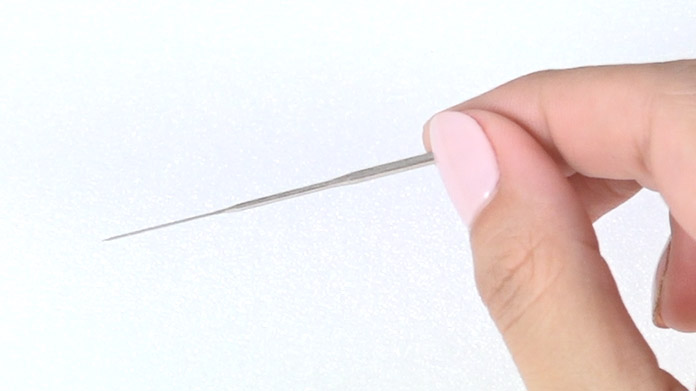
2 How to hold and use the needle
This video shows how to hold and use a needle correctly.
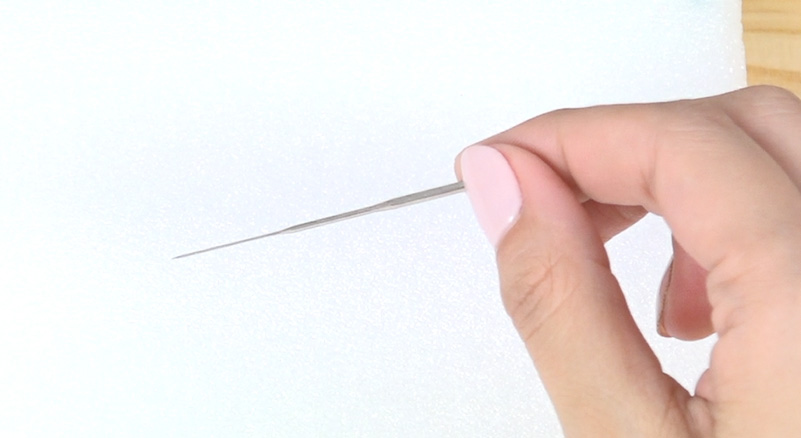
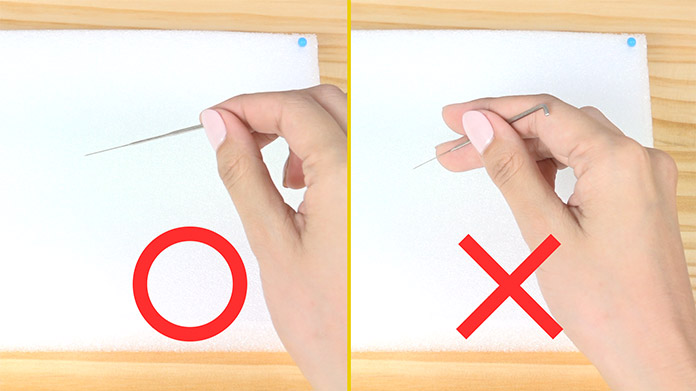
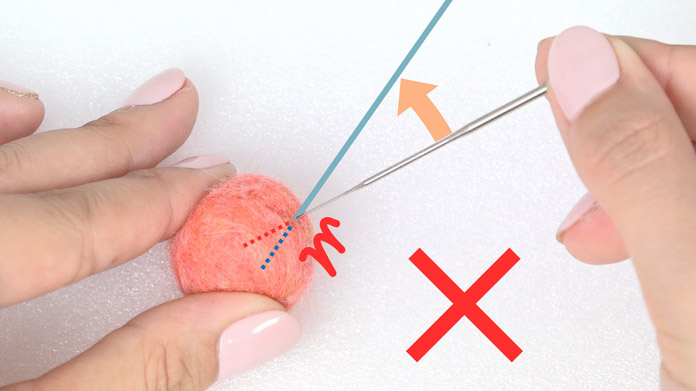
How to hold the needle
-
Hold the needle at the 90°angle at the top.
-
-
Please note that if you hold the needle like a pencil, it may break.
-
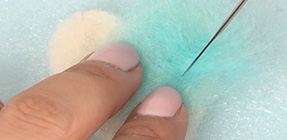
How to use the needle
-
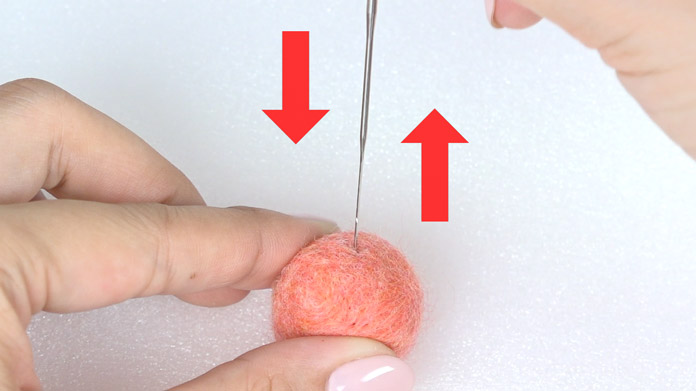
If you insert the needle vertically, remove it vertically.
-
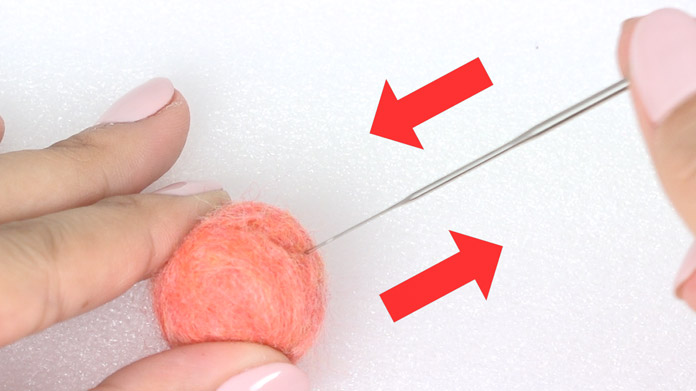
If you insert the needle diagonally, remove it diagonally.
-
-
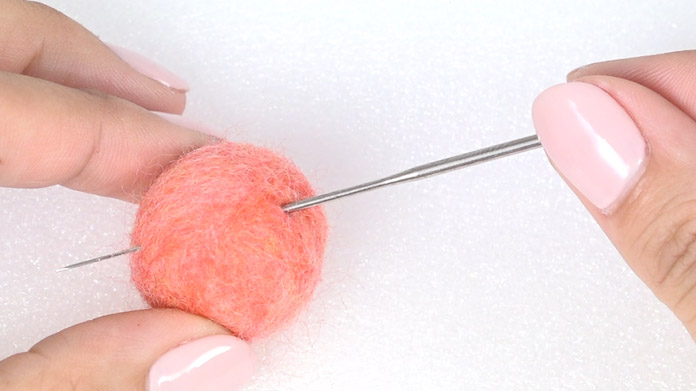
Make sure not to prick the hand holding the wool.
-
Poke the sculpting needle deep that it goes right through to the mat.
-
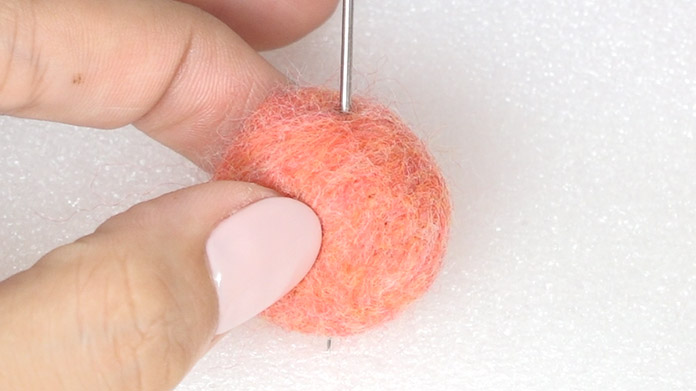
Poke the finishing needle lightly and in a shallow manner.
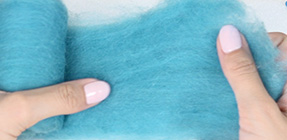
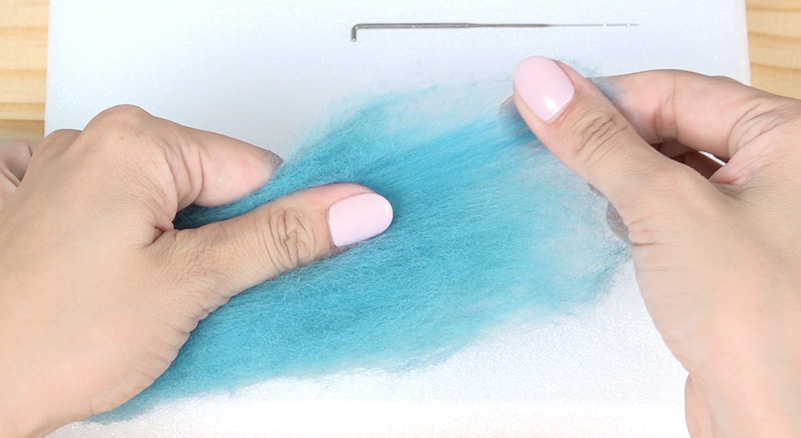
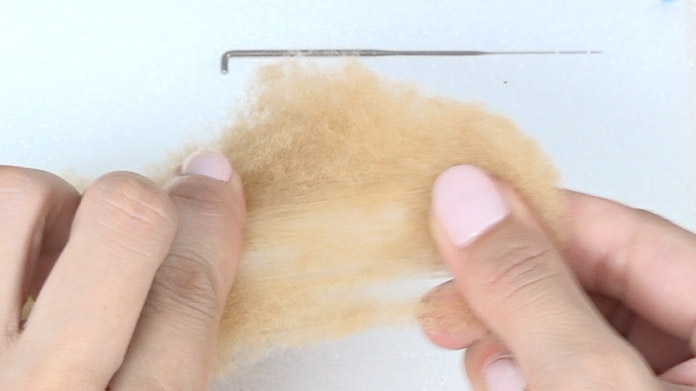
3 Types of wool
This video explains how to differentiate between types of wool and their different uses.
Tightening the circle
-
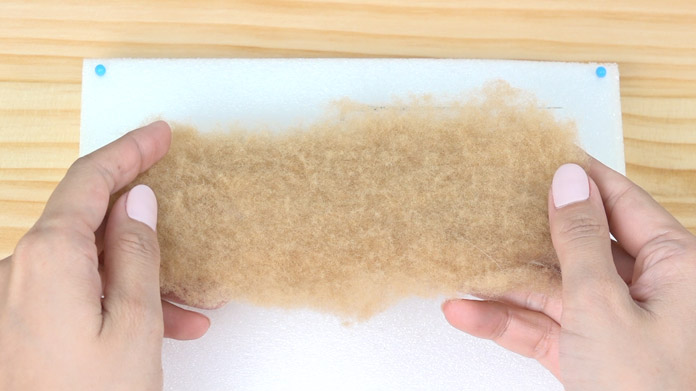
Wool sheet - sheets made from short wool
-
The wool fibres are short so it is easy to separate and shape.
-
It is mostly used for the base or body of an item.
-
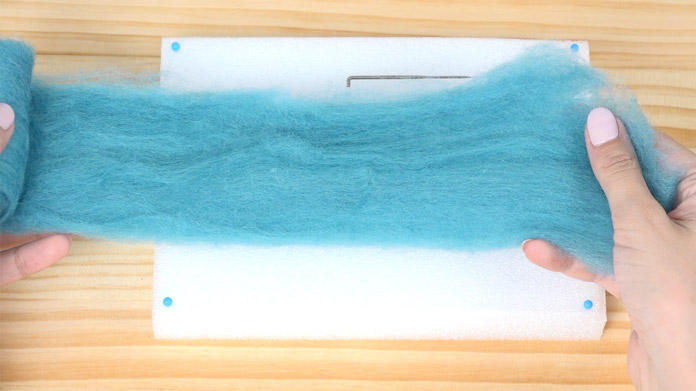
Sliver (merino) ? thread format with long pile length.
-
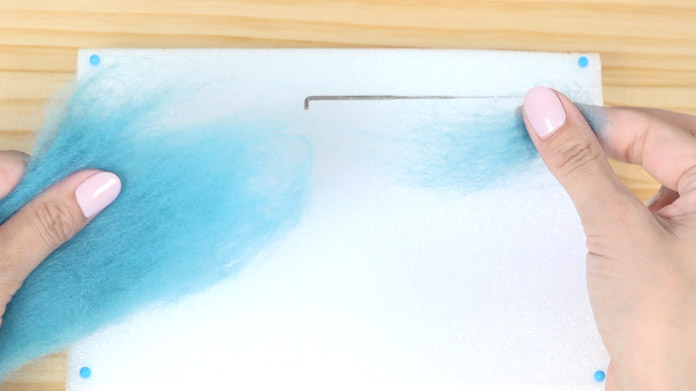
It is possible to get long fibres so it can be rolled tightly and felted.
-
It is mostly used for the base or to colour an item.
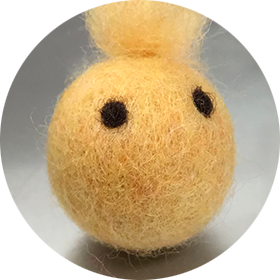
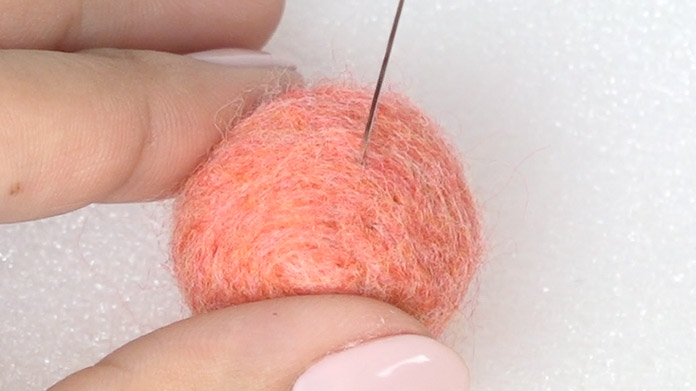
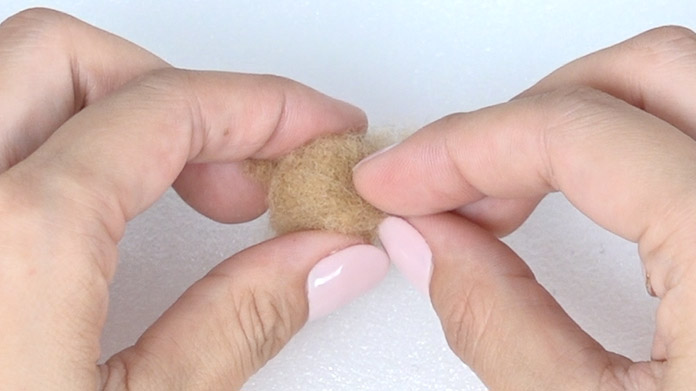
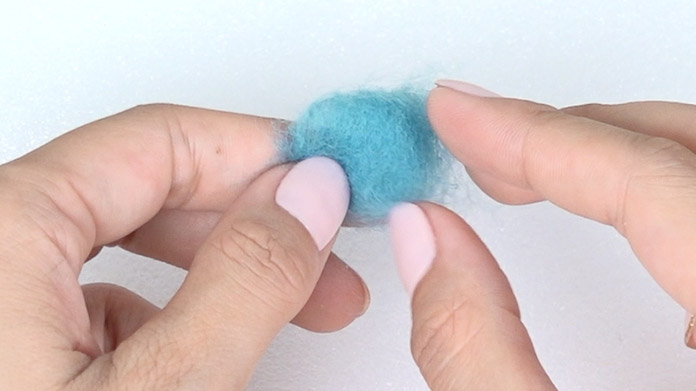
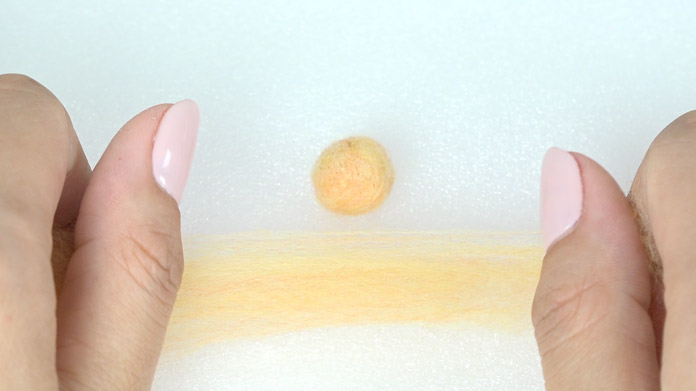
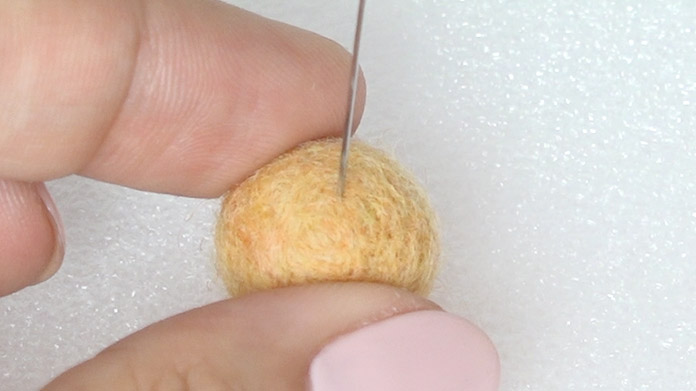
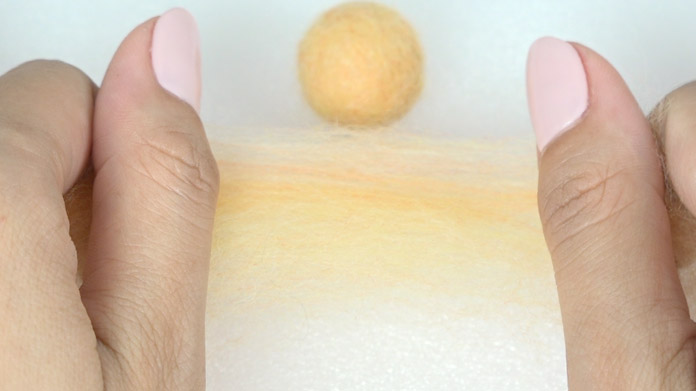
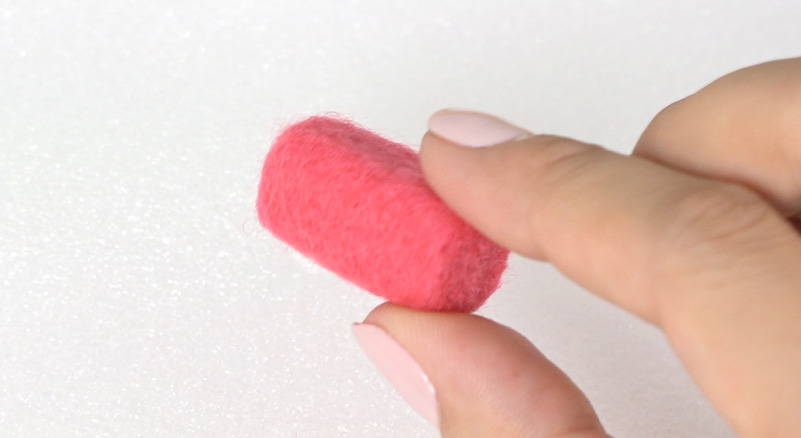
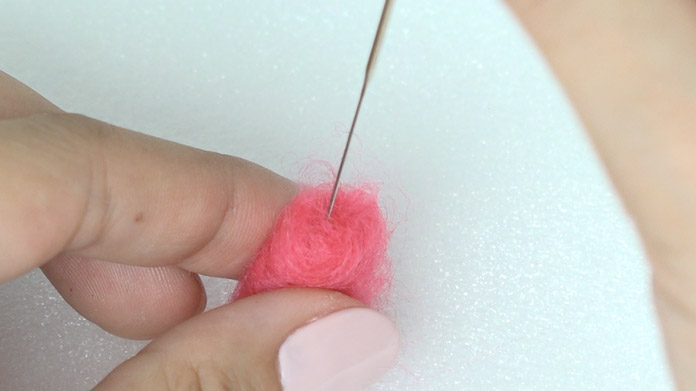
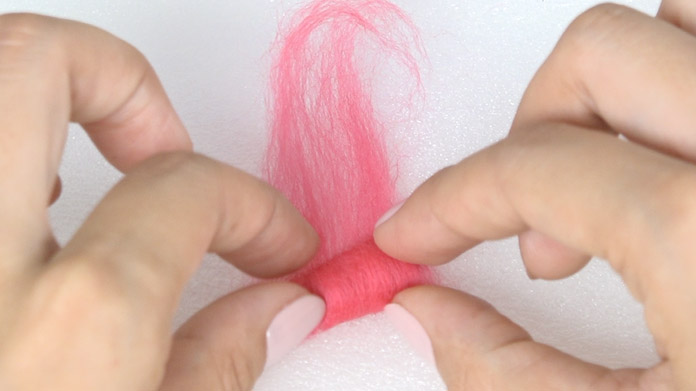
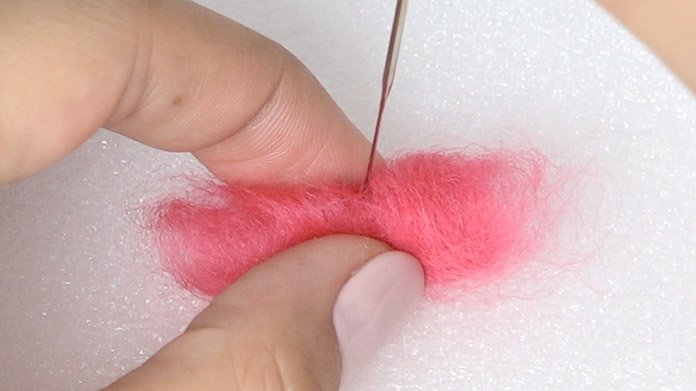
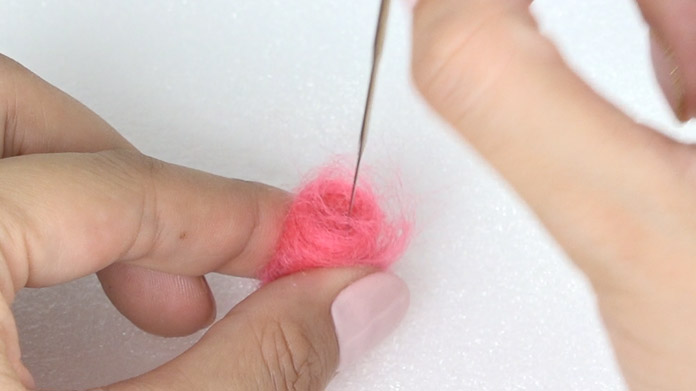
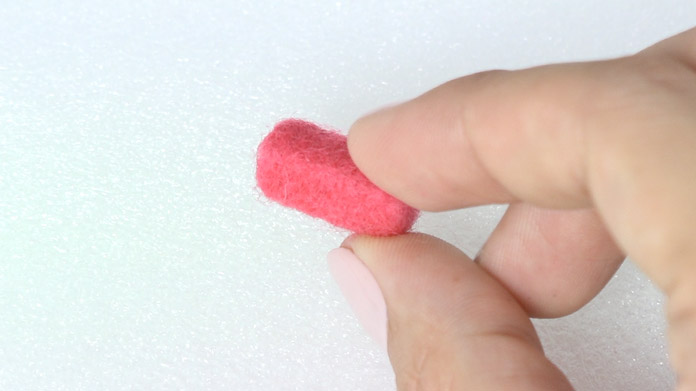
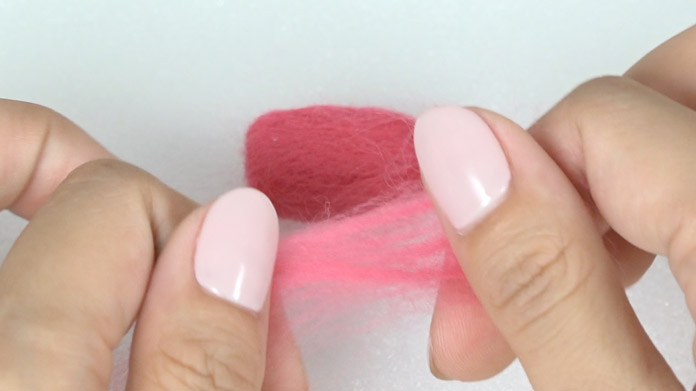
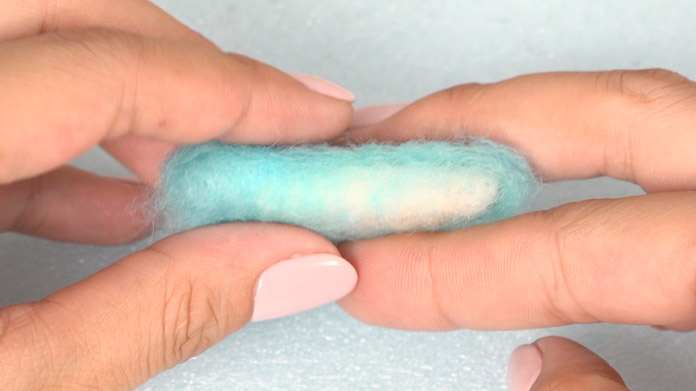
4 How to make a felt ball
This video shows how to make a 1.8cm ball with 1g of wool.

-
Use 1g of wool.
-

If it is difficult to weigh 1g, weigh 3g and split into three.
-

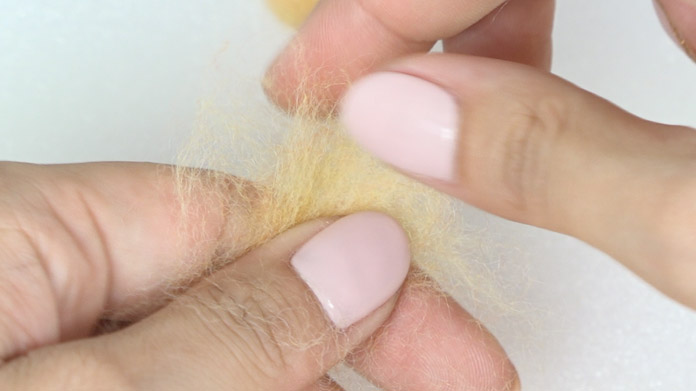
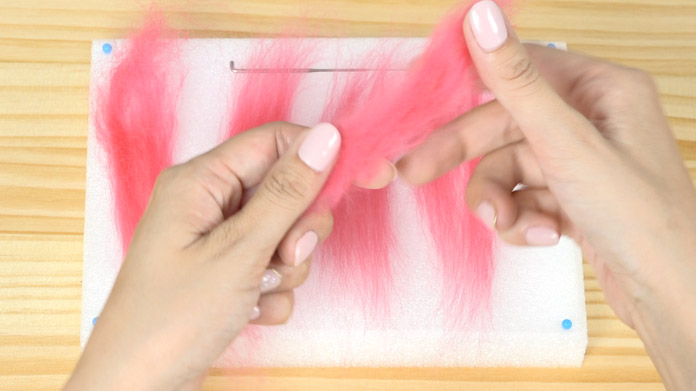
Split 1g of wool into five.
-
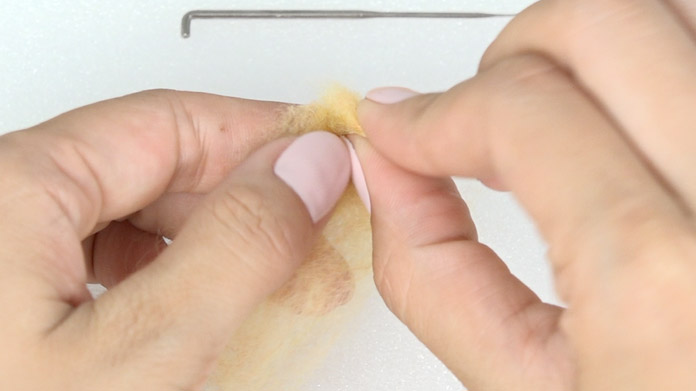
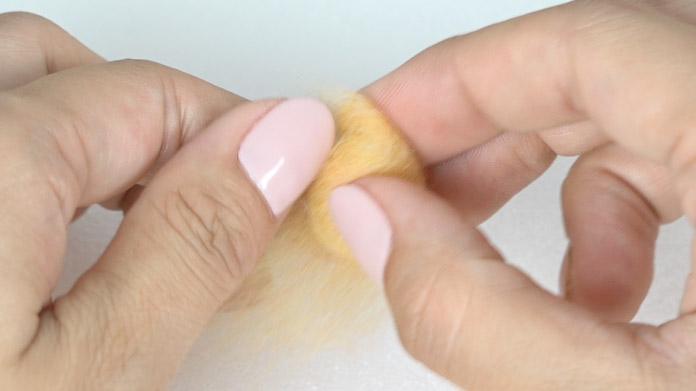
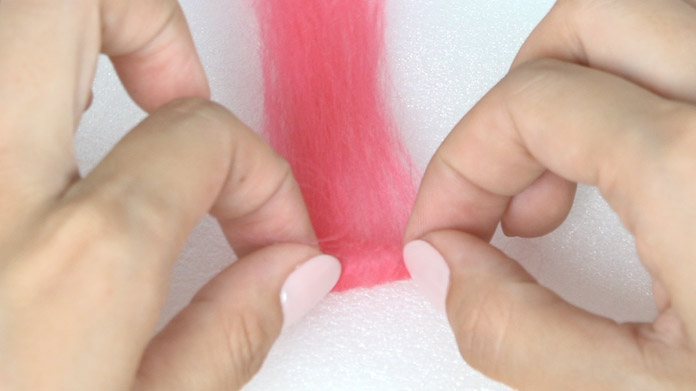
Take one of the pieces and fold tightly.
-
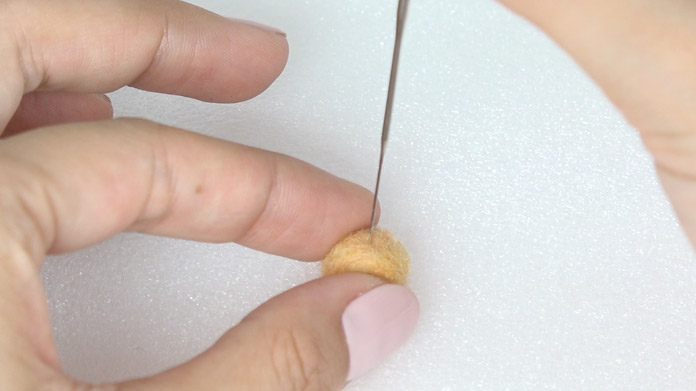
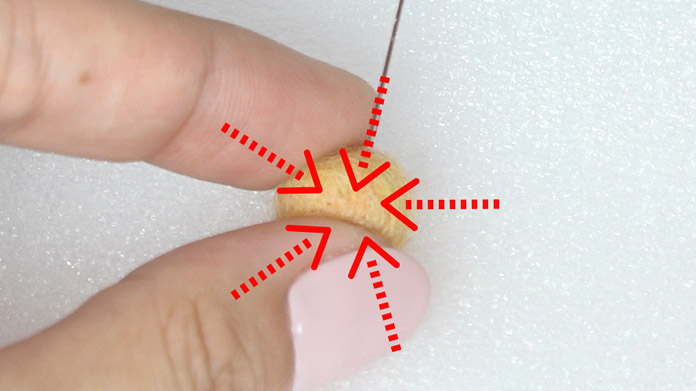
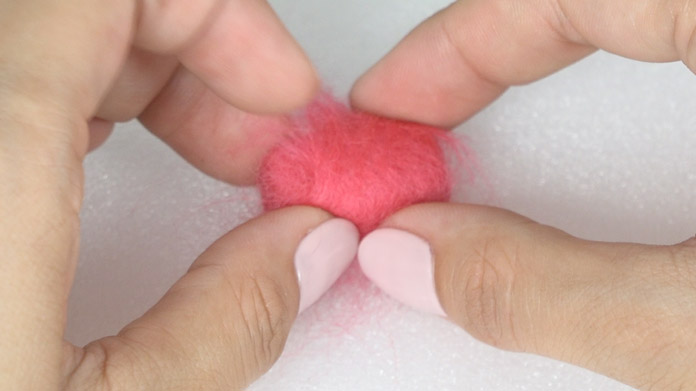
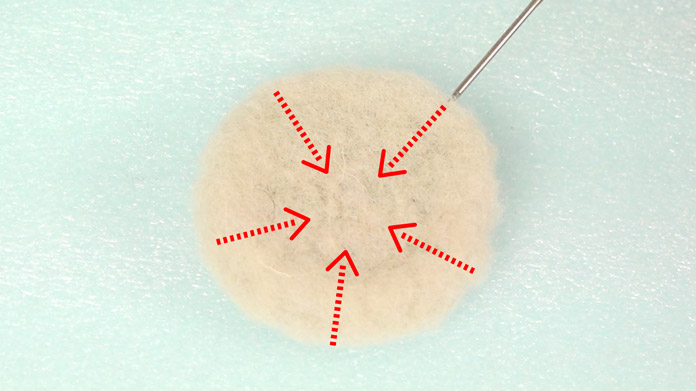
Roll around while poking towards the centre of the ball.
-
-
Once it is firm…
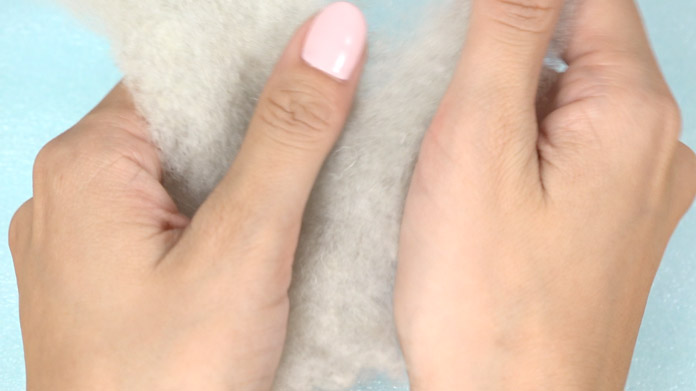
Take another piece of wool and wrap tightly while stretching. -
Take a third piece of wool and wrap tightly then poke.
-
-
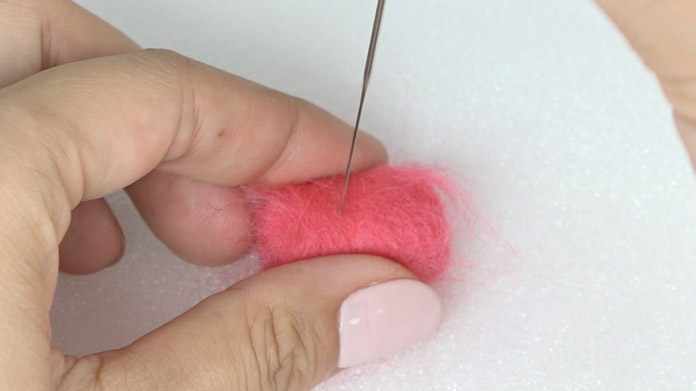
Roll in your hand to make it round.
-
Keep poking and rolling.
-
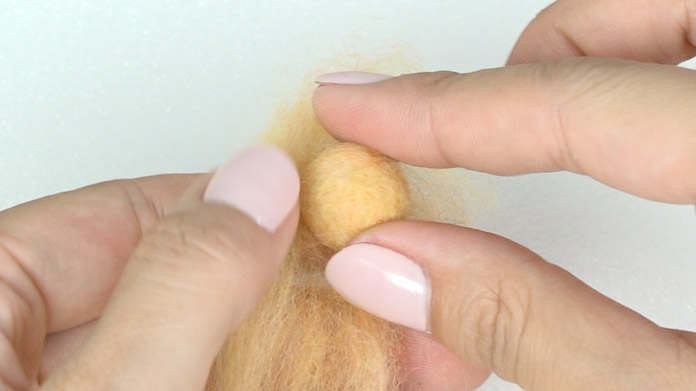
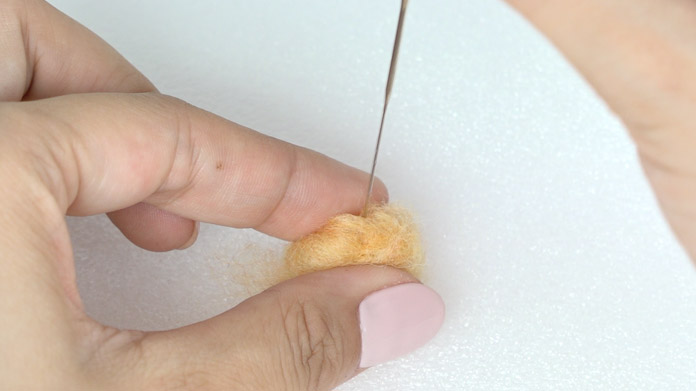
Take the 4th piece, wrap tightly and poke.
-
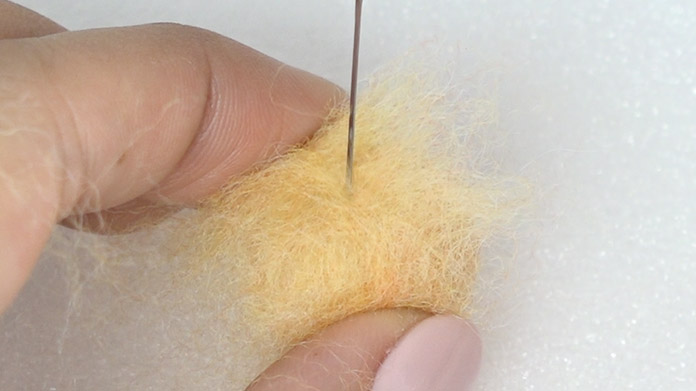
Poke the fluffy parts down to make the surface smooth.
-
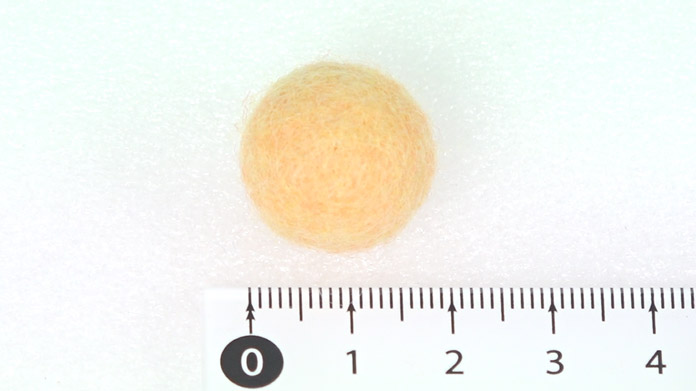
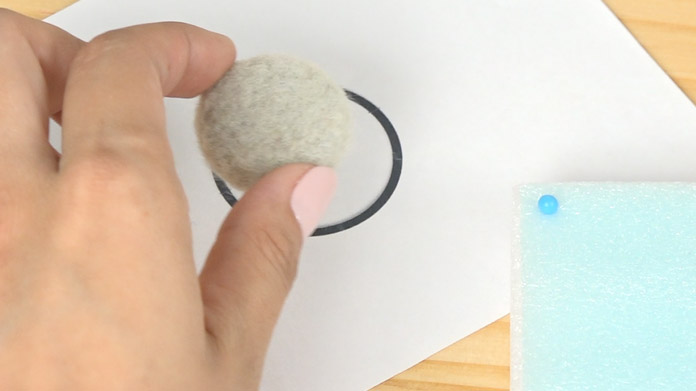
Keep poking until you get a diameter of 1.8cm.
This firmness is the reference for the finished item. -
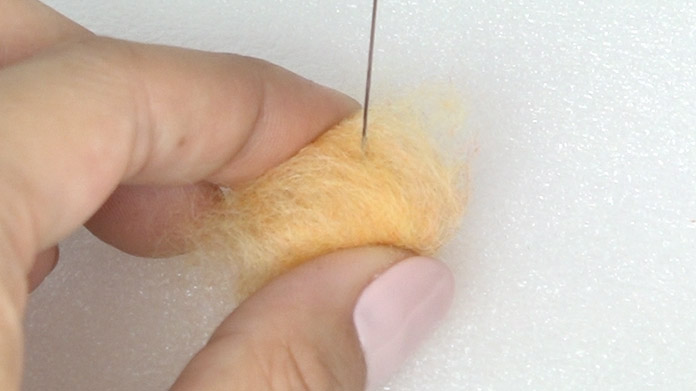
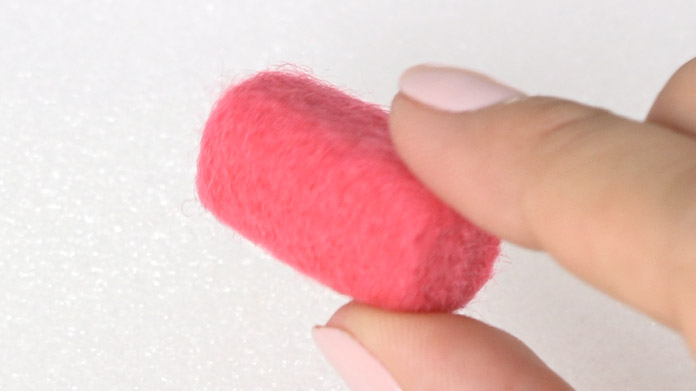
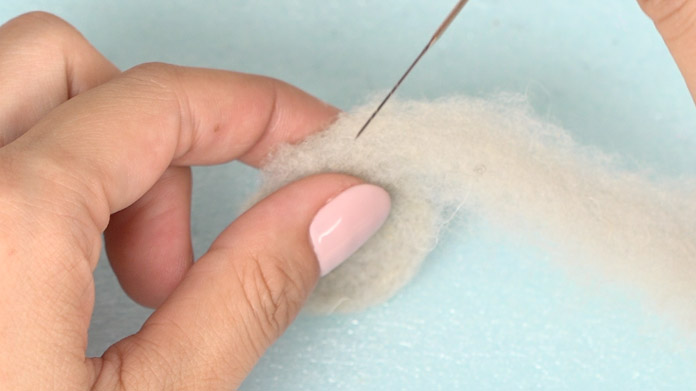
Tear the remaining wool 10 times to create fine fibres.
-
-
Poke the surface with the finishing needle to create a nice finish.
-
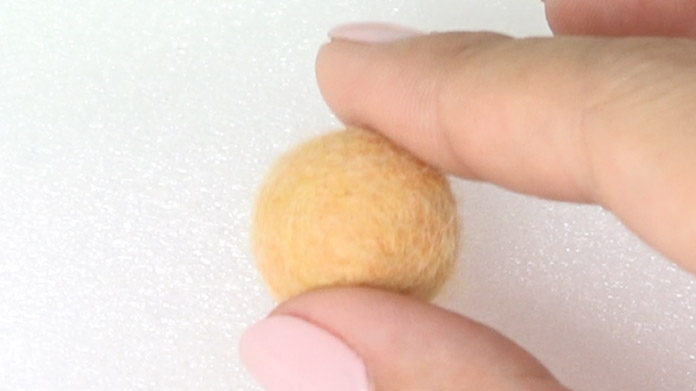
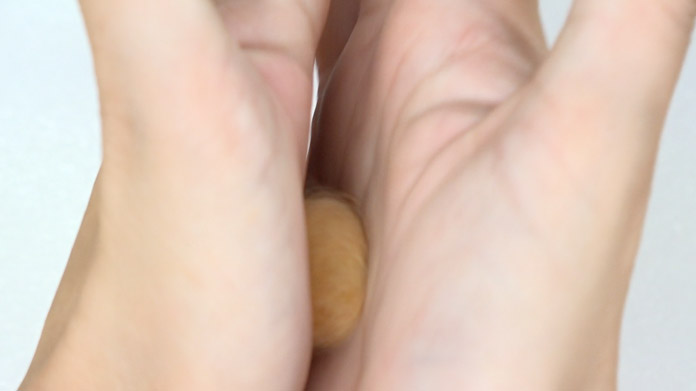
Done!
This firmness will be your reference for firmness.
If your felting is any softer than this, it will lose its shape easily.
Please use this as a reference.
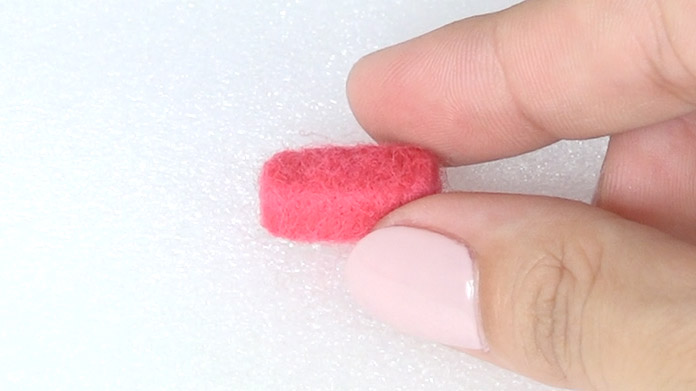
5 How to make a cube
This video shows how to make a 2.5cm×1cm cube with 1g of wool.
-
Use 1g of wool.
-

If it is difficult to weigh 1g, weigh 3g and split into three.
-
Split 1g of wool into five.す
-
Fold tightly.
-
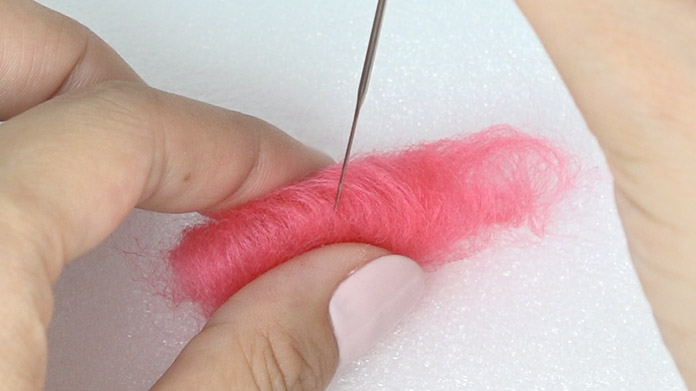
Poke one side vertically.
-
Poke the short sides vertically.
-
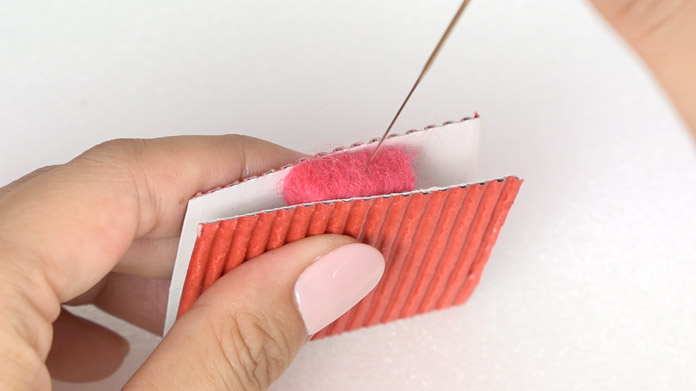
Put in a sandwich card, squeeze and poke vertically.
-
-
Wrap the wool tightly while stretching and poke vertically.
-
-
-
Use 4 pieces of the wool to create the cube.
-
Tear the remaining wool 10 times to create fine fibres.
-
-
Poke the surface with the finishing needle to create a nice finish.
-
Done!
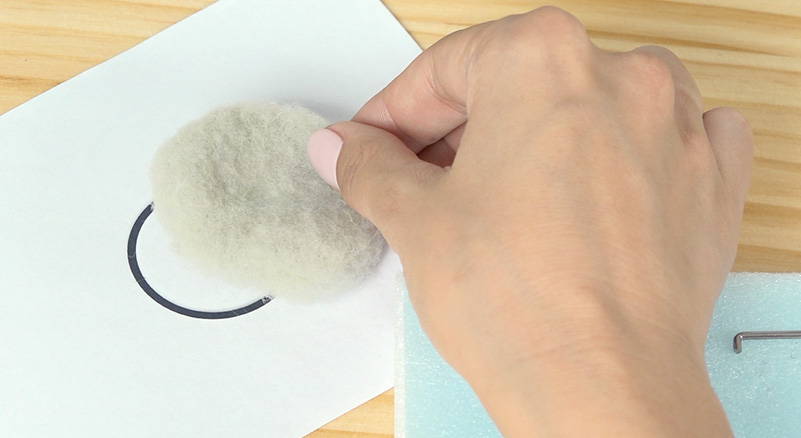
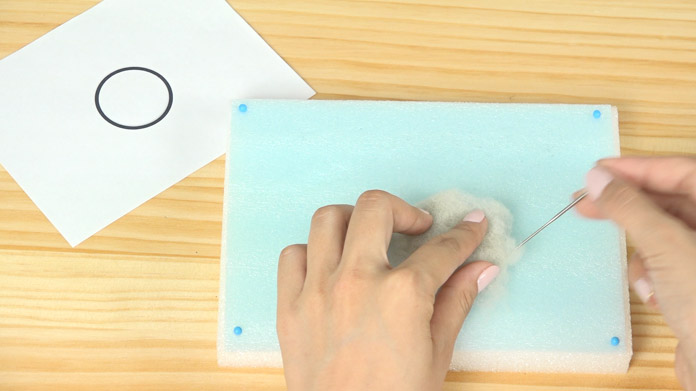
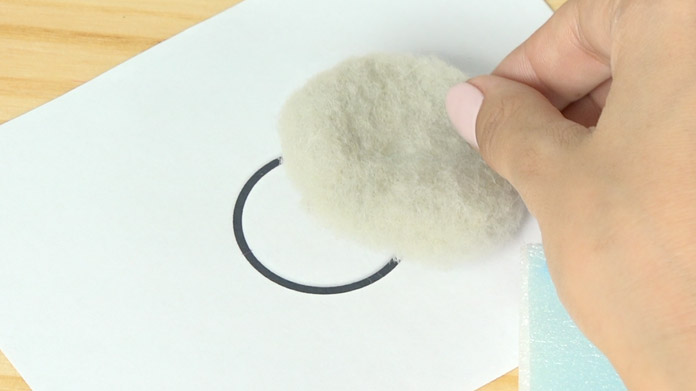
6 Using the pattern
This video shows how to make shapes using the pattern.

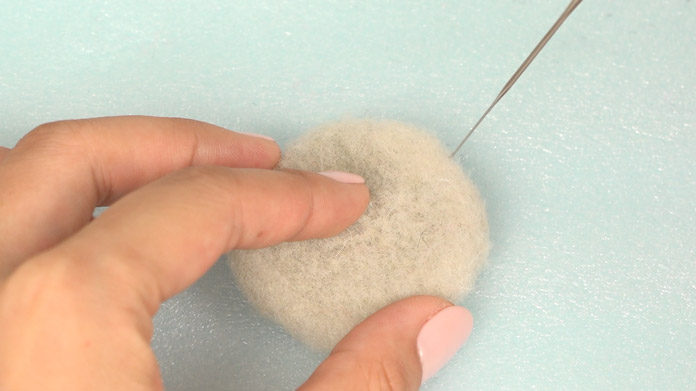
7 Other basics
This video shows how to work on small parts, how to create corners and how to colour the base.
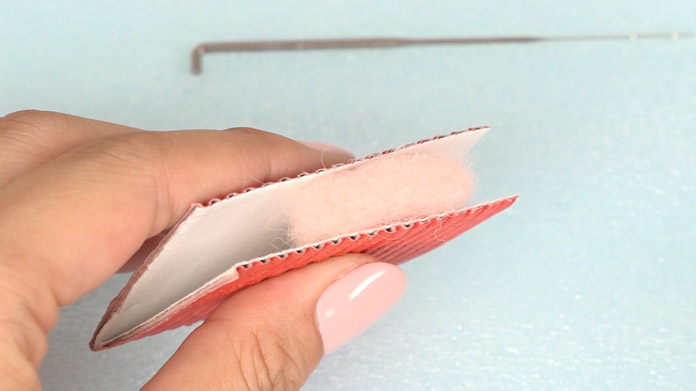
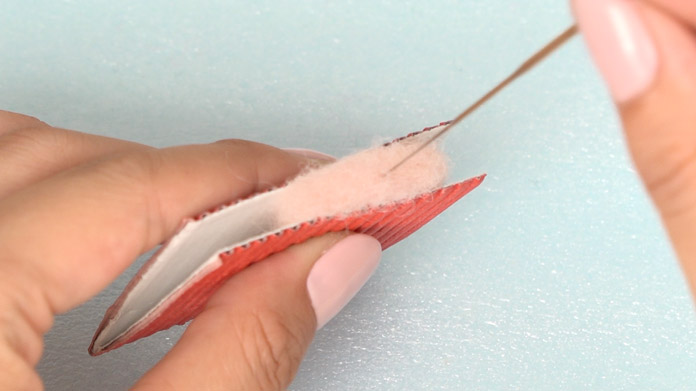
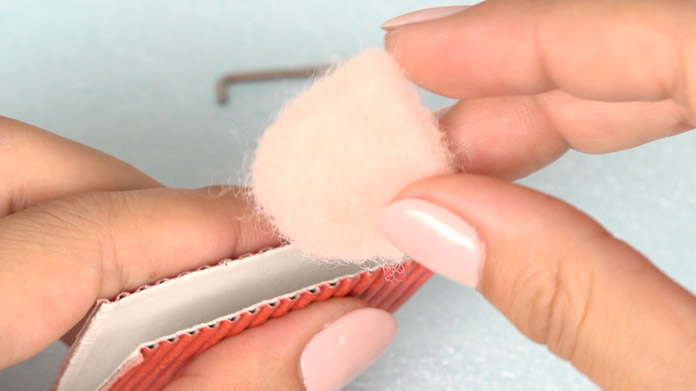
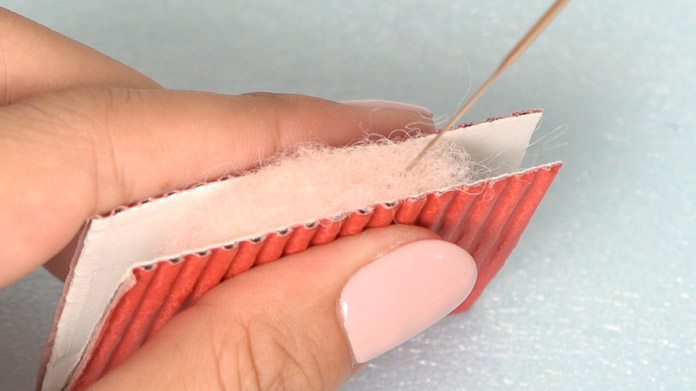
Working on small parts
-
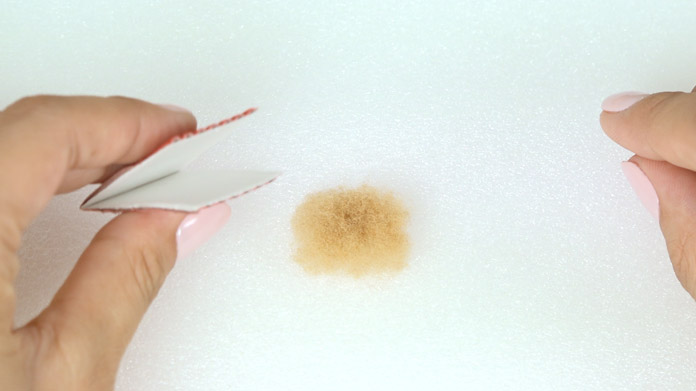
Prepare a sandwich card to the size of the part.
-
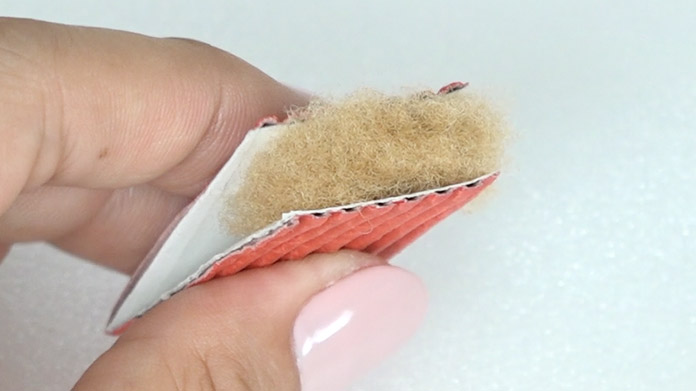
Squeeze the sandwich card to make it easy to shape.
-
You will have peace of mind as it is more difficult to prick your fingers!
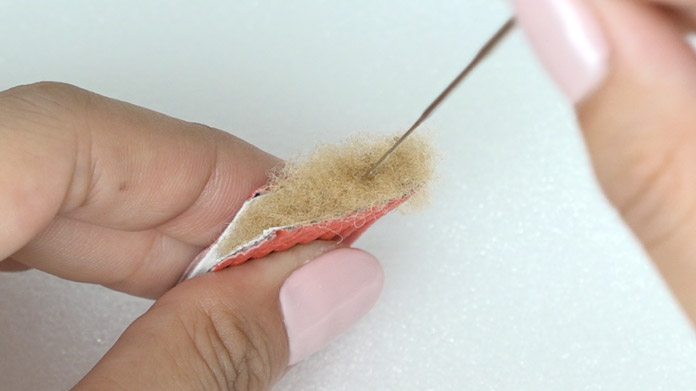
Creating corners
-
-
Insert the line on which you want the corner in the sandwich card.
-
Squeeze and poke vertically in the card.
-
Squeeze and poke vertically in the card.
-
By poking both corner lines, you will create neat corners.
-

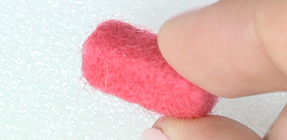
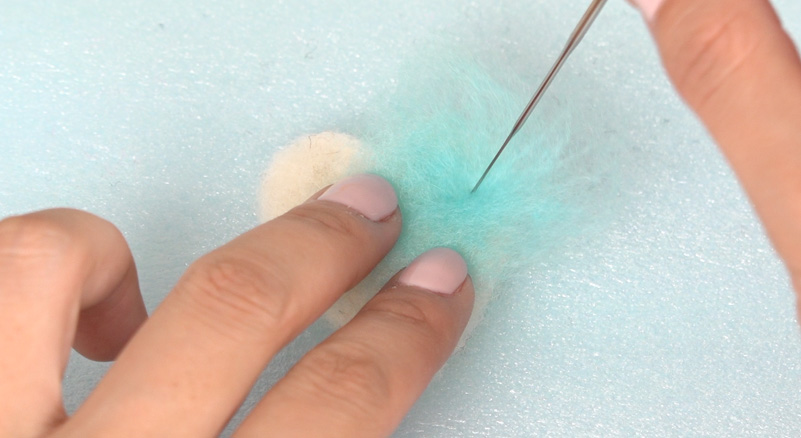
Colouring the base shape
-
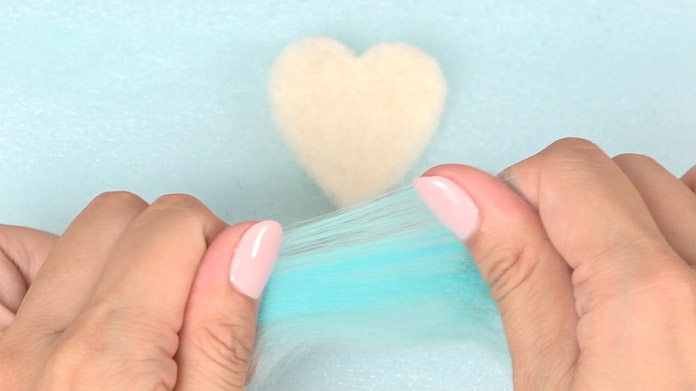
Tear the coloured wool 10 times to create fine fibres.
-
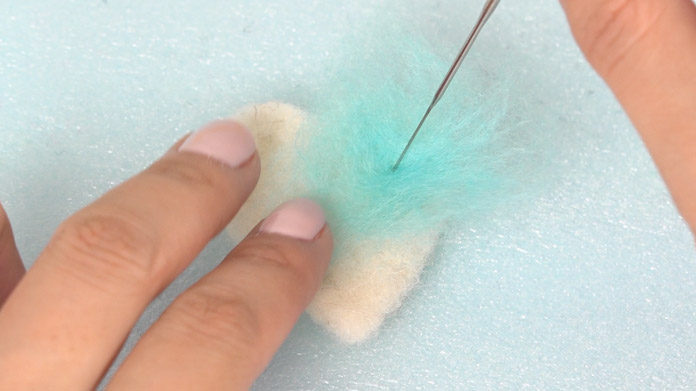
Poke the finishing needle lightly and in a shallow manner on the surface.
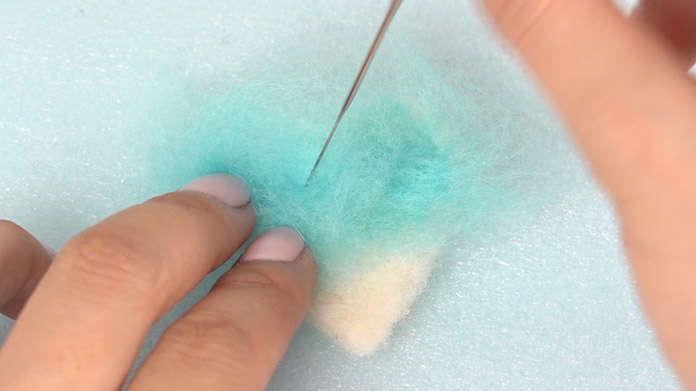
-

Poke until the surface is covered with the coloured wool.
-
-
Fold the excess wool on to the other side and poke the side.
-
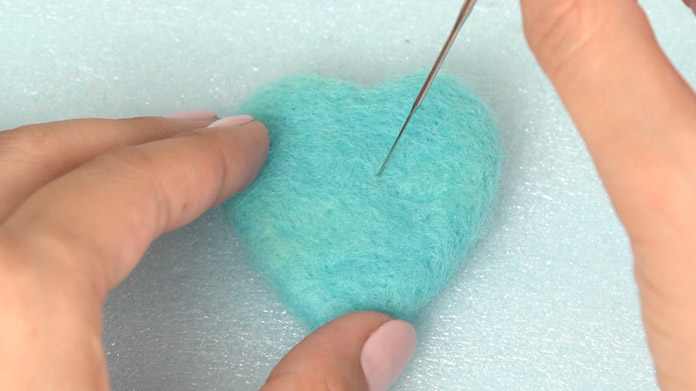
Poke wool on the opposite side. It is done when it is all the same colour.
-