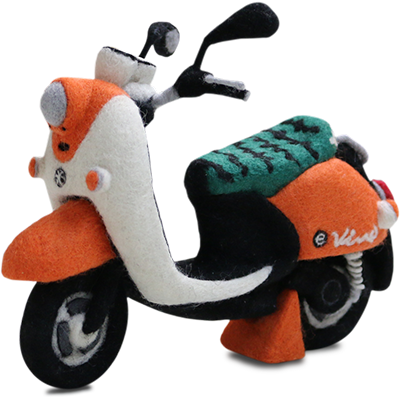
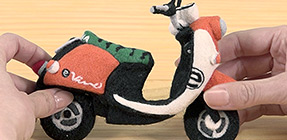
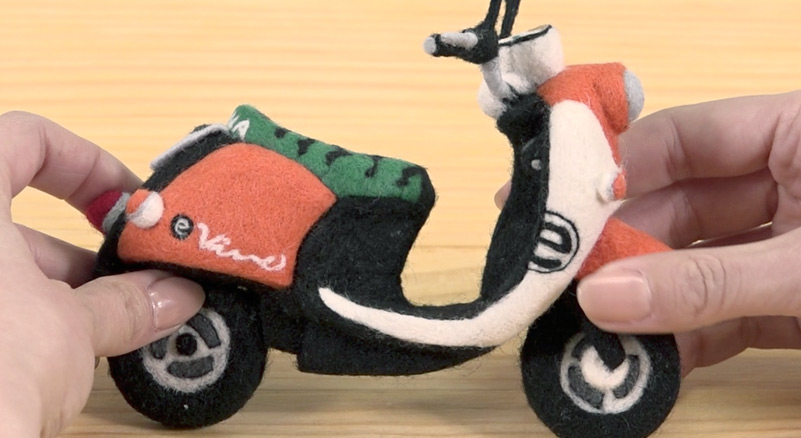
E-Vino how-to guide
Retro pop scooter E-Vino in needle felting. Here we present the how-to guide, pattern and videos.


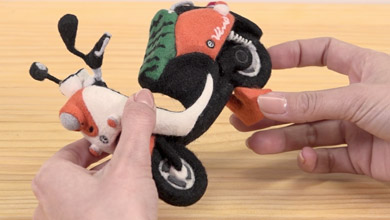
Let’s try making E-Vino by needle felting.
We have reproduced the electric retro pop scooter E-Vino in needle felting.
Here we present the how-to guide with pattern and videos for the needle felting E-Vino.
There are two patterns: one for the orange version and one for the light blue version.
Follow the how-to guide and try it out!

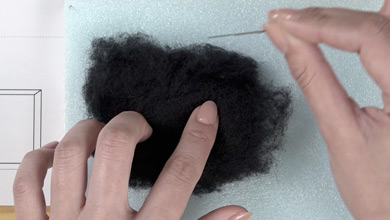
Felt
Prepare the following colours of sheet felt for the base and slivers to make your E-Vino.
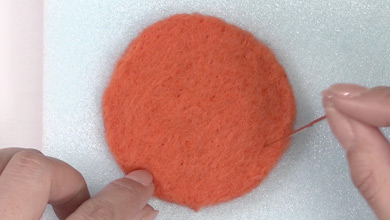
Orange version

Light blue version
■Sheet felt
Sheet felt: black
Sheet felt: white
■Orange version slivers
- Orange
- Black
- white
- Green
- Red
- Light grey
- Dark grey
■Light blue version slivers
- Light blue
- white
- Black
- Orange
- Red
- Light grey
- Dark grey
■Meter: for both colours (the least amount)
- Light brown
- Red
- Light blue
- Green
- Yellow
Tools required
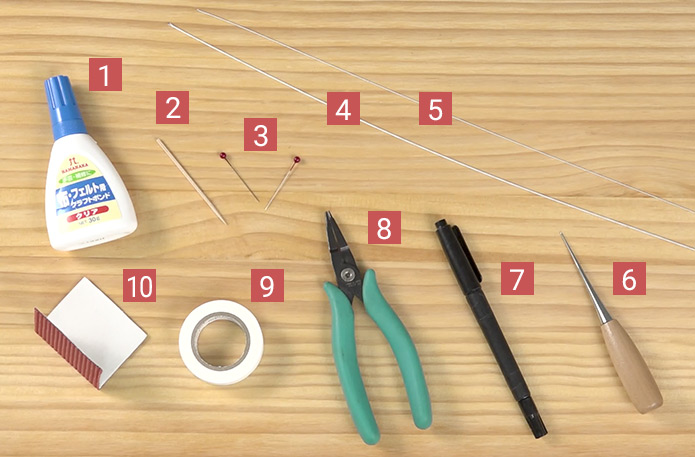
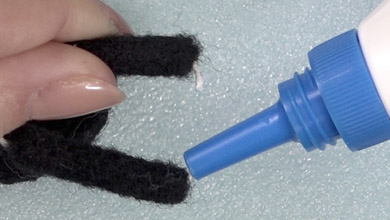
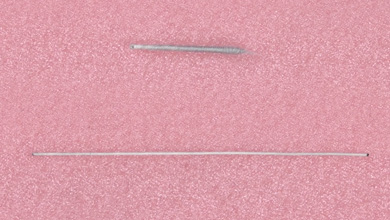
[1] Glue [2] Toothpick [3] Pin [4] Wire #20 (diameter 0.81mm) [5] Wire #24 (diameter 0.51mm) [6] Dot punch [7] Black permanent marker [8] Pliers [9] Masking tape [10] Sandwich card
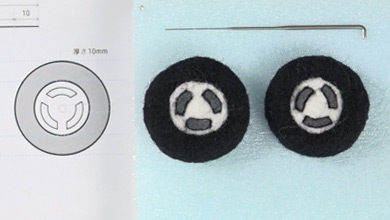
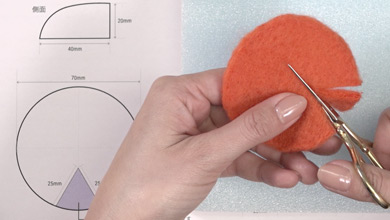
Pattern
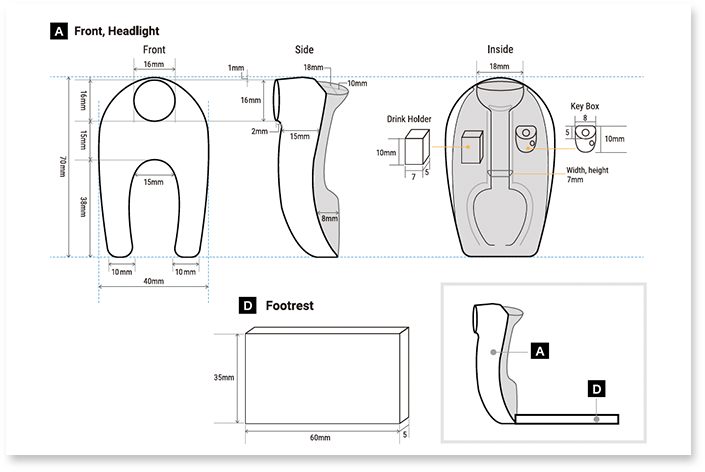
It is important to check the size of each part against the pattern. We have provided the pattern in PDF format. Please download and print out to use.
When printing, make sure to check scale and edge guide so that you get the actual size for the pattern.

Check the finished firmness
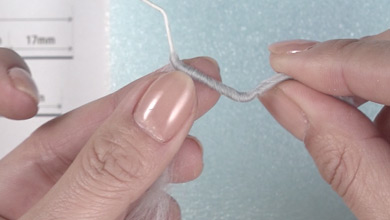
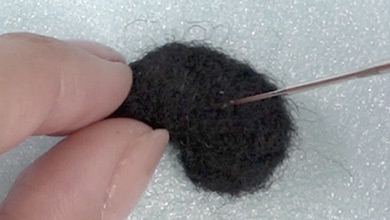
As you poke the needle into the wool, it becomes more and more firm. You may wonder how firm you need to make the wool.
The firmness of the 1.8cm ball made from 1g of wool as shown in the felt ball how-to guide in the Basic Needle Felting Lesson is the standard firmness for making the E-Vino.
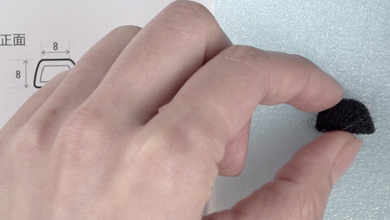
If the felt is not firm enough, it will be off-kilter when assembling or the finished item will fall apart so it is important to work the felt to make it firm.

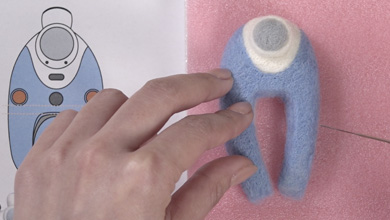
Please refer to the following diagram for the names of the parts of the E-Vino.
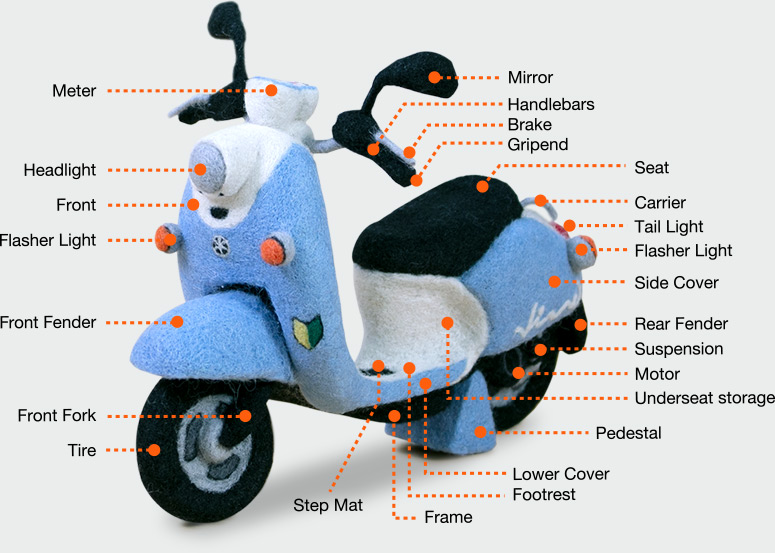
[1] Meter [2] Headlight [3] Front [4] Flasher Light [5] Front Fender [6] Front Fork [7] Tire [8] Step Mat [9] Frame [10] Footrest [11] Lower Cover [12] Pedestal [13] Underseat storage [14] Motor [15] Suspension [16] Rear Fender [17] Side Cover [18] Flasher Light [19] Tail Light [20] Carrier [21] Seat [22] Gripend [23] Brake [24] Handlebars [25] Mirror

Once you have prepared everything, you can finally get on with making your E-Vino!

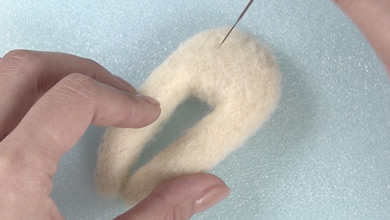
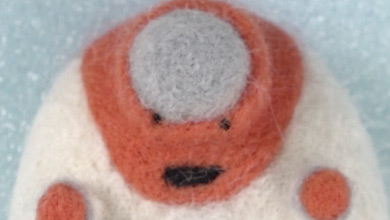
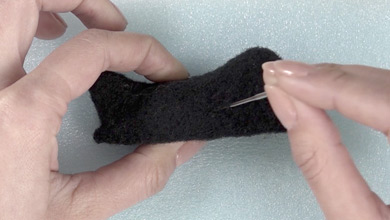
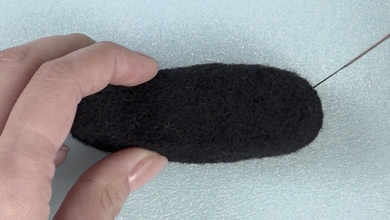
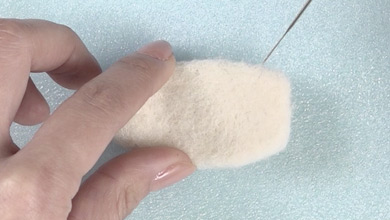
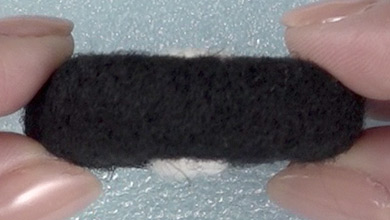
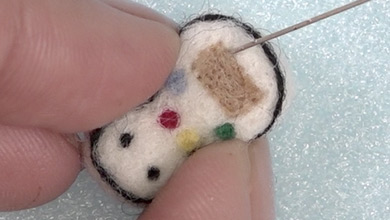
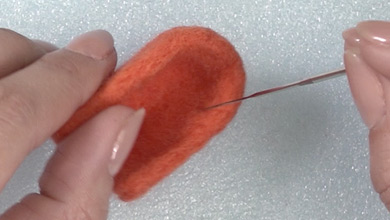
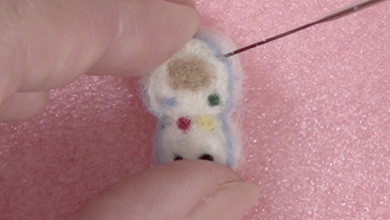
1 Front
Front
-
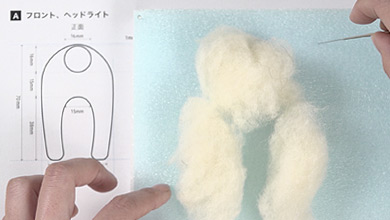
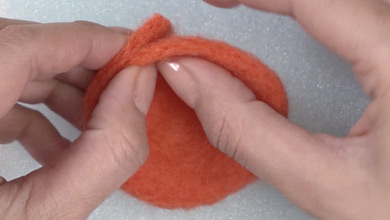
Make the shape in pattern A with a base of white felt.
-
-
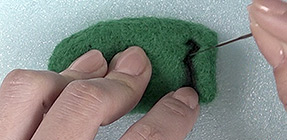
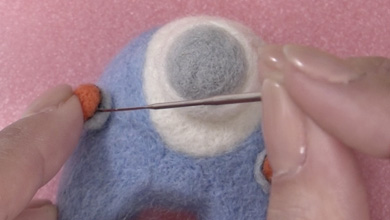
Attach the headlight 1mm from the top.
-
-
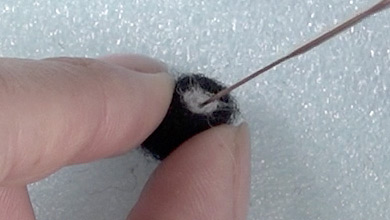
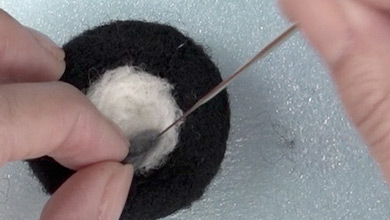
Attach a light grey sliver that has been torn 10 times to the headlight, checking with Figure: Front on Pattern 6.
-
![[For the orange version only] Poke a sliver around the headlight, keeping to the lines. *Light blue ver.→White](/showroom/handicraft/needle-felting/e-vino/recipe/img/01/thumb_006.jpg)
[For the orange version only]
Poke a sliver around the headlight, keeping to the lines.
*Light blue ver.→White -
-
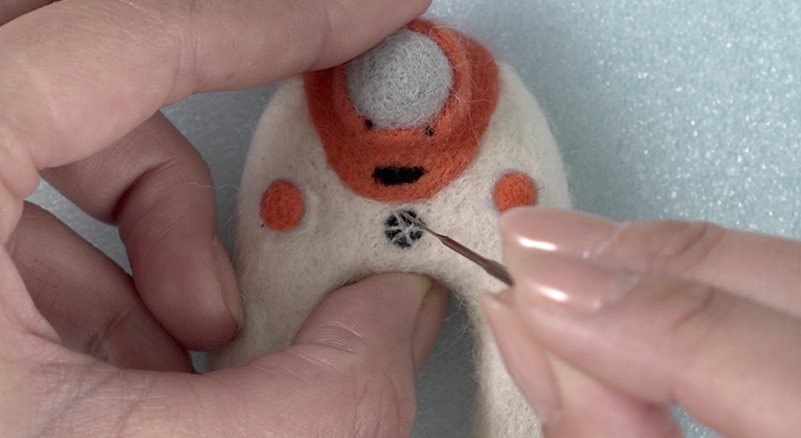
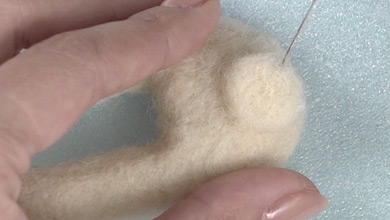
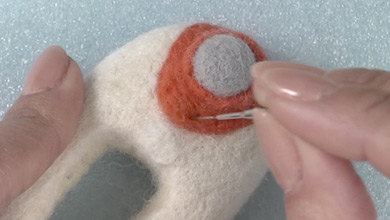
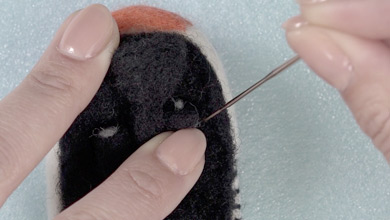
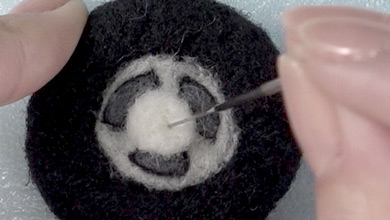
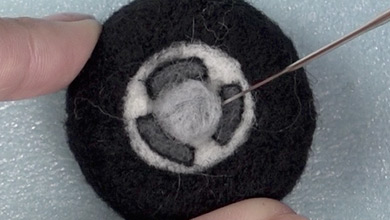
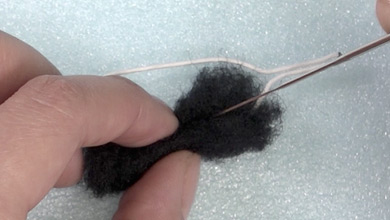
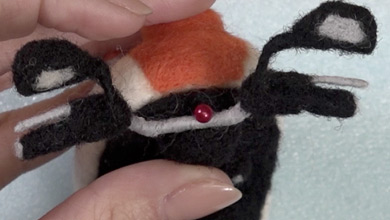
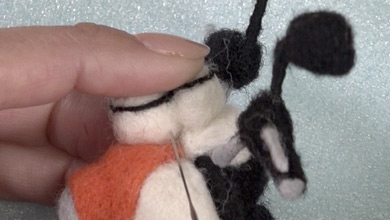
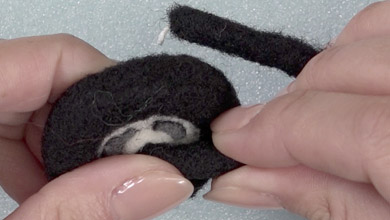
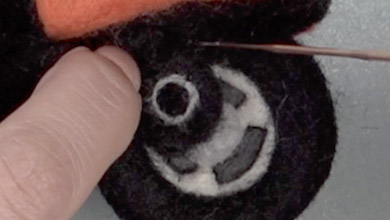
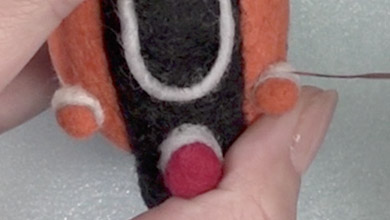
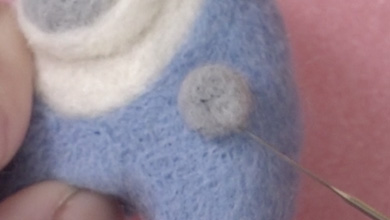
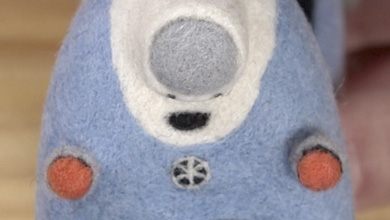
Look at the diagram and poke the mount for the flasher light.
-
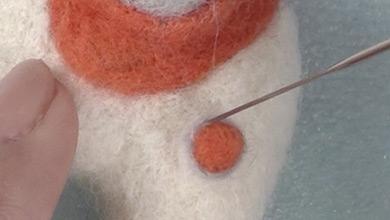
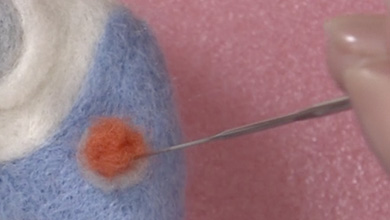
Poke an orange sliver on to the top of the flasher light.
-
Poke grey felt around the circumference of the orange circle.
-
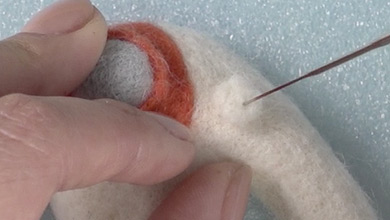
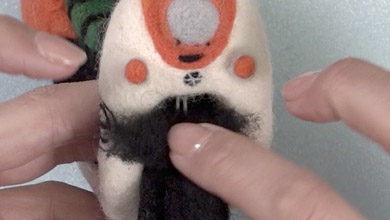
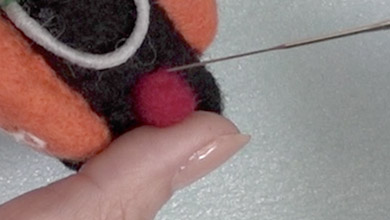
Poke two dots and a groove under the light with slivers of black.
-
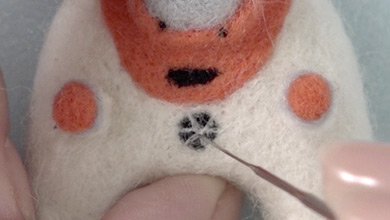
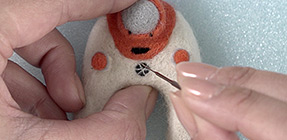
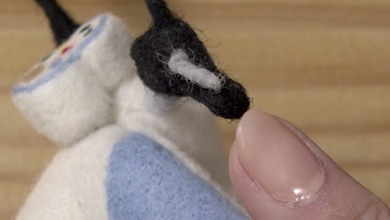
Poke the round mark in between the flasher lights.
-
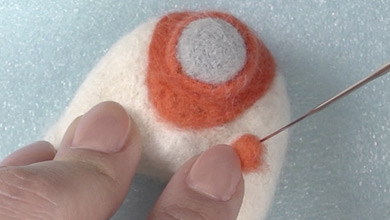
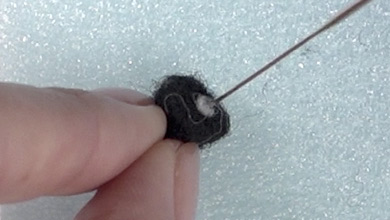
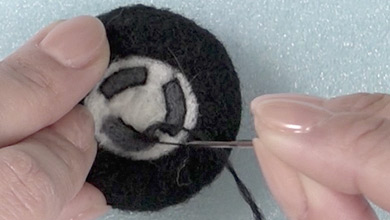
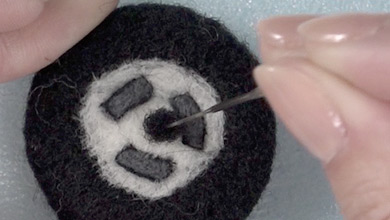
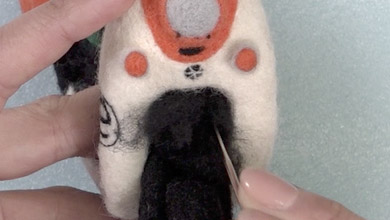
![[For the orange version only]
Poke the e-logo mark with a twisted black sliver.](/showroom/handicraft/needle-felting/e-vino/recipe/img/01/thumb_013.jpg)
[For the orange version only]
Poke the e-logo mark with a twisted black sliver. -
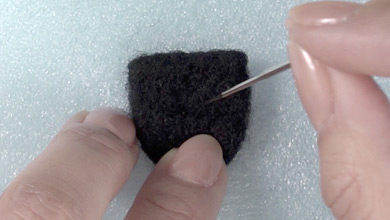
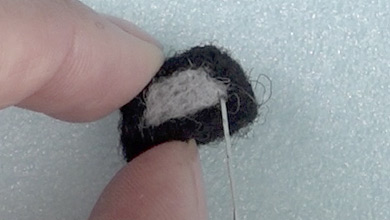
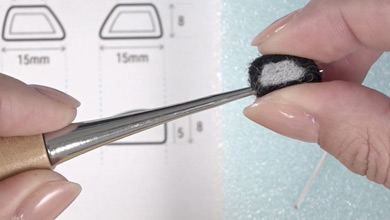
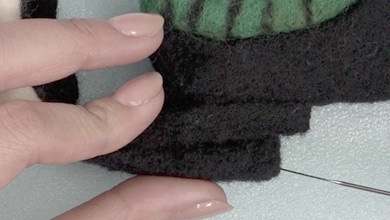
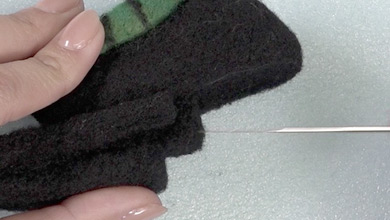
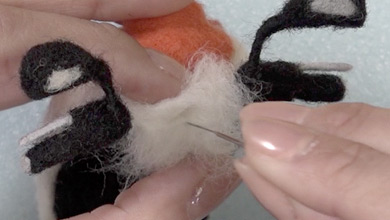
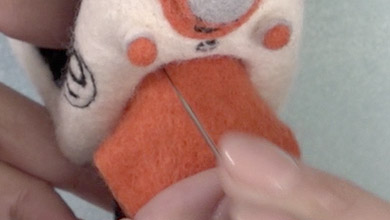
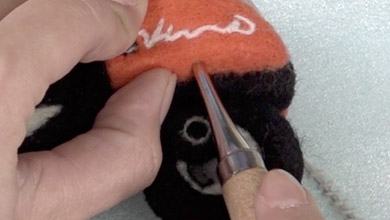
Poke the back and the uneven parts in the middle with base felt according to the pattern.
-
-
Make the drink holder according to the pattern.
Poke a grey sliver in the top.
-
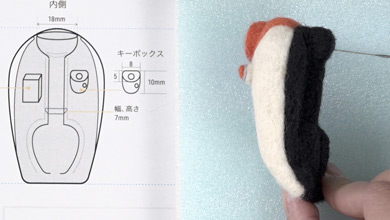
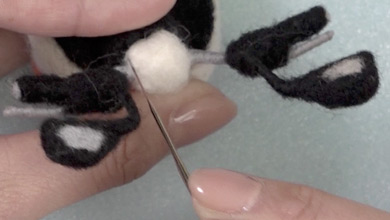
Make the key box according to the pattern.
-
Attach the drink holder and the key box in the positions shown in the diagram.
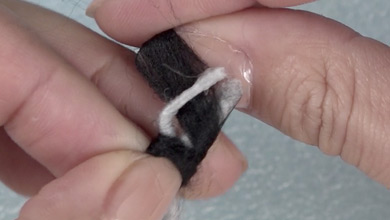
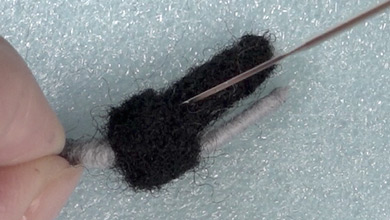
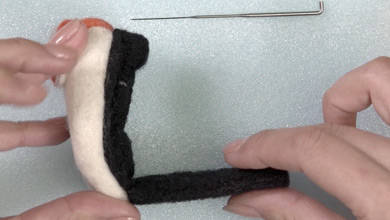
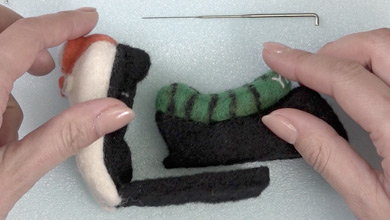
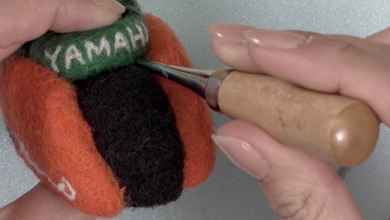
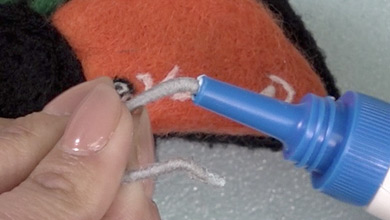
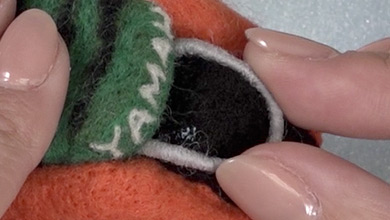
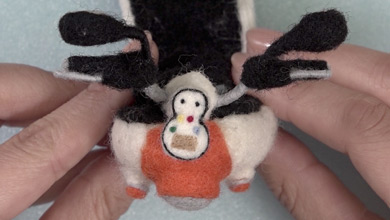
2 Seat, Underseat storage
Underseat Storage
-
Make the shape of the underseat storage in Pattern B with base felt.
・Orange ver.→ Black
・Light blue ver.→ White -
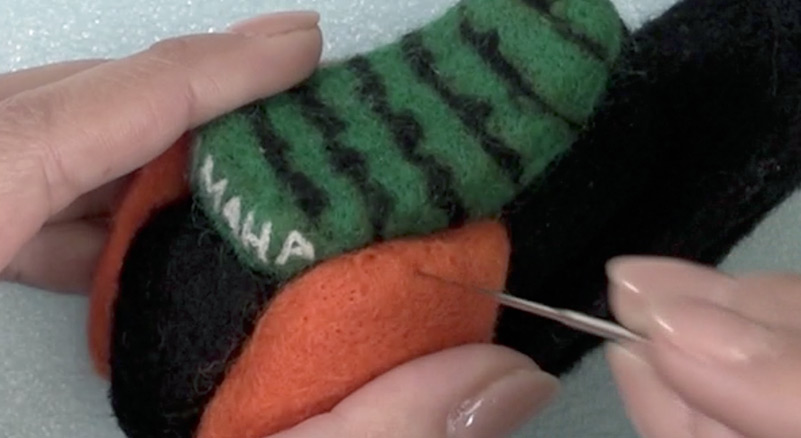
Seat
-
Make the shape of the seat in Pattern C with base felt.
・Orange ver.→ White
・Light blue ver.→ Black -
-
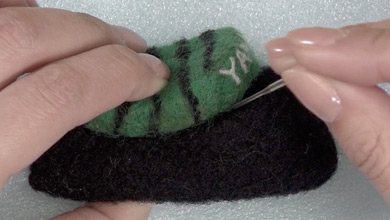
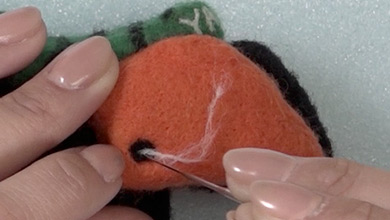
![[For the orange version only] Attach a green sliver that has been torn 10 times to colour the whole.](/jp/showroom/handicraft/needle-felting/e-vino/recipe/img/02/thumb_005.jpg)
[For the orange version only]
Attach a green sliver that has been torn 10 times to colour the whole. -
![[For the orange version only] Make the pattern with black slivers.](/jp/showroom/handicraft/needle-felting/e-vino/recipe/img/02/thumb_006.jpg)
[For the orange version only]
Make the pattern with black slivers. -
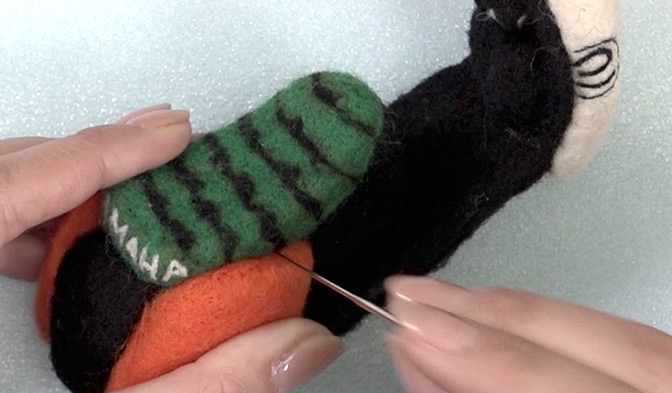
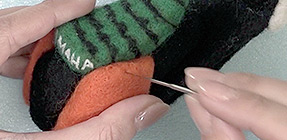
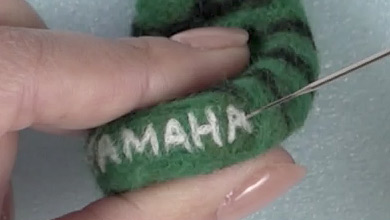
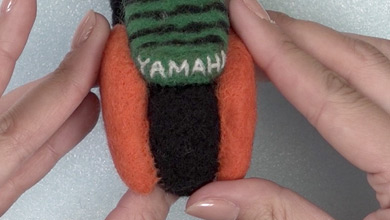
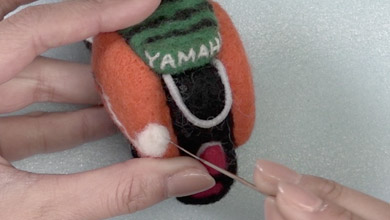
![[For the orange version only] Poke the YAMAHA logo onto the back of the seat.](/jp/showroom/handicraft/needle-felting/e-vino/recipe/img/02/thumb_007.jpg)
[For the orange version only]
Poke the YAMAHA logo onto the back of the seat. -
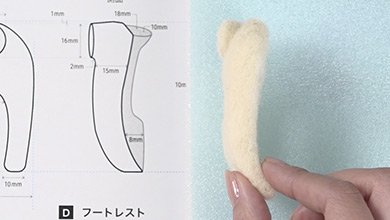
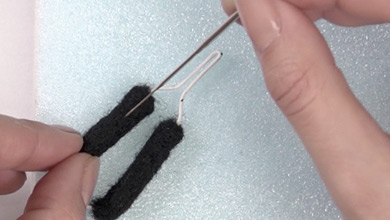
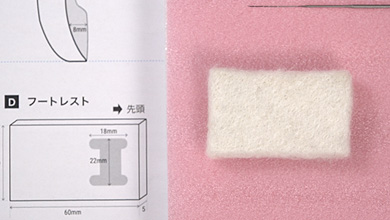
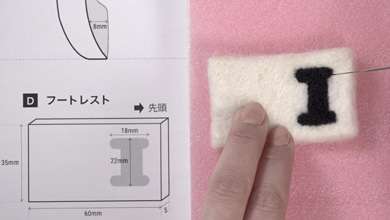
Footrest
-
Make the footrest in Pattern D with base felt.
・Orange ver.→ Black
・Light blue ver.→ White -

Put in a sandwich card and poke.
・Orange ver.→ Black
・Light blue ver.→ White -
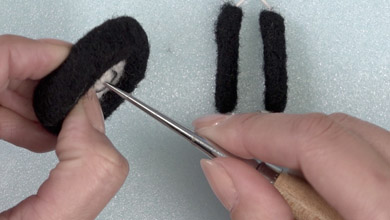
3 Tire, Rear Fender
Tire
-
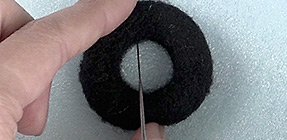
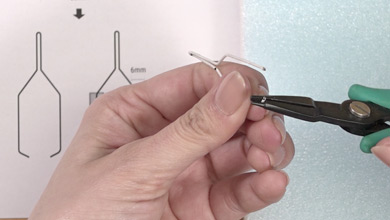
Cut 110mm of #20 wire, make a 30mm diameter circle and fix with masking tape.
Make two of these.
-
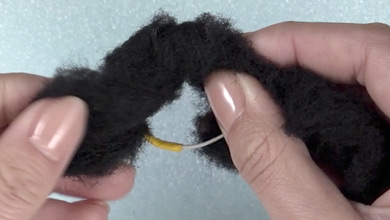
Wrap black base felt around the wire and poke with a needle.
-
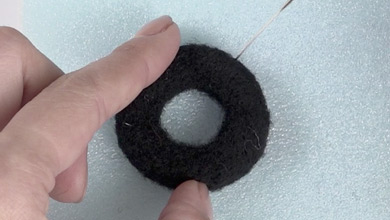
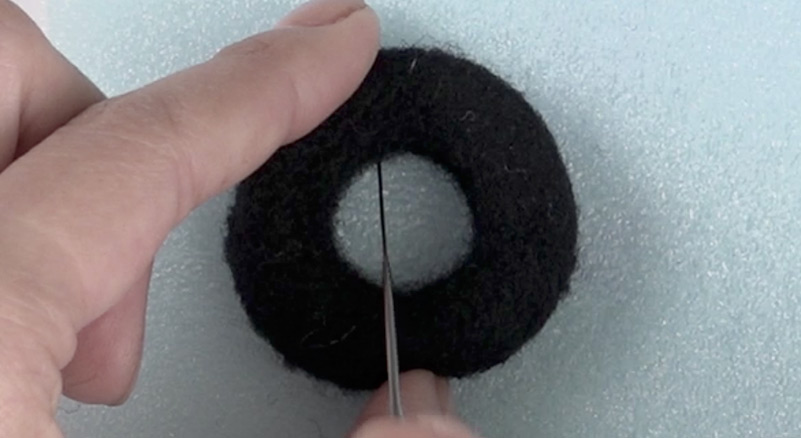
Make a 38mm diameter donut.
Make two of these.
-
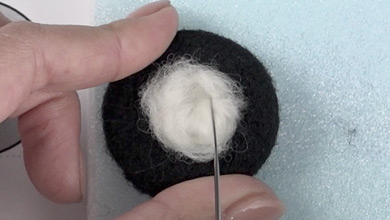
Put a sliver that you have rolled lightly in your hands into the hole and poke until it is hard.
・Orange ver.→ White
・Light Blue ver.→ Light grey -
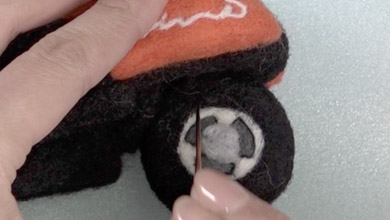
Look at the pattern and poke the wheel pattern.
-
-
-
Poke a 3mm thick circle with a white sliver in the centre of the front tire (both left and right).
-
-
Poke a 3mm thick circle with grey on one side of the rear tire in the middle of the wheel.
-
Poke a small circle with a black sliver on the other side.
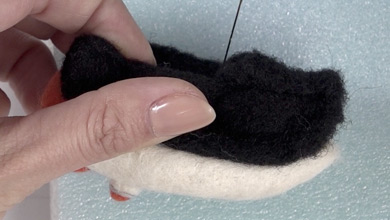
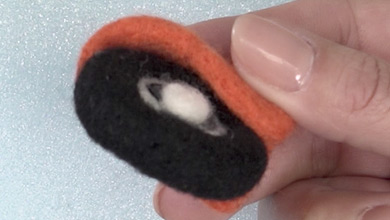
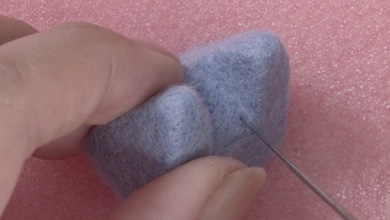
Rear Fender
-
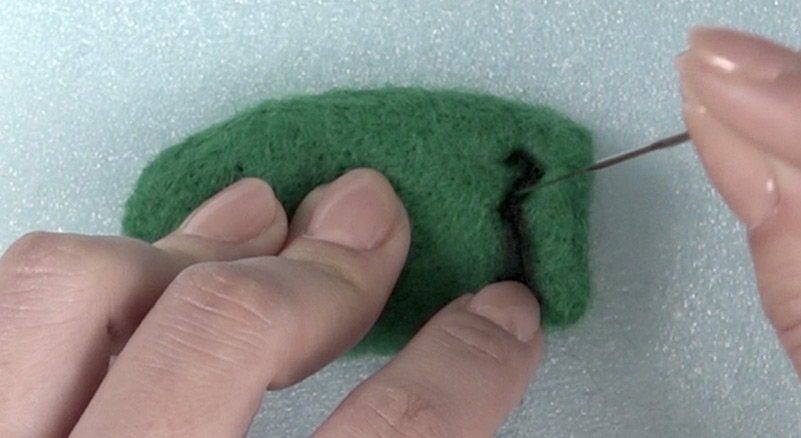
Make the shape in Pattern F with black base felt and poke the reflector with a sliver of red.
-

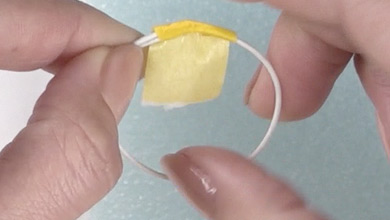
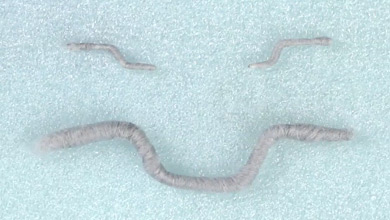
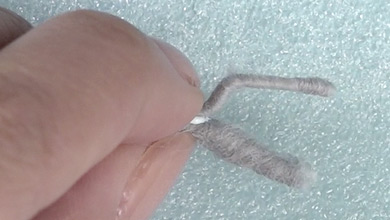
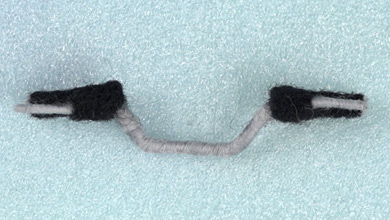
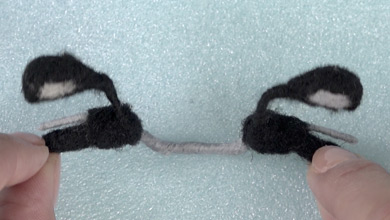
4 Handlebars, Mirror
Handlebars
-
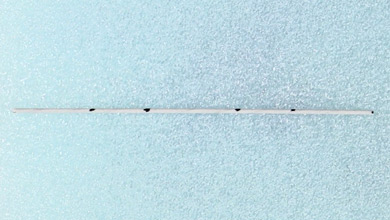
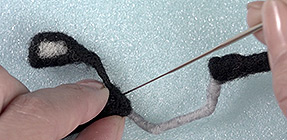
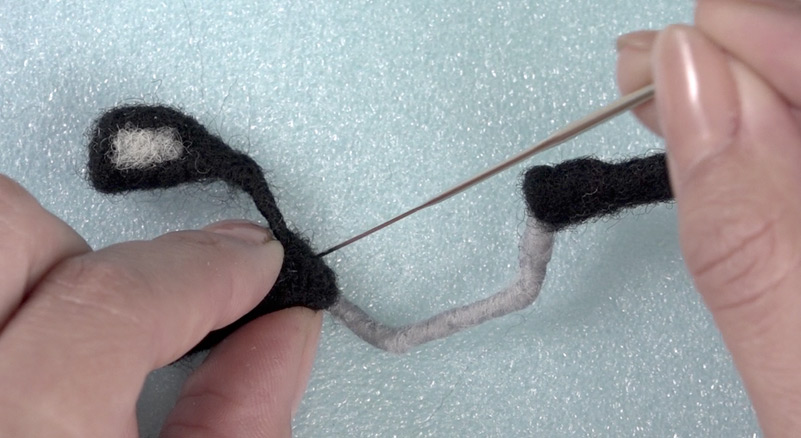
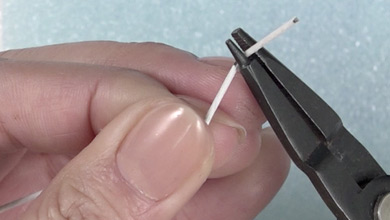
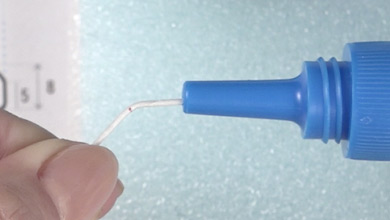
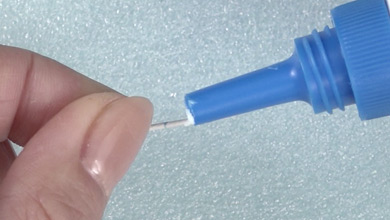
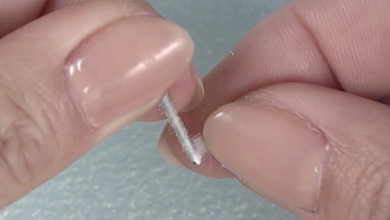
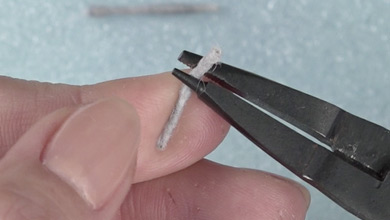
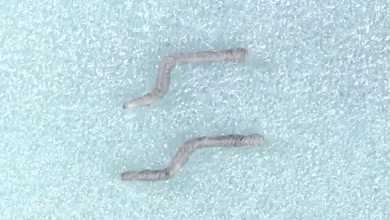
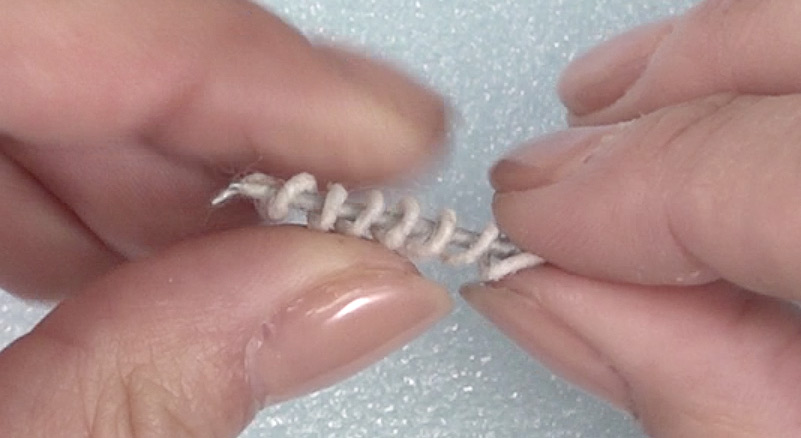
Bend a 78mm piece of #20 wire according to the pattern.
-
-
Put glue on the bent wire and wrap a grey sliver around the wire in double thickness.
-
-

Mirror
-
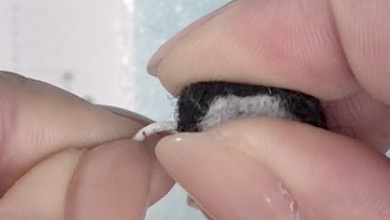
Make the mirror in the pattern with black base felt.
-
Poke the surface of the mirror with a grey sliver.
-

Bend a 35mm piece of #20 wire according to the pattern.
-
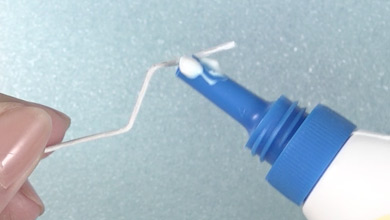
Use a dot punch to make a hole in the mirror, put glue on the tip of the wire and insert it into the hole.
-
-
-
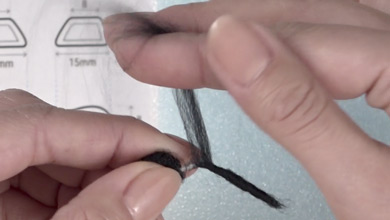
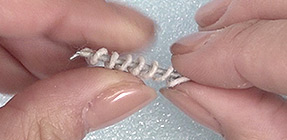
Wrap a black sliver around the wire and the join and poke to fix.
-
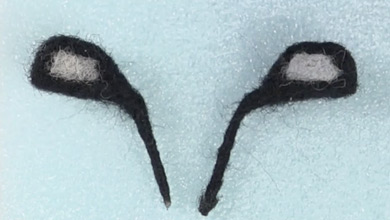
Make one for the left and one for the right.
Brakes
-
Put glue on a 78mm piece of #20 wire and wrap a grey sliver around the wire.
-
-
Bend according to the pattern.
-
Make two of these.
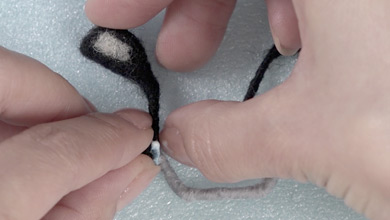
Assembling the Handlebars
-
Fix the brakes to the handlebars with glue.
-
Press hard with your fingers to fix.
-
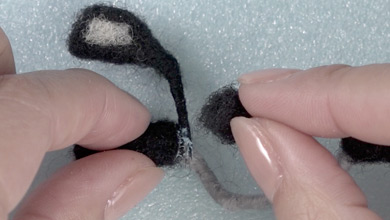
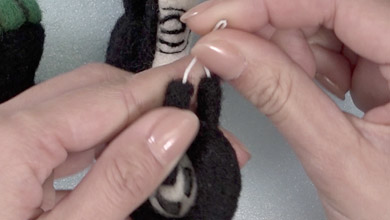
Wrap a black sliver around the join to the end of the grip and poke lightly with a needle.
-

-
Add a little sliver of black to the join and poke with a needle to fix.
-
-
![[For the orange version only] Poke a sliver of grey into the end of the grip.](/jp/showroom/handicraft/needle-felting/e-vino/recipe/img/04/thumb_024.jpg)
[For the orange version only]
Poke a sliver of grey into the end of the grip. -
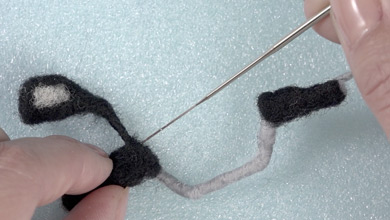
Attach the mirror to the fixed part of the brake and poke firmly to fix with a sliver of black from the top.
-
-
-
The handlebars are complete.
5 Suspension, Motor
Suspension
-
Put glue on #20 wire and wrap with a sliver of grey.
-
![[For the orange version only] Put glue on #24 wire and wrap with a sliver of white.](/jp/showroom/handicraft/needle-felting/e-vino/recipe/img/05/thumb_002.jpg)
[For the orange version only]
Put glue on #24 wire and wrap with a sliver of white. -
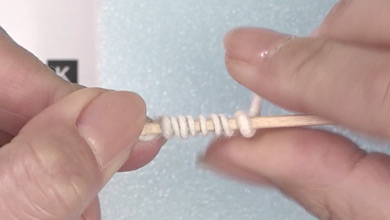
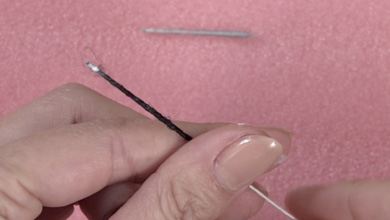
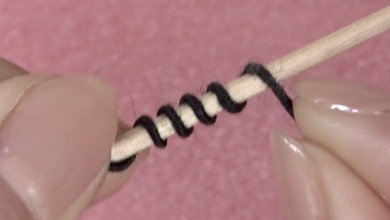
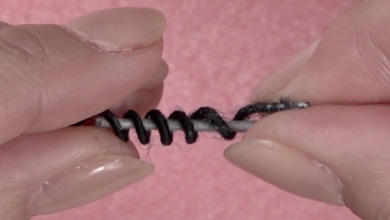
Wrap #24 wire around a toothpick to make a 25mm spring shape.
-

Thread the #20 wire through the spring.
Motor
-
Make the shape in the pattern with black base felt.
-

Poke a circle with a sliver of grey.
Carrier
-
Put glue on a 60mm piece of #20 wire and wrap it with a sliver of grey.
-
Bend into a U-shape.
Front Fork
-
Bend a 115mm piece of #20 wire to the shape shown in the pattern.
-

-
Wrap with black base felt and poke to fix.
-
Make another front fork.
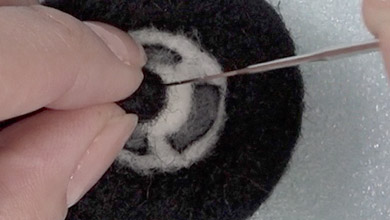
Meter
-
Make the shape in Pattern L with a sliver of white.
-
-
![[For the orange version only]<br>Poke a twisted black sliver around the outside.](/jp/showroom/handicraft/needle-felting/e-vino/recipe/img/05/thumb_015.jpg)
[For the orange version only]
Poke a twisted black sliver around the outside. -
Roll the different coloured dots and poke.
Front Fender
-
Make a soft circle as shown in Pattern M.
・Light blue ver.→ Light blue -
Cut the part out as shown in the pattern.
-
Join the two cut sides and poke to obtain the shape shown in the pattern.
-
-
Make the shape which checking with the tire so that it does not end up thinner than the tire.
Stand
-
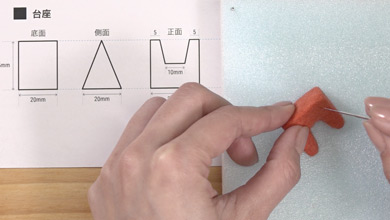
Make the stand in the pattern with a sliver.
・Light blue ver.→ Light blue
6 Assemly-1
Assembly 1
-
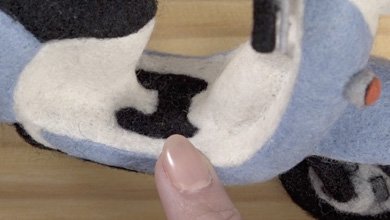
Poke the footrest onto the bottom of the front at a right angle.
-
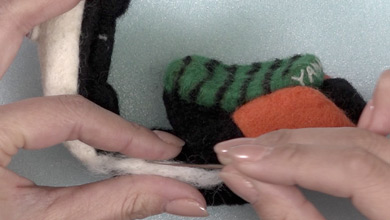
Poke the seat onto the underseat storage matching up the shapes.
-
Looking at Pattern 6 Figure: Frame, bring the edge of the footrest to the middle of the underseat storage and poke.
-
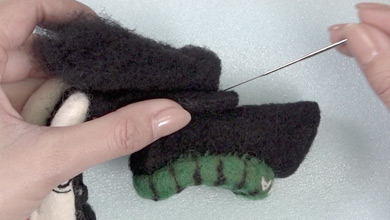
Looking at Pattern 6 Figure: Frame, poke the frame with black base felt onto the back of the footrest.
-
-
Poke the large part first then fill in and fix the difference in level with the small frame.
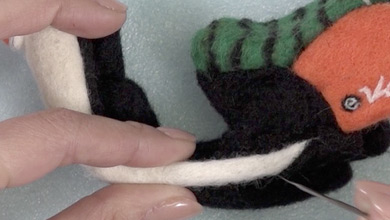
Attaching the Side Covers
-
![[For the orange version only]<br>Look at the side cover diagram and poke an orange sliver.<br>・Light blue ver.→ Light blue](/jp/showroom/handicraft/needle-felting/e-vino/recipe/img/06/thumb_007.jpg)
[For the orange version only]
Look at the side cover diagram and poke an orange sliver.
・Light blue ver.→ Light blue -
![[For the orange version only] Attach the side covers to each side in the same way. ・Light blue ver.→ Light blue](/jp/showroom/handicraft/needle-felting/e-vino/recipe/img/06/thumb_008.jpg)
[For the orange version only]
Attach the side covers to each side in the same way.
・Light blue ver.→ Light blue -
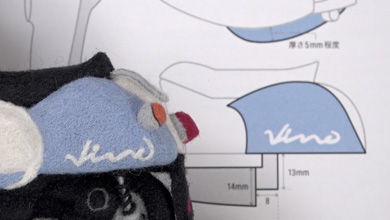
Make the side covers thick enough to be 5mm thicker than the seat when seen from above.
-
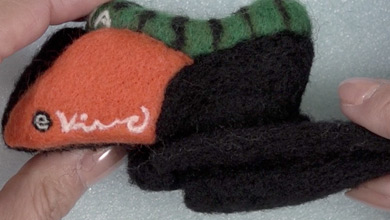
![[For the orange version only] Look at the logo on the pattern and poke the E-vino logo onto the side cover.](/jp/showroom/handicraft/needle-felting/e-vino/recipe/img/06/thumb_010.jpg)
[For the orange version only]
Look at the logo on the pattern and poke the E-vino logo onto the side cover. -
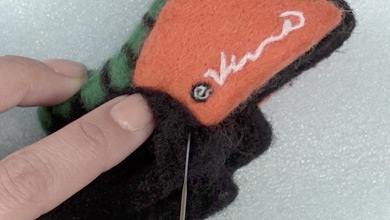
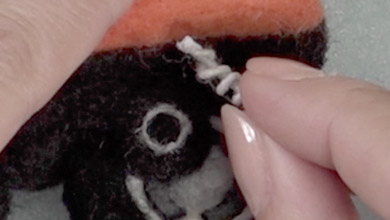
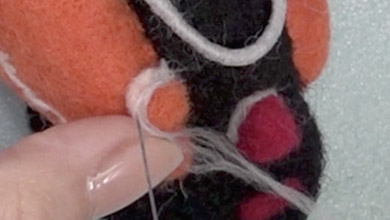
Poke a black sliver into a circle at the edge and poke the letter e with a white sliver.
-

-
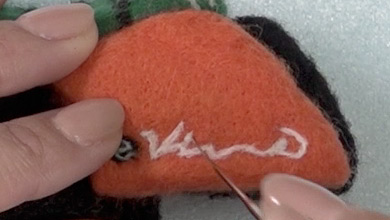
Poke the Vino logo with a sliver of white.
-
Smooth out the joins between the seat, the underseat storage and the side covers.
・Light blue ver.→ White base felt -
Poke the joins with black base felt.
・Light blue ver.→ White base felt -
Colour the sides of the footrest with slivers.
・Light blue ver.→Light blue -
-
Make two holes at the bottom of the back of the seat, glue the tips of the carrier and insert into the holes.
-
-
Bend to fit to the rear cover once inserted.
-
Fix the handlebars with a pin on the inside of the semi-circle of the front and add a sliver of white to poke a dome shape.
-
-
-
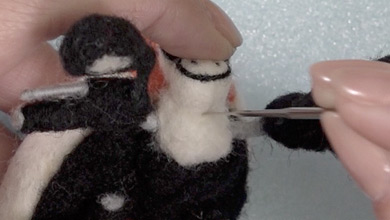
Place the meter on top of the dome and poke to attach.
-
-
7 Assemly-2
-
Make a hole in the middle of the front tire with a dot punch.
-
Put glue on the tips of the front fork, insert and poke to attach with a needle.
-
-
-
Poke the front fork with the tire attached with black base felt in the indent on the front and fix.
-
-
-

Put the front fender on top of the tire and poke to attach to the front.
-
-

Adjust and poke so that the bottom line of the front fender is horizontal.
-
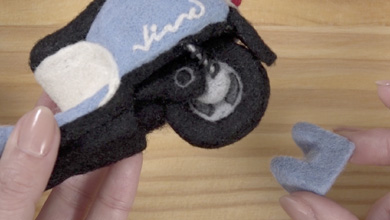
Place the rear tire with the grey circle facing left and attach to the side cover.
-
Attach the motor to the left side of the rear tire.
-
Make a hole in the bottom of the side cover with a dot punch, put glue on the tip of the suspension and insert.
-
-

Poke the bottom of the suspension and fix to the grey part of the tire with a sliver of grey.
-
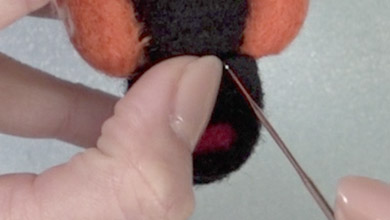
Attach the rear fender under the tail light.
-
Attach the tail light with a sliver of red.
-

Poke a grey sliver around the tail light.
-
Poke the back flasher light with a sliver of white.
-
Poke an orange sliver onto the flasher light mount.
-
Poke a sliver of grey round the orange.
-
Do the same on the other side.
-
Once you insert the stand under the frame, the E-Vino will stand up by itself.
-
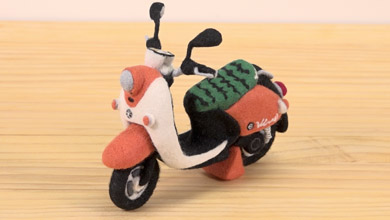
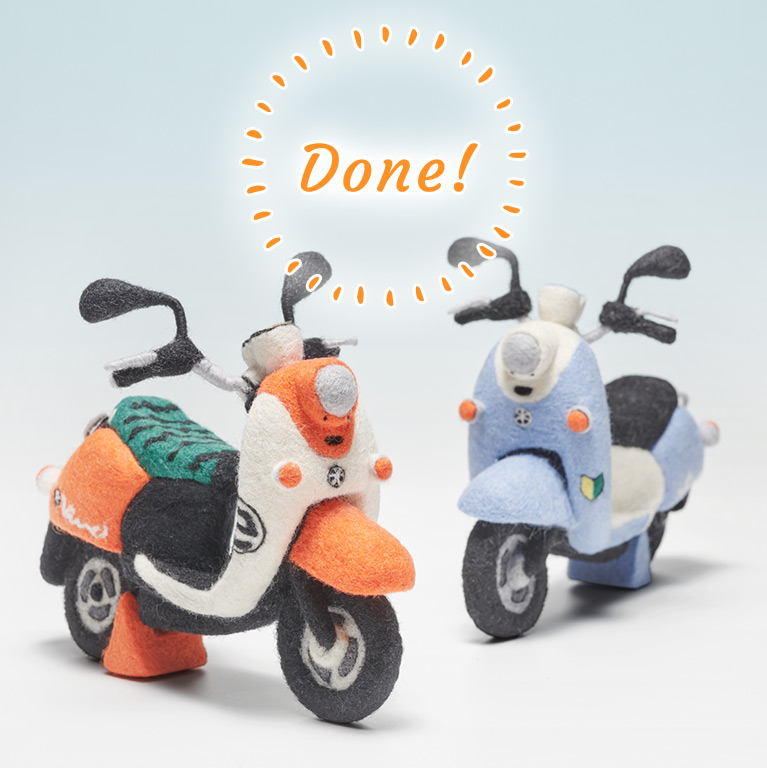
It's finished!
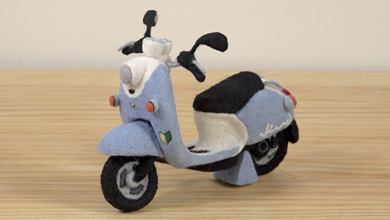
8 Light blue version
Front
-
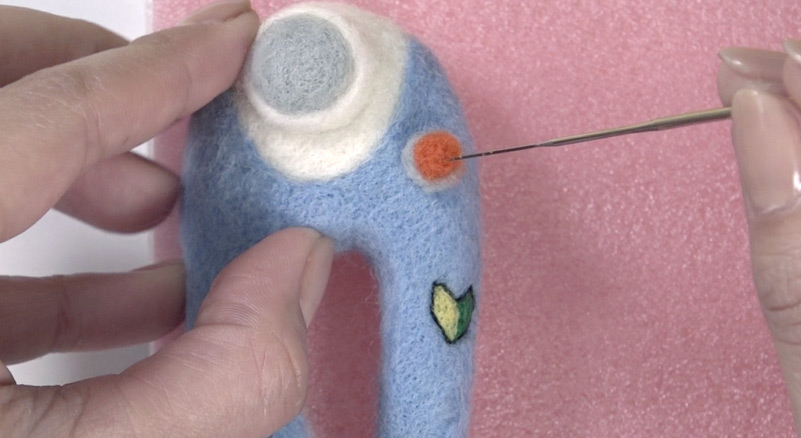
Looking at Pattern 6 Figure: Front, colour with light blue and white slivers.
Beginner Driver Mark
-
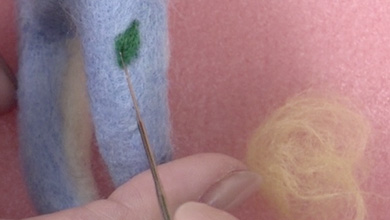
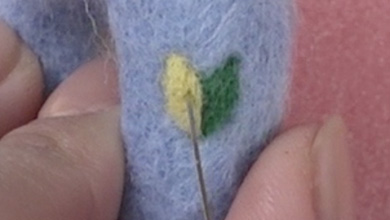
Looking at Pattern 6 Figure: Front, poke the Beginner Driver Mark with green and yellow slivers.
-
-
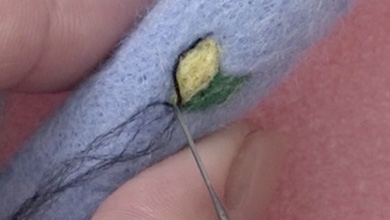
Poke around the outline of the Beginner Driver Mark with a twisted black sliver.
Flasher Light
-
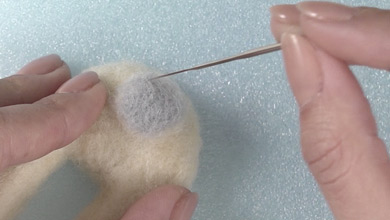
Look at the diagram and poke the flasher light mount with a sliver of grey.
-
Poke an orange sliver onto the top of the flasher light.
-

Poke black felt around the circumference of the orange circle.
-
Make the same flasher light on the other side.
-
Poke two dots and a groove under the front light with slivers of black and then poke the tuning fork mark in between the left and right flasher lights.
Mat
-
Make the footrest in Pattern D with white base felt.
-
Then poke black slivers into the mat.
-
It will look like this in the completed item.
Interior of the tire
-
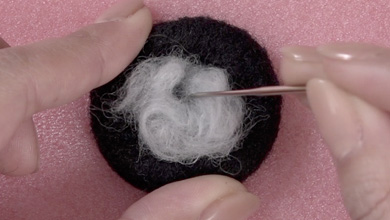
Insert a lightly rounded sliver of light grey into the hole in the tire and poke to fix.
-

This is the completed tire after poking the wheel shapes.
Suspension
-
Wrap a grey sliver around #20 wire.
-
Wrap a black sliver around the #24 wire.
-
Wrap #24 wire around a toothpick to make a 25mm spring shape.
-
Thread the #20 wire through the spring.
Meter
-
Poke a sliver of light blue around the top of the meter.
-

This is the completed meter after it is attached.
Stand
-
Colour the stand with a light blue sliver.
Side Cover
-
Looking at the shape of the side cover, poke a light blue sliver.
-

Make the side covers thick enough to be 5mm thicker than the seat when seen from above.
-
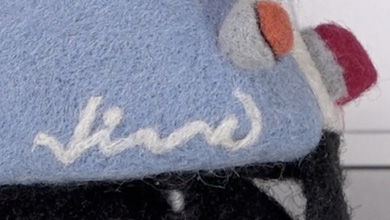
Look at the logo on the pattern and poke the Vino logo onto the side cover.
Rear Cover
-

Poke a white sliver on the rear cover.
Poke until it is the same height as the side covers.
End of the grip
-
Poke a sliver of black into the end of the grip.
-
The light blue version is complete.
-

Official social media gallery -
Send in pictures of your work!
Let us post the work you have created using the how-to guide on this site on the official Yamaha Motor amigurumi / needle felting account on Instagram.
Just fill in the required fields on the posting page and upload photos of your work. We are looking forward to seeing them.
Terms of use
These contents are operated by Yahama Motor Co., Ltd. and are provided free of charge with the premise that they will be used in the pursuit of hobbies by individuals.
Please read the terms of use of the website before use. We hope you enjoy these contents.>Terms of use