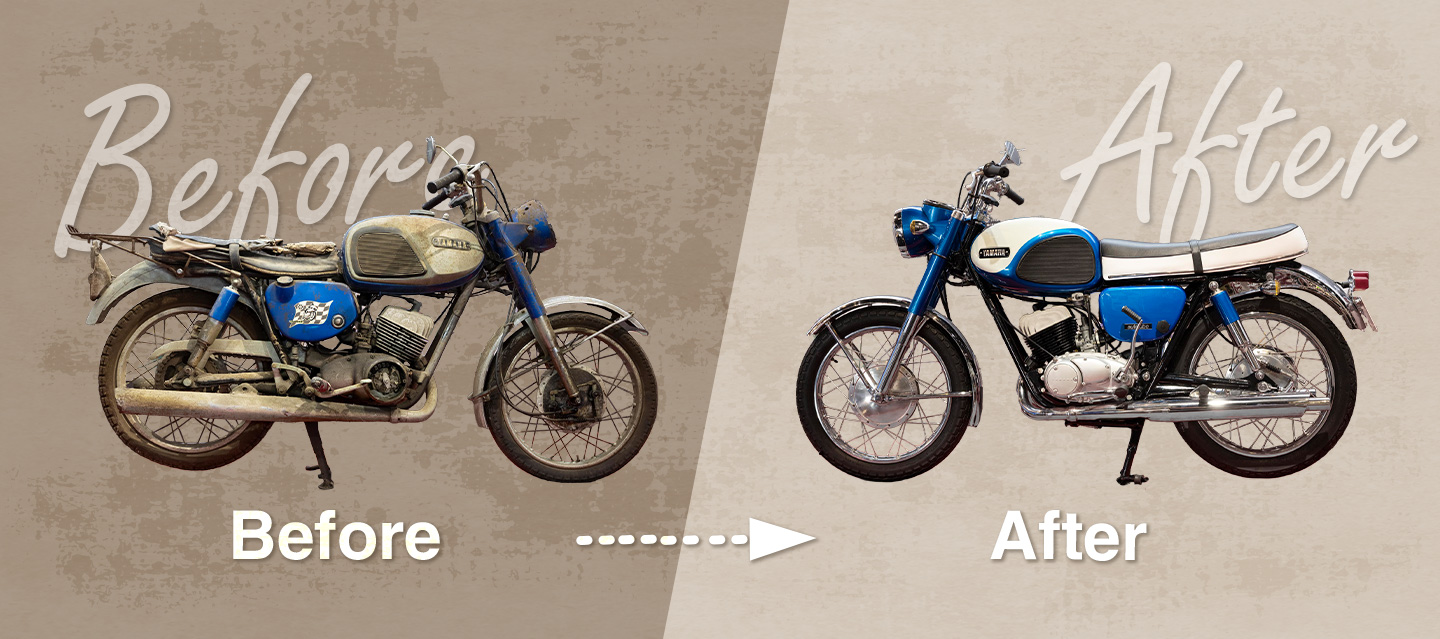
What Goes into a Restoration? The many historic vehicles on display at the Communication Plaza undergo restoration at a dedicated section of Yamaha Motor’s Toyooka Technical Center. Many of these machines were first sold over 50 years ago and the parts needed for restorations are often no longer available.
The world today is much more eco-conscious, meaning some of the materials originally used to manufacture these models (such as asbestos) can no longer be used, further complicating the restoration process.
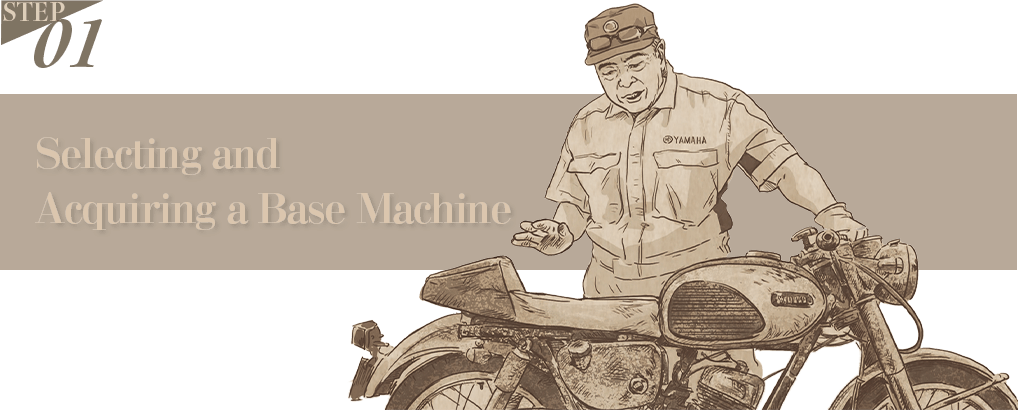
HANAI Shinichi has been leading the restoration team here since 2010, and explained to us the various processes comprising a restoration.

Among the many vehicles Yamaha Motor has manufactured over the years, models recognized as epoch-making milestones take priority when it comes to restorations. More than 20 years have passed since Yamaha began restoring historic vehicles and maintaining them in running condition. Today, most of the historically significant models have been fully restored, but model variations with different engine displacements or ones that received minor evolutionary updates are still unfinished. Since this opens up for debate how many versions of a given model Yamaha should restore for posterity, machines are only selected for restoration following thorough discussion and deliberation among the team.
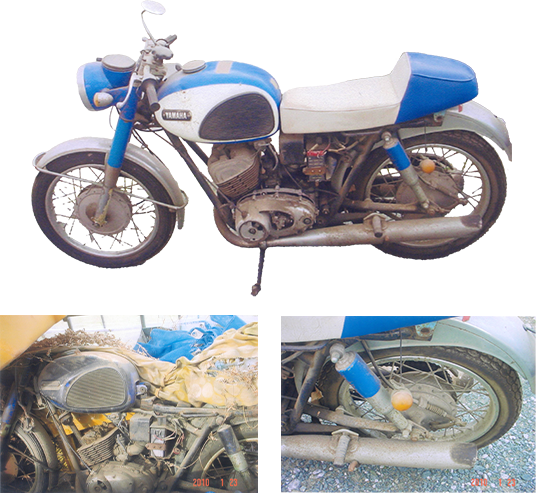
As Communication Plaza Manager MATSUO Akito spoke of, in recent years, more and more owners are contacting the Plaza on their own, offering to bring in their machines to donate to the collection. However, the decision on whether or not to actually accept such offers depends on how rare the model is for its category and era, the model type, how close it is to the original condition, and other considerations. The team carefully assesses machines with these factors in mind before coming to a decision.
Of all the models the Plaza has acquired for restoration, which was the most memorable?
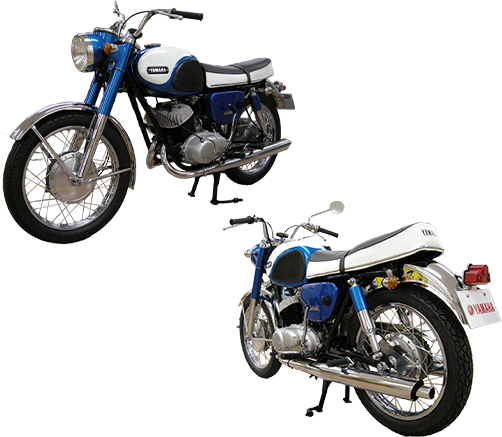
The first model I restored when I started this job was the YM1 that belonged to my “motorcycle sensei.” He had passed away and that made restoring his bike a very memorable undertaking for me. After getting his family’s permission to pick it up, I went over in a truck to get it, but what I discovered when I got there was that the bike had been stored in a polytunnel and looked like it was about to make its final journey into the ground! With each step in the restoration process, I found myself recalling Sensei’s character and how he had ridden the bike, so it was a very emotional job for me. Of course, we restore every machine with exceptional care since that’s our job, but when you have an emotional attachment to the bike or its owner, it gives you a little extra motivation.
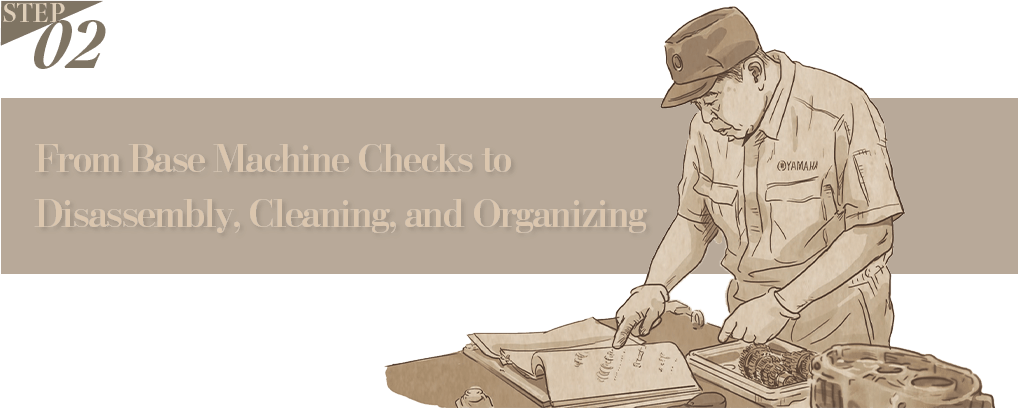
After acquiring the base machine, the first step is to give it a thorough once-over by referencing its design drawings, blueprints, specification sheets, brochures, and other materials. Are the parts on it the originals? Are the installed parts exactly the same as the ones in the blueprints? These detailed checks extend to every nut and bolt on the machine and everything is prepared for sorting.
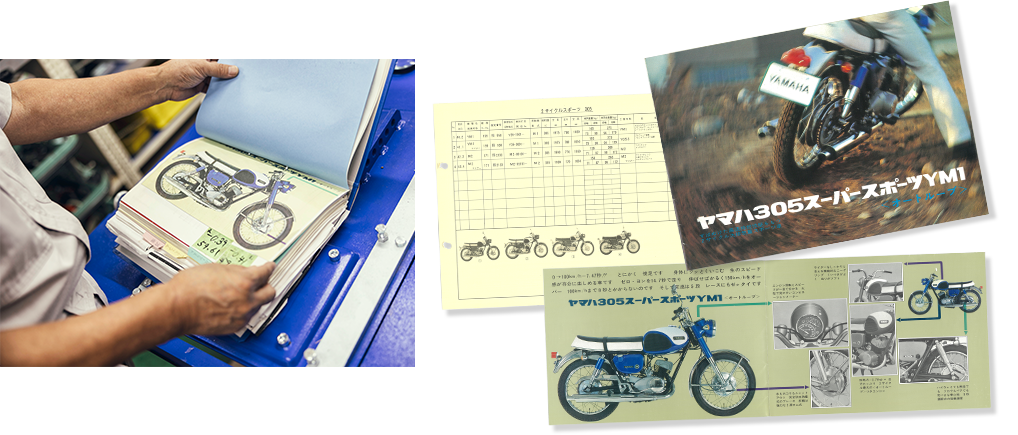
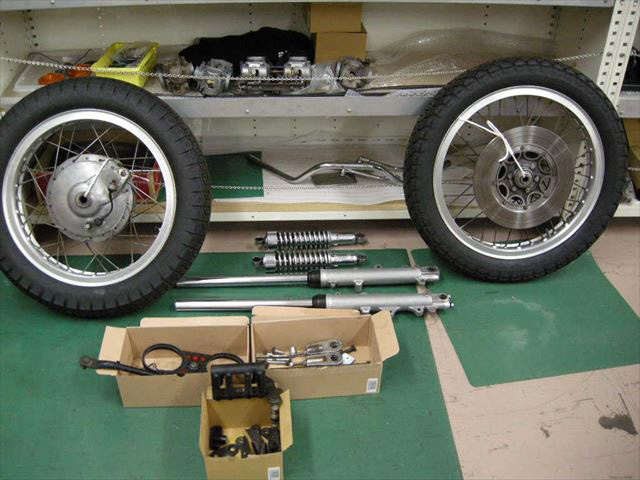
Then the disassembly process begins. The main exterior parts are all removed first and then the engine is removed. Next, the wheels, fuel tank, seat, and remaining parts are taken off until all that remains is the bare frame. Of course, the engine is also completely disassembled down to the last bolt and gasket.
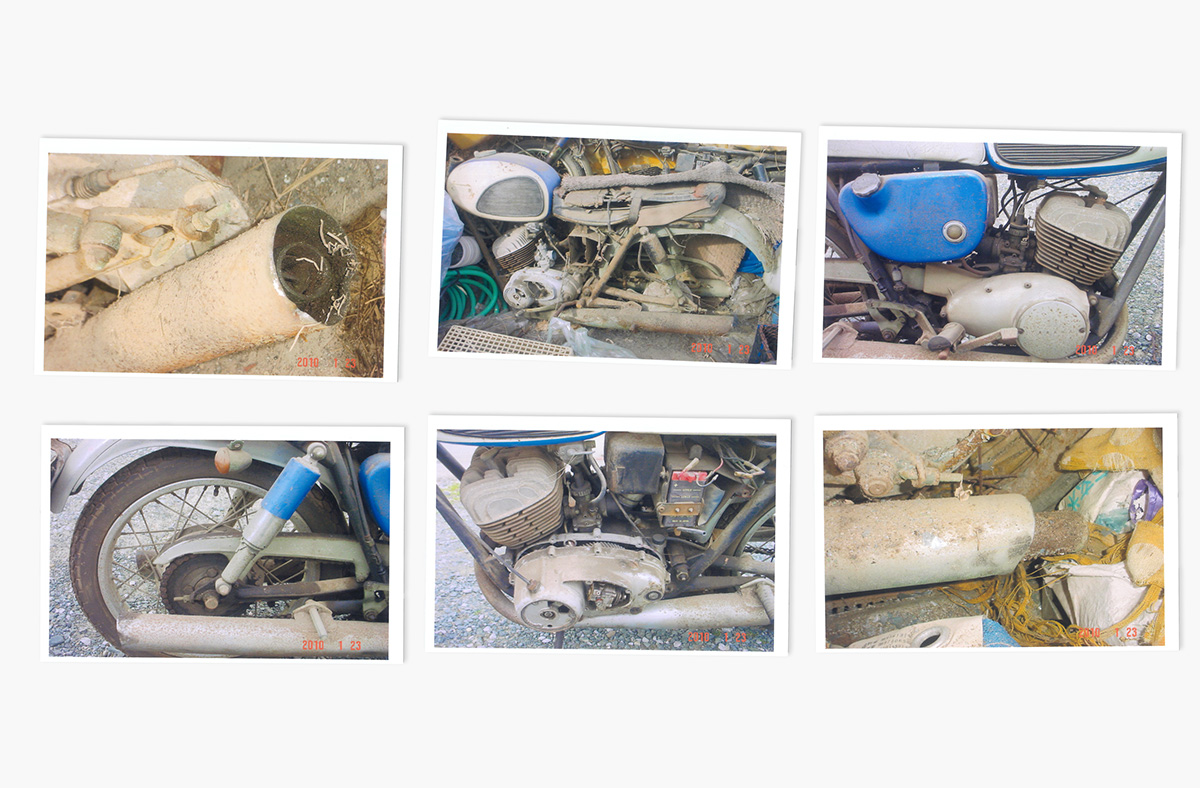
Having said that, the work itself is hardly straightforward. Bikes that have been stored for extended periods without maintenance are often caked with rust, dust, and dirt, and the liquids left in them turned rock-solid. It can sometimes take hours just to remove a single gasket!
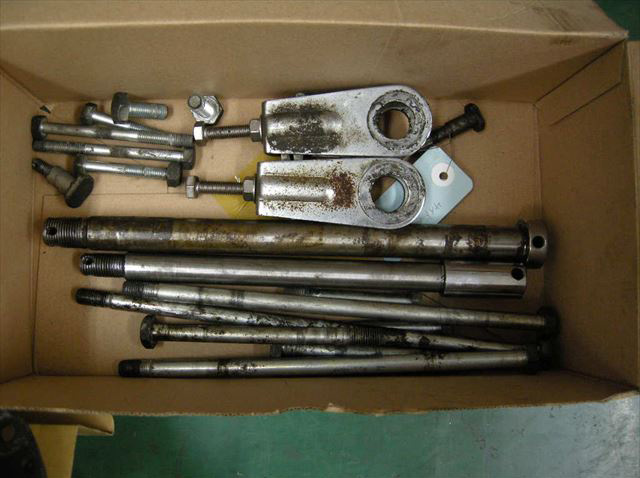
“Just removing a single bolt can be a struggle,” admits Hanai. “Today, most of the important parts of a chassis are fastened with hex-head bolts, but bikes from back in the day mostly used cross-head screws. In trying to get one of those out, it’s often the case that the head has already been stripped and you can’t really use tools anymore. In that case, we try hitting it with a shockless hammer or getting it hot with a heat gun, and so on. It’s not a simple affair! If none of that works, we have to drill a hole right through it just to get it out!”
What Hanai-san places the most importance on throughout the entire process is taking photos. This is not just to create a photographic record of the base machine’s condition but also to have something to refer to when reassembling the bike. How were these parts installed? How was the wiring routed again? Having a record of everything on hand makes taking photos an essential part of the job according to Hanai. When special tools are required to disassemble something, he also photographs that process. Of course, constantly taking photos while working consumes time and effort, but archiving everything will help tremendously in passing down restoration techniques to future generations.
Have you had any especially enjoyable or surprising incidents when disassembling a bike?
It’s fun to imagine all sorts of things about the bike’s original owner. What kind of person are they? How did they ride it? After doing this job for as long as I have, you begin to understand how the owner felt about their machine as you disassemble it. The motorcycle tells you things, like how this person didn’t change the transmission oil very often or how this person took good care of maintaining this or that area. I haven’t had any big surprises recently though. Of course, there have been bikes on the verge of rotting away, some with side covers filled with spiders’ nests, or mufflers with wasps’ nests inside them. I’ve seen a lot of things like that until now, so I don’t get too surprised by them anymore. [laughs]
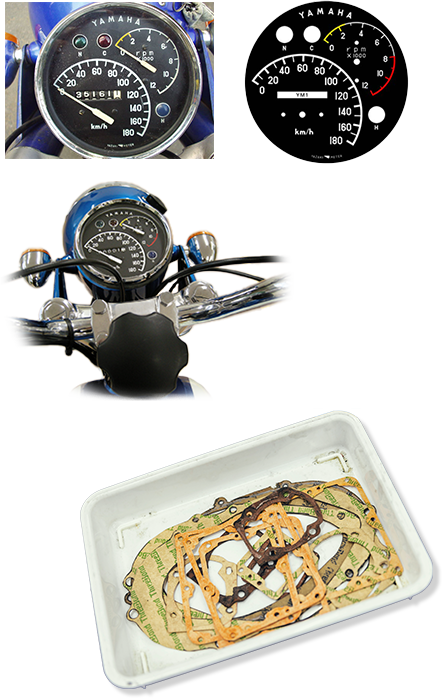
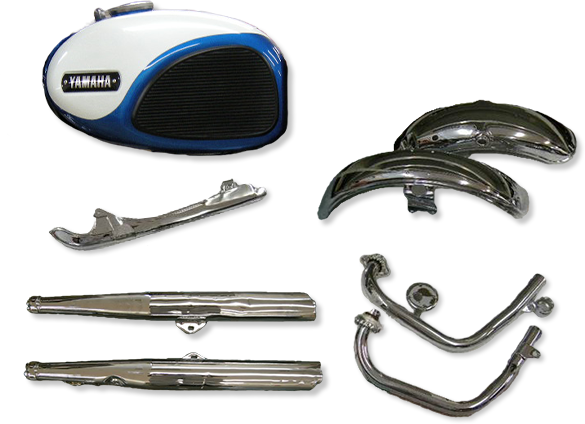
With the bike fully disassembled and its various parts organized, the restorers strive to clean, refurbish, and reuse as many of the original parts as possible, but also arrange for new OEM parts if they are still available. If they are no longer in stock at Yamaha, reproduction parts are sometimes used.
“However, even some OEM parts sometimes can’t be used as-is,” explains Hanai. “For example, most of the bolts manufactured today have black finishes while back in the day, they were usually cadmium-plated. If the bolts are hidden by the bodywork, then we can use them as they are, but if they are on the engine or are otherwise visible, they look so out of place that we can’t use them. In that case, we have no choice but to remove the black plating and re-coat the bolts with cadmium.”
If certain parts are simply no longer available anywhere, then they have to be custom-made and Hanai-san frequently makes such parts himself. For the DS6C the team is currently restoring, Hanai-san built a new engine crankcase cover, new cylinder bottom end, and new gaskets for the cylinder head by basing them off the originals.
Paint stripper is used to remove the old paint from frames, fuel tanks, and other parts before repainting them with the original paint if it is still in good condition on parts or with the paint listed in the model’s specifications. “The problem is today’s urethane paints have a much wetter and glossier look than the old paints,” says Hanai. “This can actually end up giving the bike a much higher quality look than it originally had.” The restorers expend considerable time and effort in order to match the lightly applied clear coats and subtle hues and tones of the original paints in order to reproduce their colors and feel as best they can.
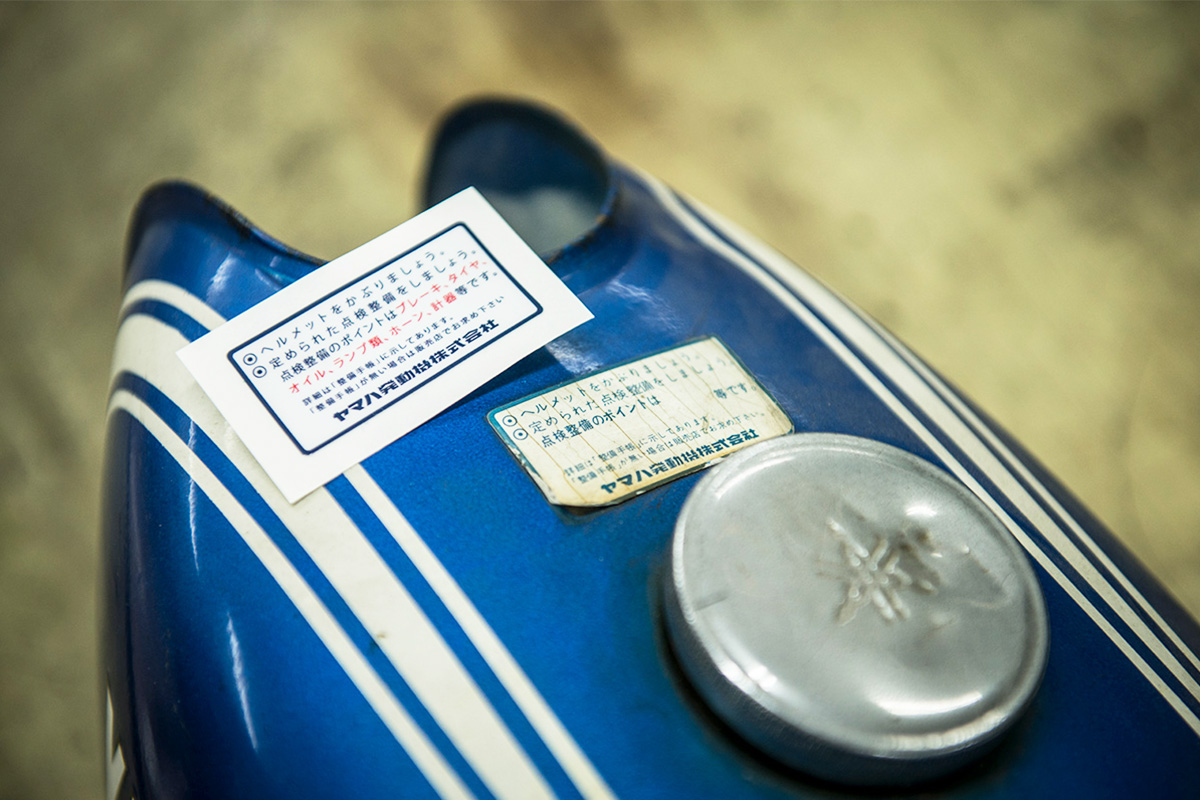
Another important element of the exterior are the decals and stickers, all of which are newly made. The design drawings of the time specify what is printed on the stickers, but the color recorded might simply be a rather vague “Yamaha Black.” Because the original stickers on most base machines have been badly faded by exposure to UV light, the restorers do color matching based on materials from the time like brochures and advertisements as well as their own recollections before specifying the color numbers to use for the decals and stickers.


In addition, the surface finishes of metal parts strongly influence a machine’s overall appearance. Present-day polishing techniques can bestow those surfaces with a mirror-like finish, but the goal of restoration at Yamaha Motor is for the machine to look just the way it did when it first left the factory. To keep the metal surfaces from being over-polished, they are finished to a degree on par with the techniques available when the bike was manufactured and to a quality expected with a mass-production machine. Even the minor buffing marks and hairline finishes that were on the original components are reproduced.
Are there parts that are especially hard to repair or restore?
Vapor-plated die-cast parts, for sure. Vapor-plating was often used for zinc die-castings like turn signal housings and fuel tank caps, and as time passes, small spots of corrosion appear on their surfaces (zinc and aluminum also corrode). You can’t get rid of it with polishing alone and chrome parts can’t simply be replated, so they are usually replaced with new parts. However, when new parts simply aren’t available, replating is the only option left. Vapor-plated die-cast turn signal housings were originally fitted on the DS6C we’re restoring now and they were in pretty good condition, but they just weren’t up to the standards for restorations we aim for at Yamaha, so we couldn’t use them. There were only two new turn signals left in the company’s stock, but we couldn’t source the remaining two anywhere, so we’re now vapor-plating the original parts.
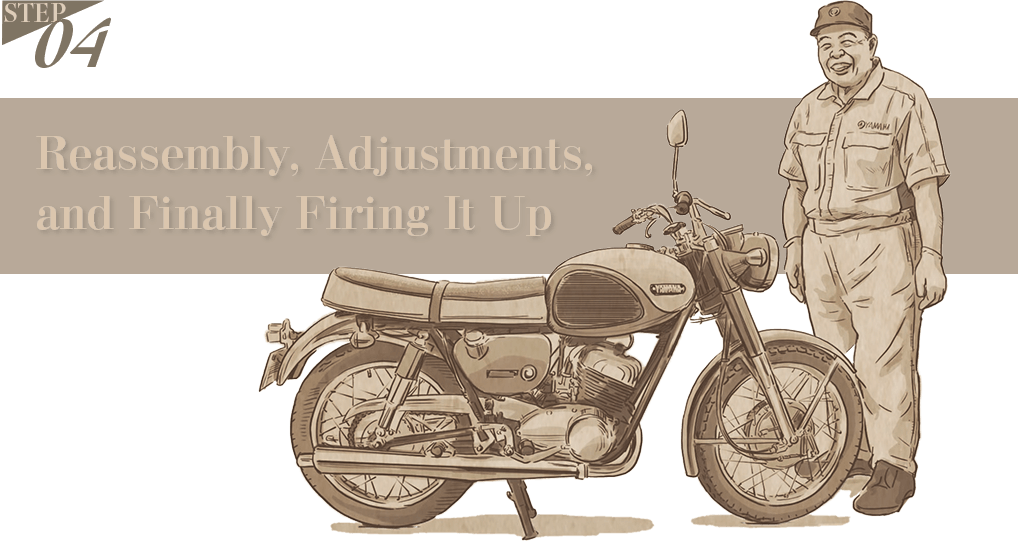
After all the parts and components in steps 2 and 3 have been restored, it’s finally time to begin putting the bike back together. Each of the painstakingly prepared parts—from the tiniest nuts and bolts to the engine, frame, and fuel tank—are carefully reassembled, as if giving the old motorcycle a new lease on life as it returns to how it once was. According to Hanai-san, the hours spent doing this are simply filled with bliss.
The engine is assembled on its own first and receives a battery of checks. Is the crankshaft rotating freely? Does the transmission shift through gears without any problems? If everything works as expected, the next step is to mount the engine in the frame, which has also been repainted and had its many bolt and screw hole threads retapped.
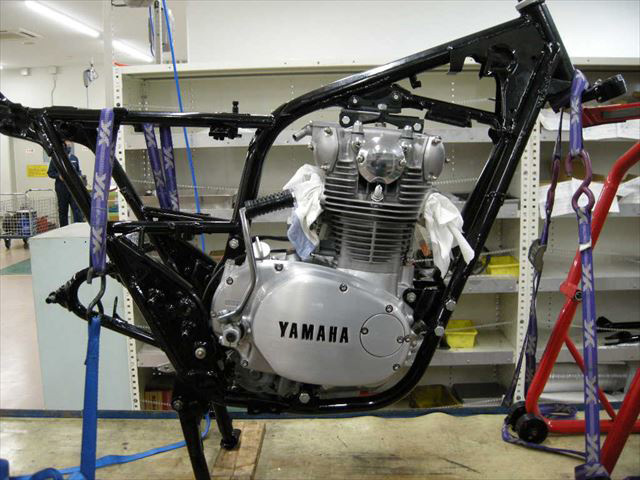
“Mounting the engine in the frame is always the most nerve-wracking part because we want to avoid scratching or otherwise damaging any part of it,” Hanai-san explains. “We carefully balance and nurse the engine into place as we insert and fasten the engine mounting bolts. If an engine is particularly heavy, we sometimes mount it in the frame using a jack from below. Because the engines are very heavy, it’s difficult work, but those of us on the restoration team can basically get the job done alone. That being the case, we make sure to be careful in how we use our bodies during this part so as not to injure our backs while still carrying out the work safely and with care. Of course, if an installation is especially challenging, we will sometimes ask others for assistance.”
The final step is mounting the fuel tank and checking for proper fuel flow from the petcock. If there are no problems there, then the very last thing is an ignition test by firing the bike up. This often entails some minor adjustments to the carburetors and other small tweaks here and there, but in general, firing up the engine marks one major goal line reached in the restoration journey.
Furthermore, the machines that will be ridden at the Plaza’s Historic Model Demonstration Run undergo further, more detailed checks and maintenance, and the restoration team tests them thoroughly before they are ridden at the event.
After you’ve completed a restoration, do you ever feel that you should’ve done more?
Of course! I can’t count how many times I’ve felt that way. Every day we all learn more about how to do our jobs better. With the YM1 I talked about earlier, the original muffler had so much damage and we just couldn’t repair every single dent in it, so we had to grit our teeth and treat it as “complete.” Now, every time I look at it, it makes me frustrated! [laughs]