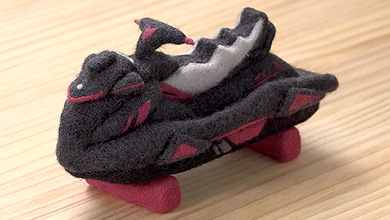
WaveRunner(MJ-FX Cruiser SVHO)how-to guide
The WaveRunner(MJ-FX Cruiser SVHO)reproduced in felt. We provide patterns and how-to videos.


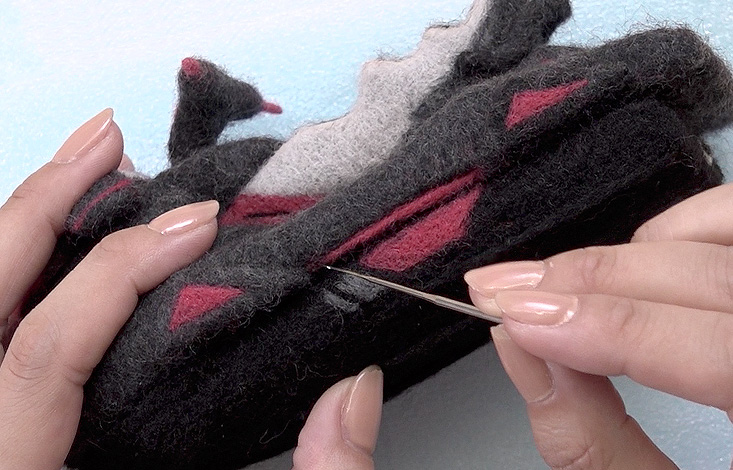
Try making a WaveRunner out of felt.
WaveRunner – enjoy running around freely on the water with the jet pump jet flow.
Here is the how-to guide for the WaveRunner reproduced in felt.
Look at the pattern and the videos and take up the challenge.

You will need the following colours of Felt
You will need sheet felt to make the base and the following colours of felt. Colouring will be achieved by mixing colours and poking them onto the base. Please see the how-to videos for details.
■ Sheet felt
■ Sliver
- Light grey
- Dark grey
- Black
- Red
Tools you will need
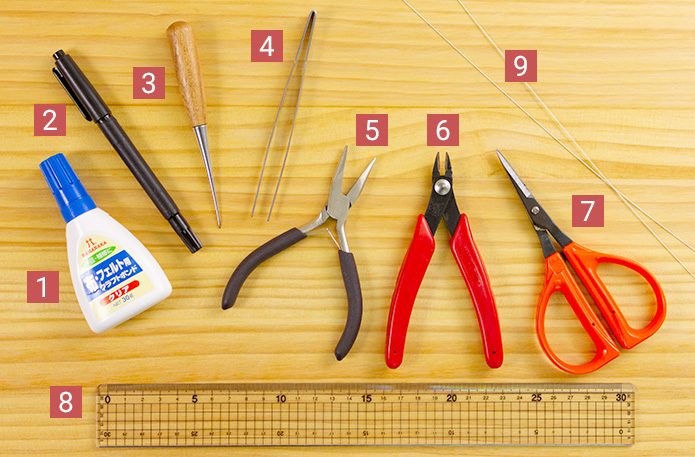
In addition to the tools introduced in the guide to successful felting even for beginners, you will need to following tools to make the WaveRunner.
[1] Adhesive [2] Permanent marker [3] Dot punch [4] Tweezers [5] Long-nosed pliers [6] Nippers [7] Scissors [8] Wire and Pins
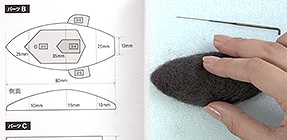
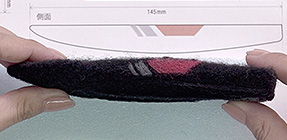
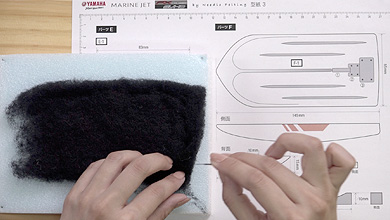
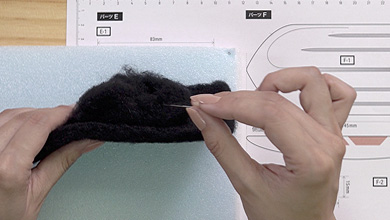
Pattern

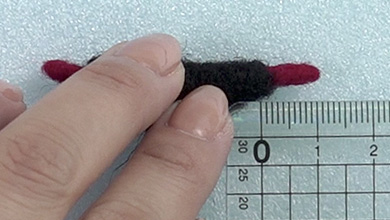
It is important to check the size of each part against the pattern. We have provided the pattern in PDF format. Please download and print out to use.
When printing, make sure to check scale and edge guide so that you get the actual size for the pattern.

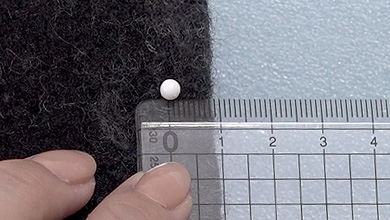
Check the finished firmness
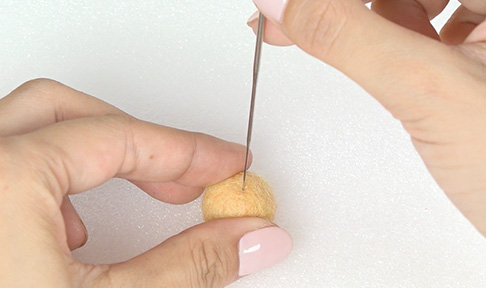
As you poke the needle into the wool, it becomes more and more firm. You may wonder how firm you need to make the wool.
The firmness of the 1.8cm ball made from 1g of wool as shown in the felt ball how-to guide in the Basic Needle Felting Lesson is the standard firmness for making the WaveRunner.
If the felt is not firm enough, it will be off-kilter when assembling or the finished item will fall apart so it is important to work the felt to make it firm.

Once you have prepared everything, you are ready to make your WaveRunner!
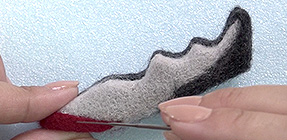

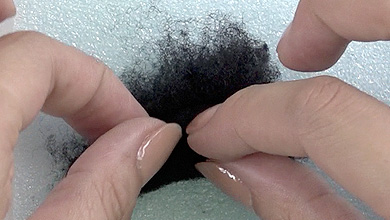
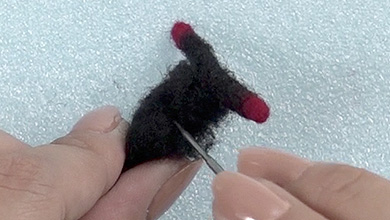
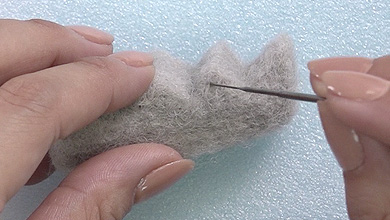
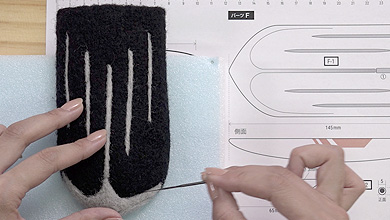
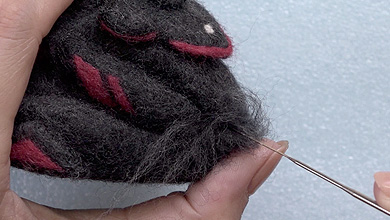
1 Make part A
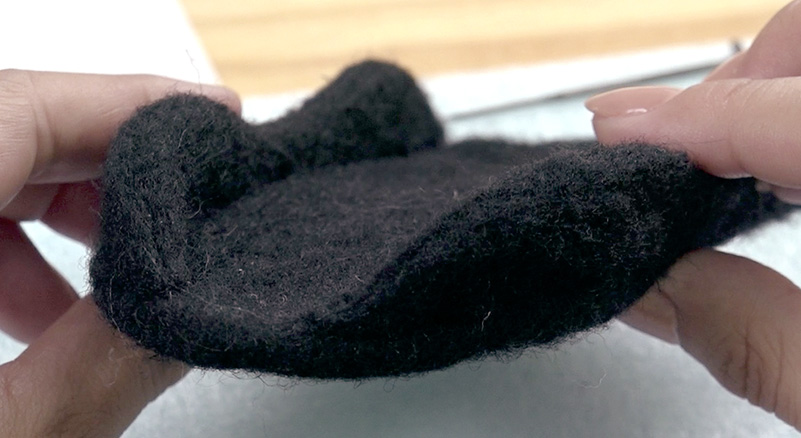
Make A-1
-
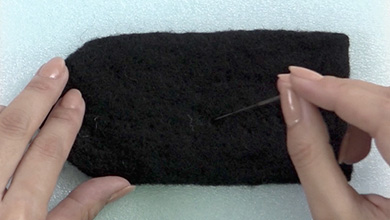
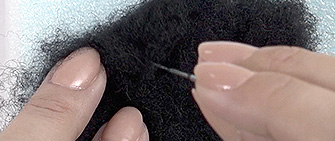
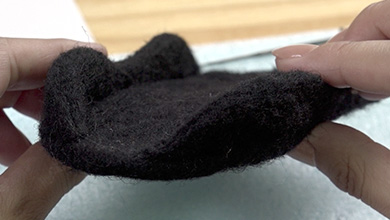
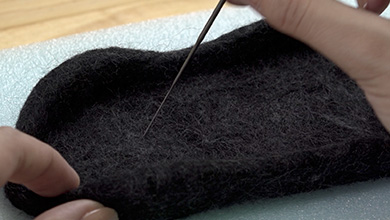
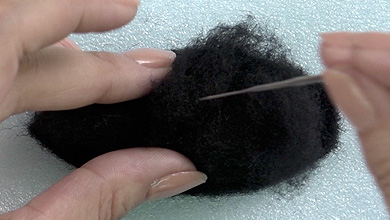
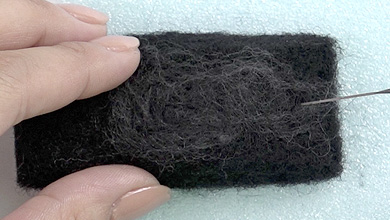
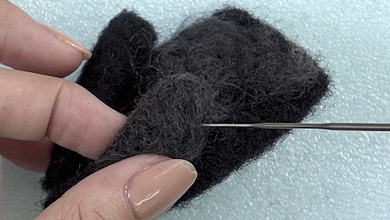
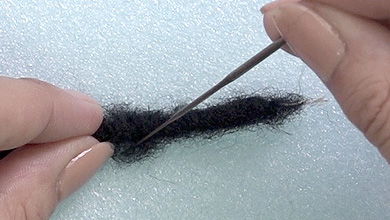
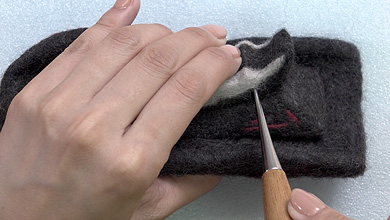
Tear off a piece of black sheet felt one size bigger than pattern A-1 and form the shape while poking with a needle.
-
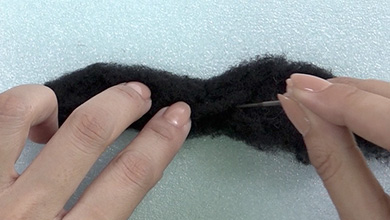
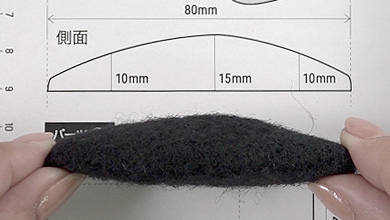
Make the side part while checking with the pattern.
-
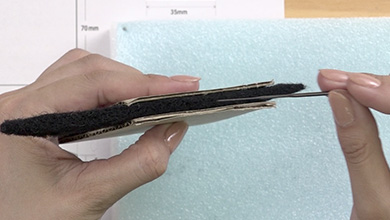
Use the sandwich card to finish the shape.
-

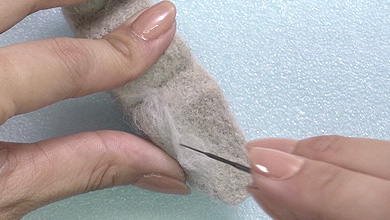
-
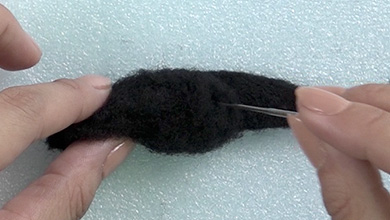
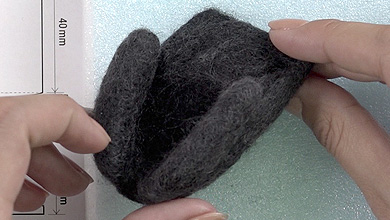
Add felt for the 10mm-thick portion and poke.
-

-
Poke to attach the side part as shown on the pattern.
-
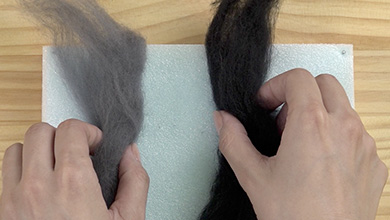
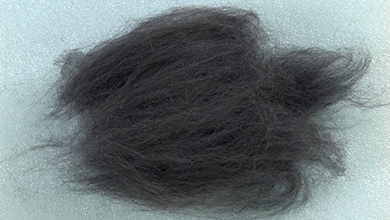
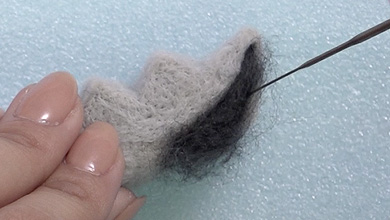
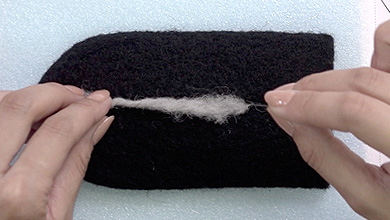
Mix black felt with dark grey 1:1.
-
*You will use this mixture of colours later so it’s a good idea to make some extra now.
-
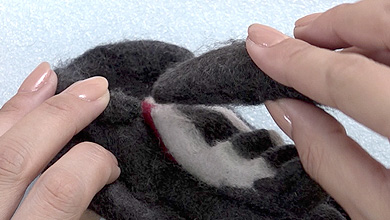
Take a pinch of the felt and tear it into little pieces and lightly poke bit by bit in a shallow manner to attach this colour to the surface.
-
Poke only 10mm around the back and cover the whole of the front.
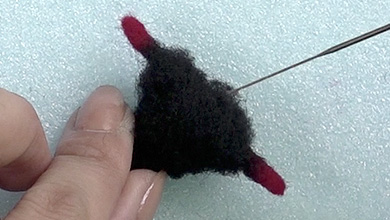
Make A-2 and A-3.
-
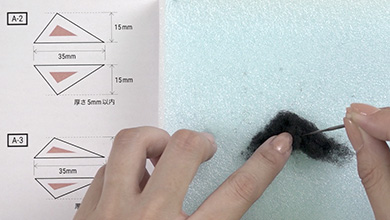
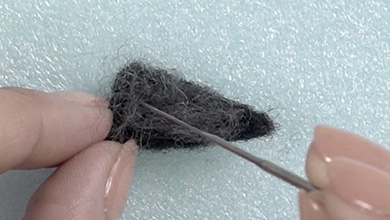
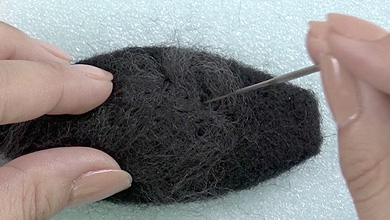
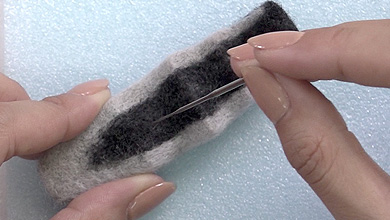
Tear off a piece of black sheet felt one size bigger than pattern A-2 and form the shape while poking with a needle.
-

Poke to make it as hard as possible.
-
Poke the mixed felt little by little to create the desired colour.
-

Lightly poke the whole shape in a shallow manner.
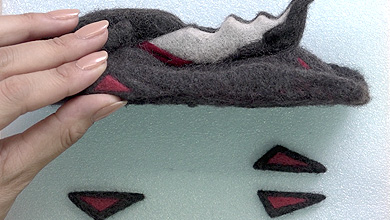
-
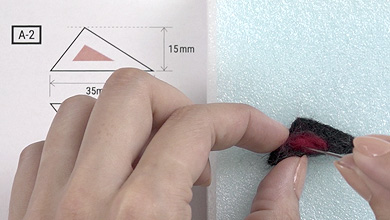
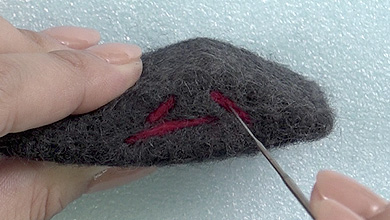
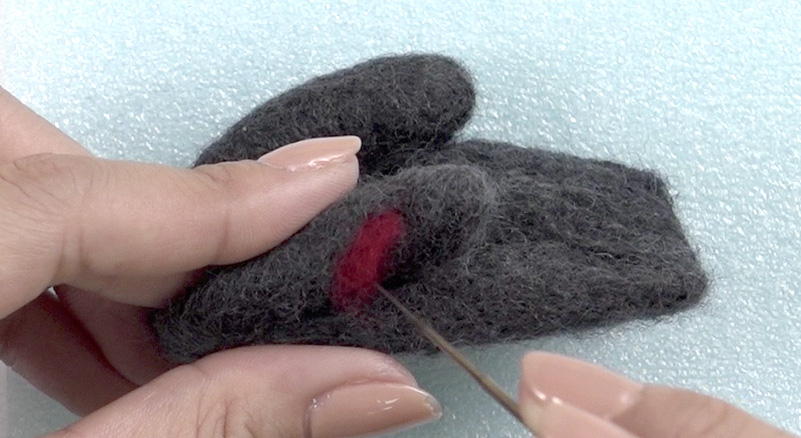
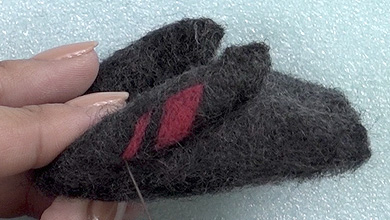
Tear a little red felt and poke a triangle in the centre.
-
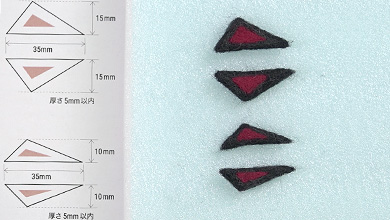
Make two of A-2 and two of A3 in the same way.
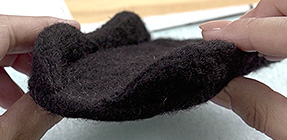
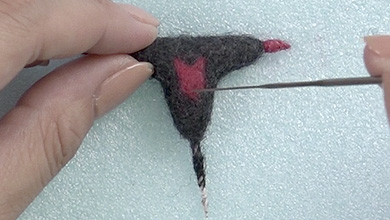
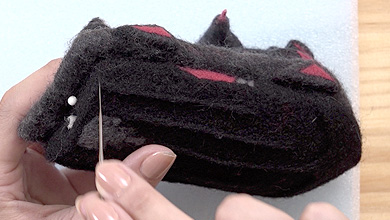
2 Make parts B and C
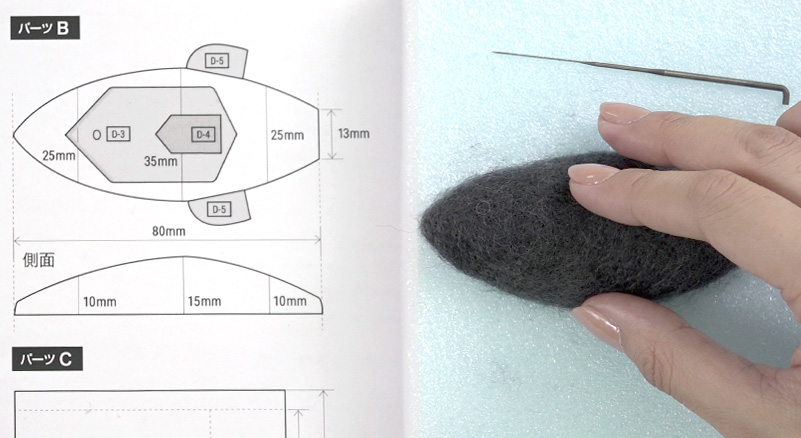
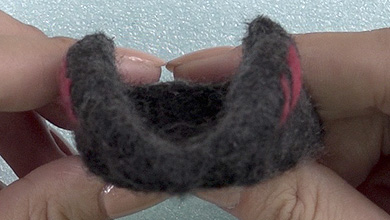
Make part B
-
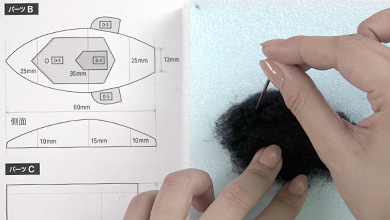
Tear off a piece of black sheet felt one size bigger than pattern B and form the shape while poking with a needle.
-
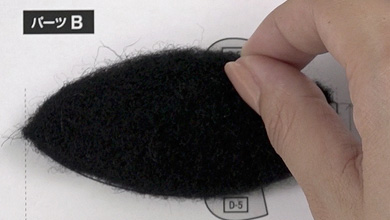
Poke the bottom according to the pattern.
-
Once the bottom is flat, poke more felt to create height.
-
For the height, poke to create the side as shown on the pattern.
-
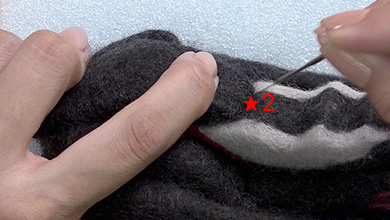
Colour everywhere except the back.
Poke the mixed felt little by little to create the desired colour. -
Check with the pattern once you have finished the shape.
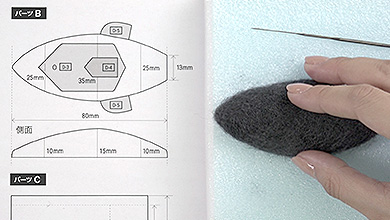
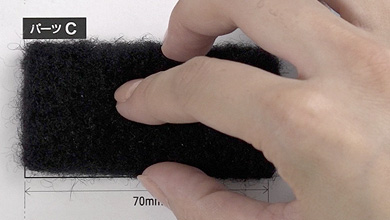
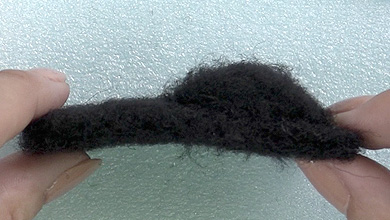
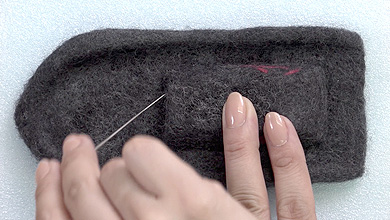
Make part C
-
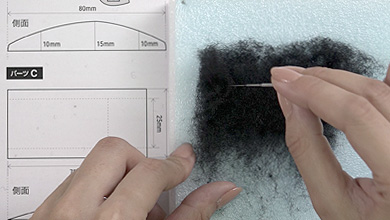
Tear off a piece of black sheet felt one size bigger than pattern C and form the shape while poking with a needle.
-
Poke the bottom as shown on the pattern.
-
Once the bottom is flat, poke more felt to create height.
-
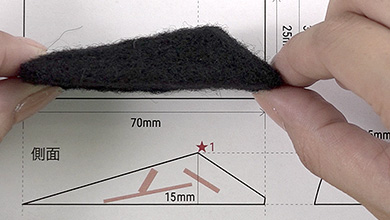
For the height, poke to create the side as shown on the pattern.
Check with the pattern once you have finished the shape. -
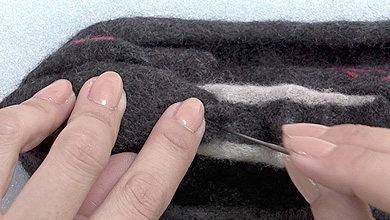
Colour everywhere except the back.
Poke the mixed felt little by little to create the desired colour. -
Attach a red line to the side.
-
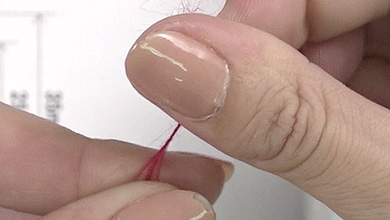
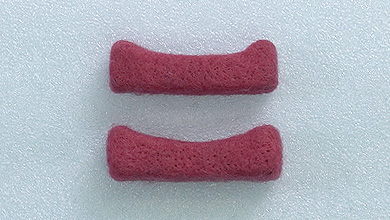
Twist a sliver of red felt between your fingers and poke.
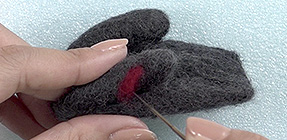
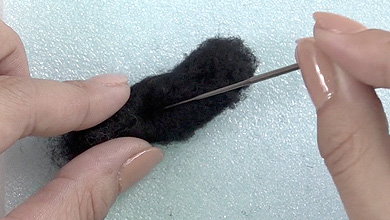
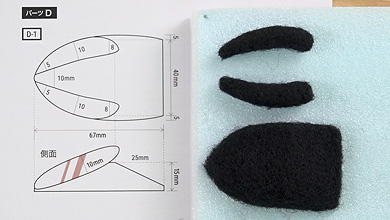
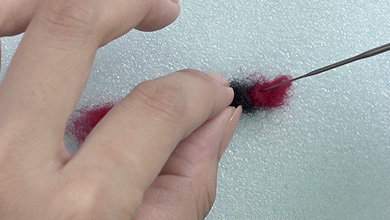
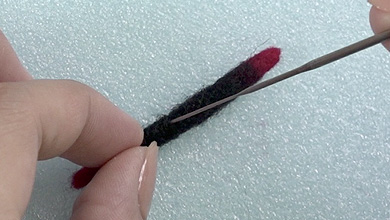
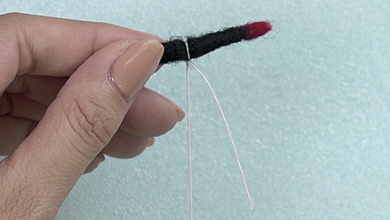
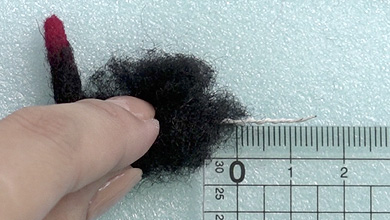
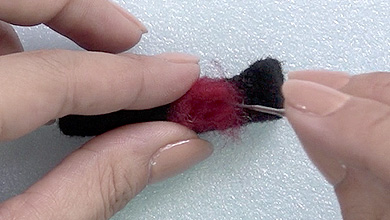
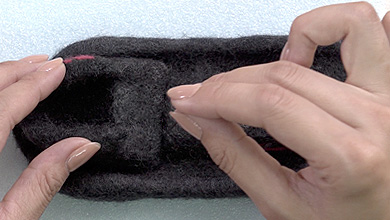
3 Make part D
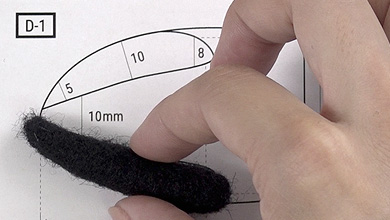
Make part D-1
-
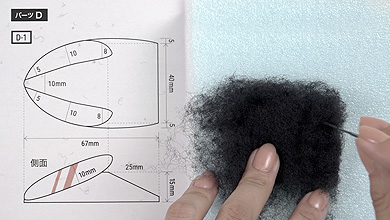
Tear off a piece of black sheet felt one size bigger than pattern D-1 and form the shape while poking with a needle.
-
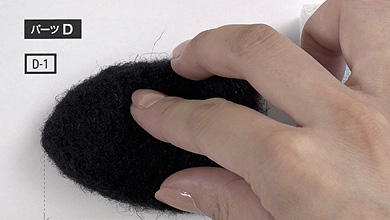
Poke the bottom as shown on the pattern.
-
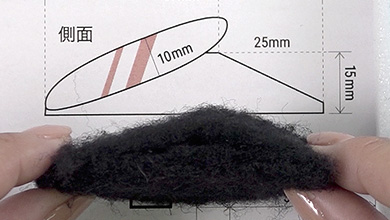
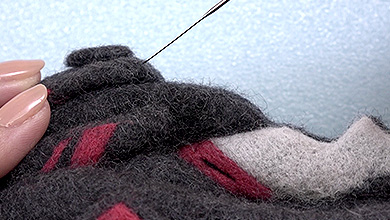
Make the triangular portion for the side.
-
Poke more felt to create height.
-

Check the shape with the pattern.
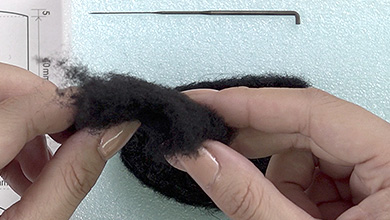
-
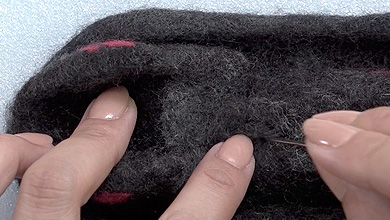
Make the V shapes on the left and right.
-
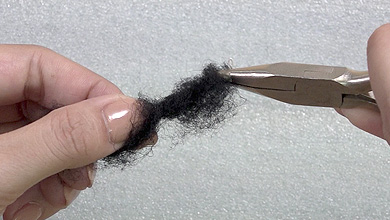
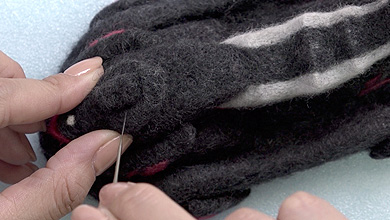
Roll the black sheet felt between your fingers and poke.
-
Check the shape with the pattern.
-
Make two of the same shape.
-

When attaching to the base, the tip of the V shape should be left unattached.
-

-
Colour everywhere except the portion between the back and the V shape.
-
Poke the mixed felt little by little to create the desired colour.
-
Poke a line with red felt.
-
Poke red lines on each side of the V shape.
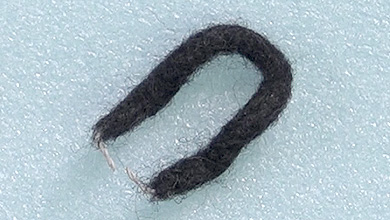
Make part D-2
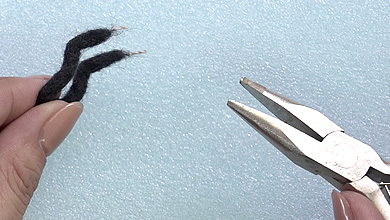
-
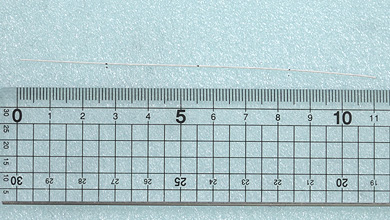
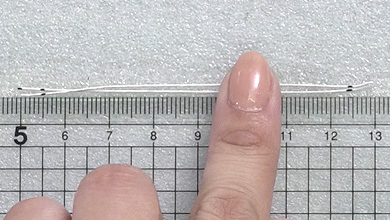
Cut a piece of wire to 110mm.
Make marks 55cm from the centre and 2.75mm from each end. -
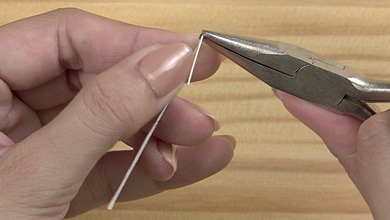
Use pliers to bend the wire at the marks at each end.
-

-
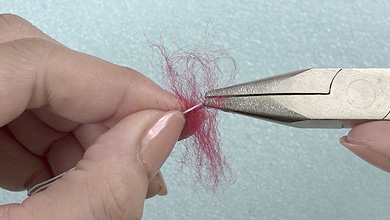
Take a little red felt, trap it in the wire 10mm from the end and twist.
-

-
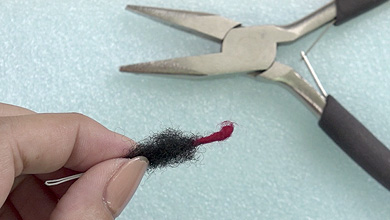
Trap black felt in the middle portion and twist in the same way.
-
Twist red felt on the other end in the same way and poke with a needle.
If you can still see the wire, add more felt and poke. -
Poke to finish the shape.
-
Bend a 100mm piece of wire in half and bend round the middle of the part you just made.
-

-
Trap black felt in the wire and twist, leaving 15mm at the end.
-
Poke the black felt.
-
*Be careful not to break your needle by catching it on the wire when poking.
-
Add black felt until the red portion is 8mm on each end.
-

-

Poke the mixed felt little by little to create the desired colour.
-
Poke the graphic on the pattern with red felt.
Check the shape with the pattern.
Make parts D-3 and D-4
-
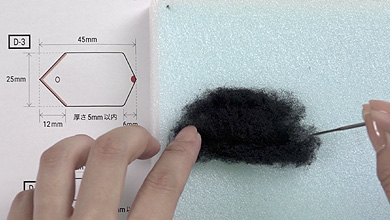
Tear off a piece of black sheet felt one size bigger than pattern D-3 and form the shape while poking with a needle.
-
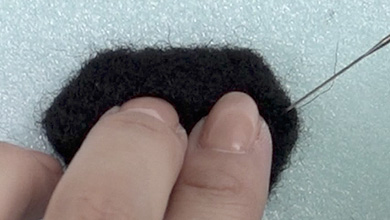
Poke towards the centre with the tip of the needle to create the corners and finish to create the shape on the pattern.
-

-
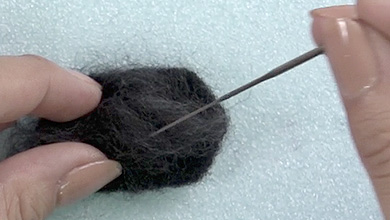
Poke the mixed felt little by little to create the desired colour.
-
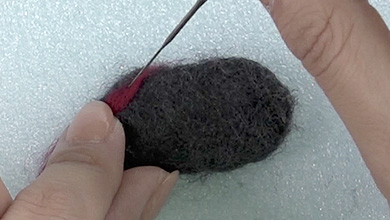
Refer to the pattern to attach the lines with red felt.
-

-
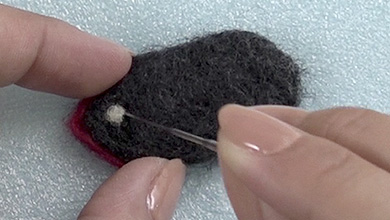
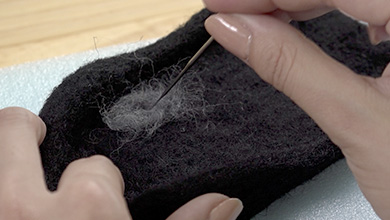
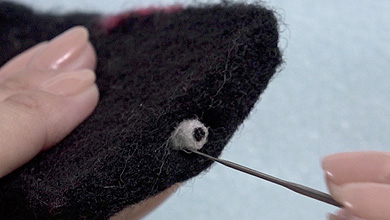
Take a little white felt, roll it between your fingers and poke the little circle.
-
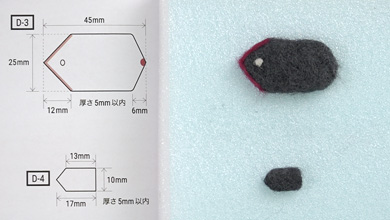
Make D-4 in the same way.
Make part D-5
-
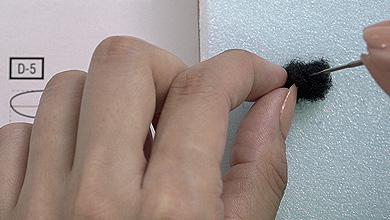
Tear off a piece of black sheet felt one size bigger than pattern D-5 and form the shape while poking with a needle.
-

-
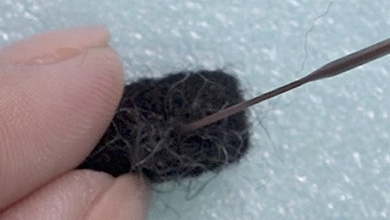
Poke the mixed felt little by little to create the desired colour.
-
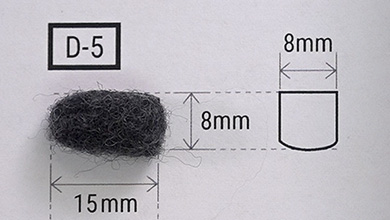
Check the shape with the pattern.
-
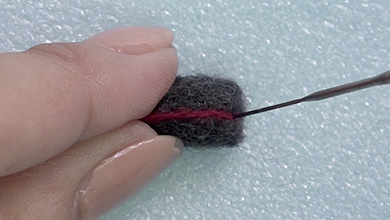
Refer to the pattern to attach the lines with red felt.
-
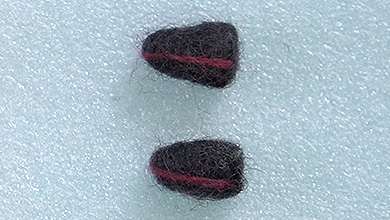
Make two parts the same.
4 Make part E
Make part E-1
-
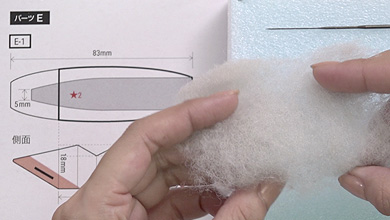
Tear off a piece of black sheet felt one size bigger than pattern E-1 and form the shape while poking with a needle.
-
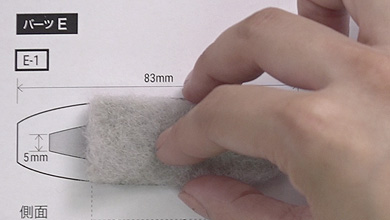
Check the bottom with the pattern.
-
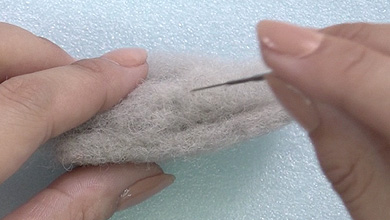
Add felt to create a height of 15mm.
-
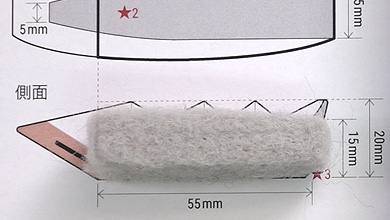
Check with the side diagram, roll felt and poke to create the indentations.
-

-
Poke to create sharp corners.
-

Add felt to the front and poke to finish the shape.
-
Take a sliver of light grey felt and poke to colour little by little.
-

-
Poke the seat pattern with mixed felt.
-
Poke the middle of the top of the seat with mixed felt.
-
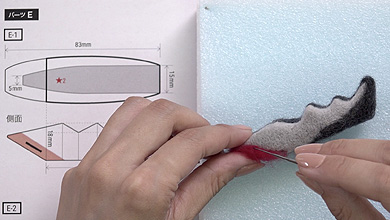
Take a little red felt and poke, referring to the pattern.
-
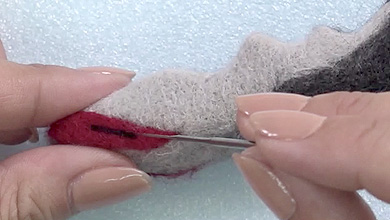
Make a black line in the middle.
Make part E-2
-
Bend a 160mm piece of wire in half and mark it 5mm from each end.
-
Place an even amount of black felt between the two wires leaving 5mm and twist.
-
Add felt where there is not enough or where you can still see the wire to make the thickness even.
-

-

Poke the mixed felt little by little to create the desired colour.
-
Refer to the side diagram on the pattern and bend with long-nosed pliers.
-
Bend the remaining 5mm to the inside.
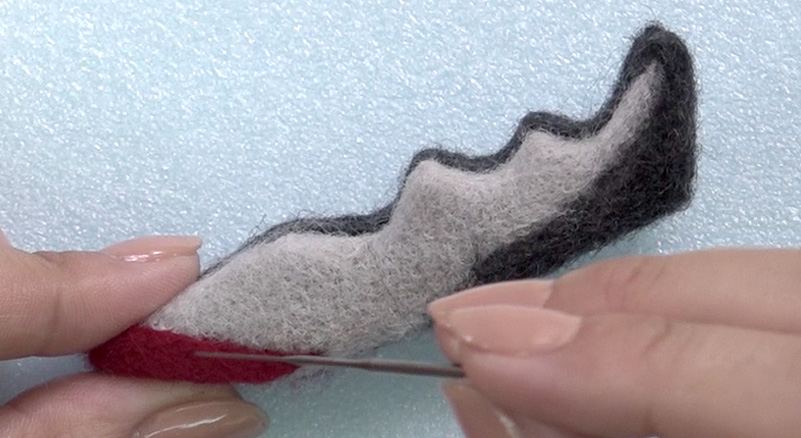
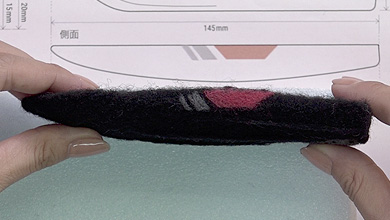
5 Make part F and the plinth
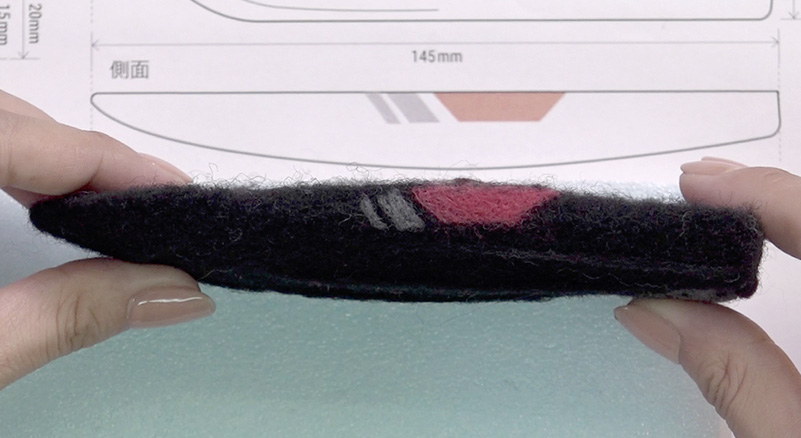
Make part F-1
-
Tear off a piece of black sheet felt one size bigger than pattern F-1 and form the shape while poking with a needle.
-
Refer to the side diagram on the pattern and add and poke felt to obtain the desired thickness.
-
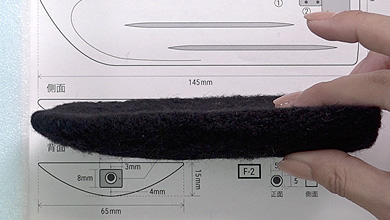
Poke to make sure it also matches the back diagram on the pattern.
-

-
Twist the felt between your fingers and poke the bottom line.
*Filmed with different colours to differentiate between parts. -
Add felt to create the indentations for the tip of the lines.
-
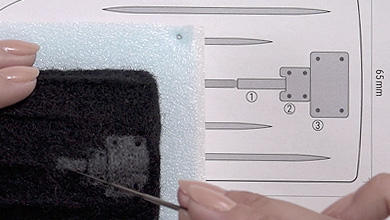
Poke portions ①② and ③ with mixed felt in order from ①.
Poke four black dots in the all corners of both ② and ③. -
Poke the graphics on both sides on the red and dark grey.
-
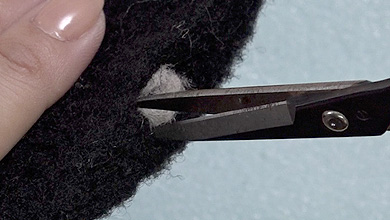
Use scissors to cut a rectangle of approx. 8×10mm and a depth of 3mm in the centre of the back.
-
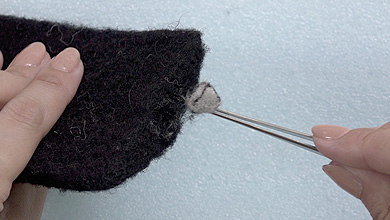
Remove the cut felt with tweezers.
-
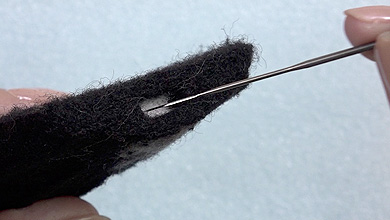
Poke with a needle until the depth is 3mm.
*Filmed with different colours to differentiate between parts.
Make part F-2
-
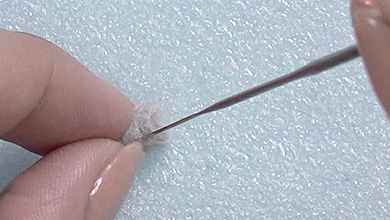
Take a pinch of light grey felt, roll it into a cylinder between your fingers and poke.
-

-
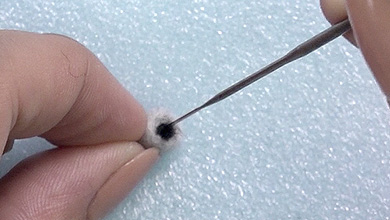
Roll a little black felt between your fingers and poke to attach to the front.
-
Insert F-2 into the hollow portion and poke right to the bottom with a needle.
Make the plinth part.
-
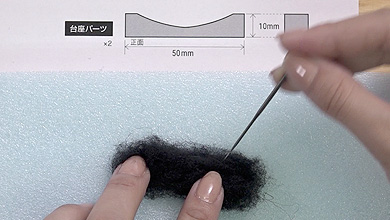
Tear off a piece of black sheet felt one size bigger than the pattern and form the shape while poking with a needle.
-
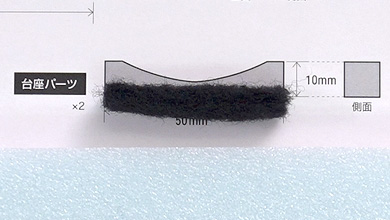
Add felt to create a height of 10mm as shown on the pattern.
-

-
Poke slivers of red felt little by little to create the desired colour.
-
Make two parts the same.
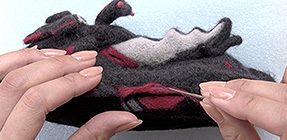
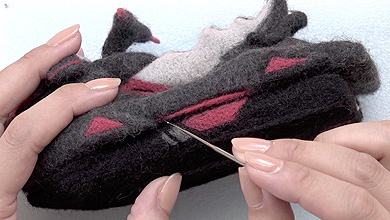
6 Assembly
-
Place a pin 15mm from the back of part A.
-
Line up the back of part C with the pin.
-
Poke around the whole shape with the needle diagonally through both parts.
-
Line up the back of part D-1 with the front of part C and poke to attach.
-
Add mixed felt to the join and poke to cover.
-
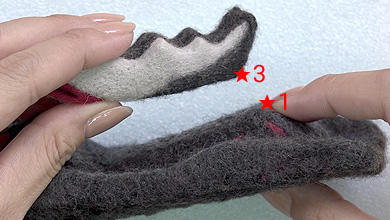
Refer to the pattern and poke to attach partC★1 to part E-1★3.
-

-

-
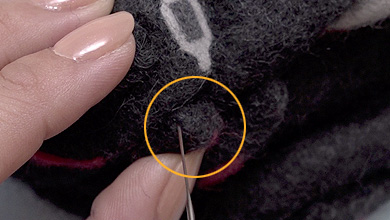
Poke holes with a dot punch where you will attach part E-2 and attach the ends of the wire with glue.
-

-

-
Insert part B into the V of part D.
-
Poke the back at part E★2.
-
Add felt and poke to cover the join.
-

Poke to attach part B to the unattached V portion of D-1.
-
Poke to attach parts A-2 and A-3 to each side.
-

Poke to attach part D-4 to D-3.
-

-
Poke to attach D-3 + D-4 to part B.
-
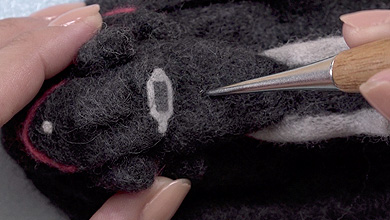
Poke the round portion of the back of part D-3 to make it flat.
-
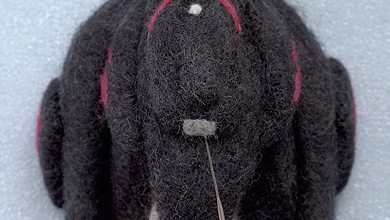
Attach the meter to the flat portion with a sliver of light grey felt.
-

-
Poke a dark grey rectangle in the centre.
-
Poke to attach part D-5.
-

Attach to each side.
-
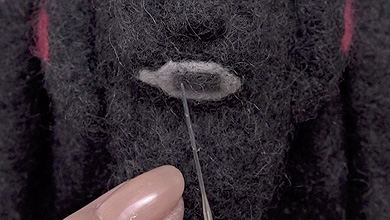
Make a hole with a dot punch 10mm below the meter.
-
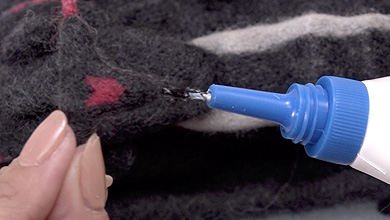
Put glue on the D-2 wire and insert.
-

-
Poke mixed felt into the overlap between the front of part A and part D to cover the join.
-

-
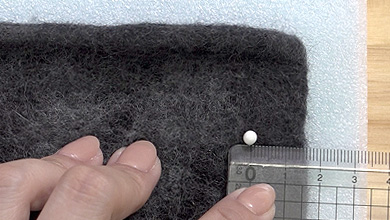
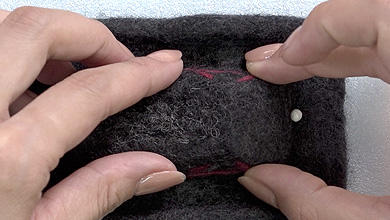
Place a pin approx. 8mm from the back on the bottom of the assembled piece.
-
Line up the back of part F with the pin and poke around it.
-
Poke a red line along each side.
-
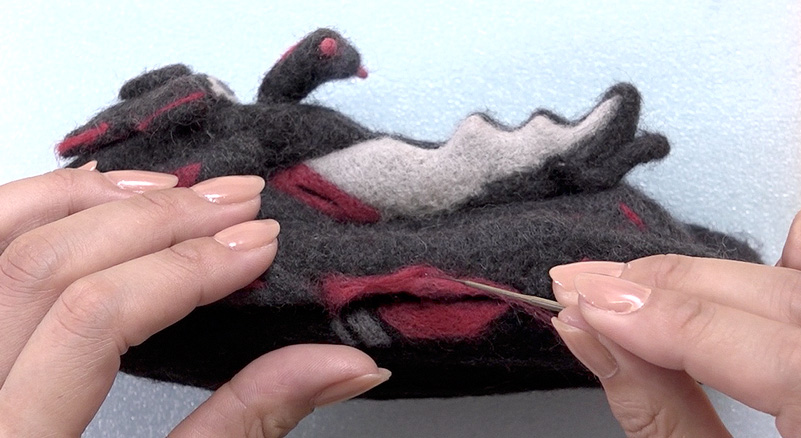
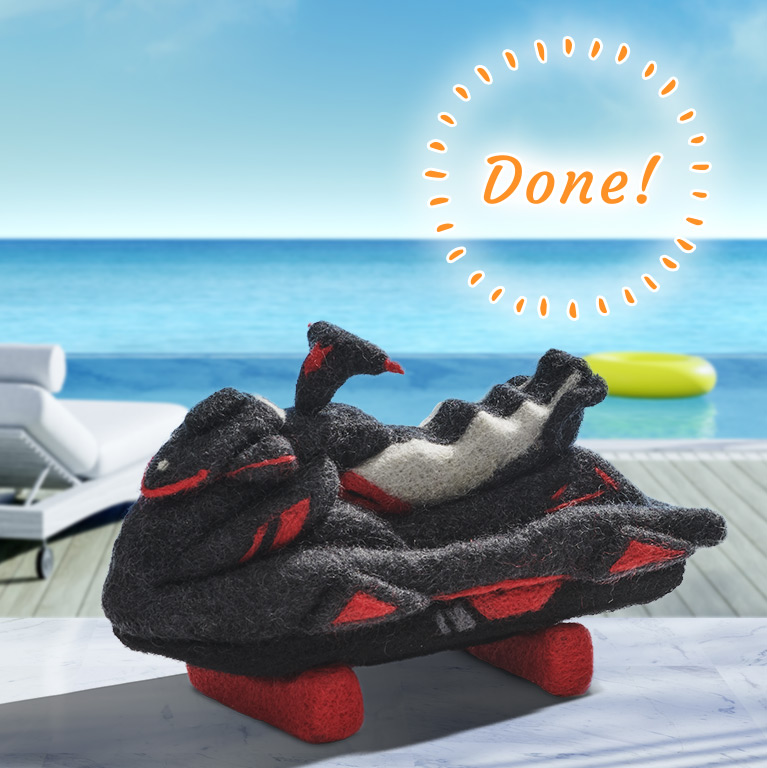
Your WaveRunner is complete!

Official social media gallery -
Send in pictures of your work!
Let us post the work you have created using the how-to guide on this site on the official Yamaha Motor amigurumi / needle felting account on Instagram.
Just fill in the required fields on the posting page and upload photos of your work. We are looking forward to seeing them.
Terms of use
These contents are operated by Yahama Motor Co., Ltd. and are provided free of charge with the premise that they will be used in the pursuit of hobbies by individuals.
Please read the terms of use of the website before use. We hope you enjoy these contents.>Terms of use